Spring Countryside Camera Trapping 2020

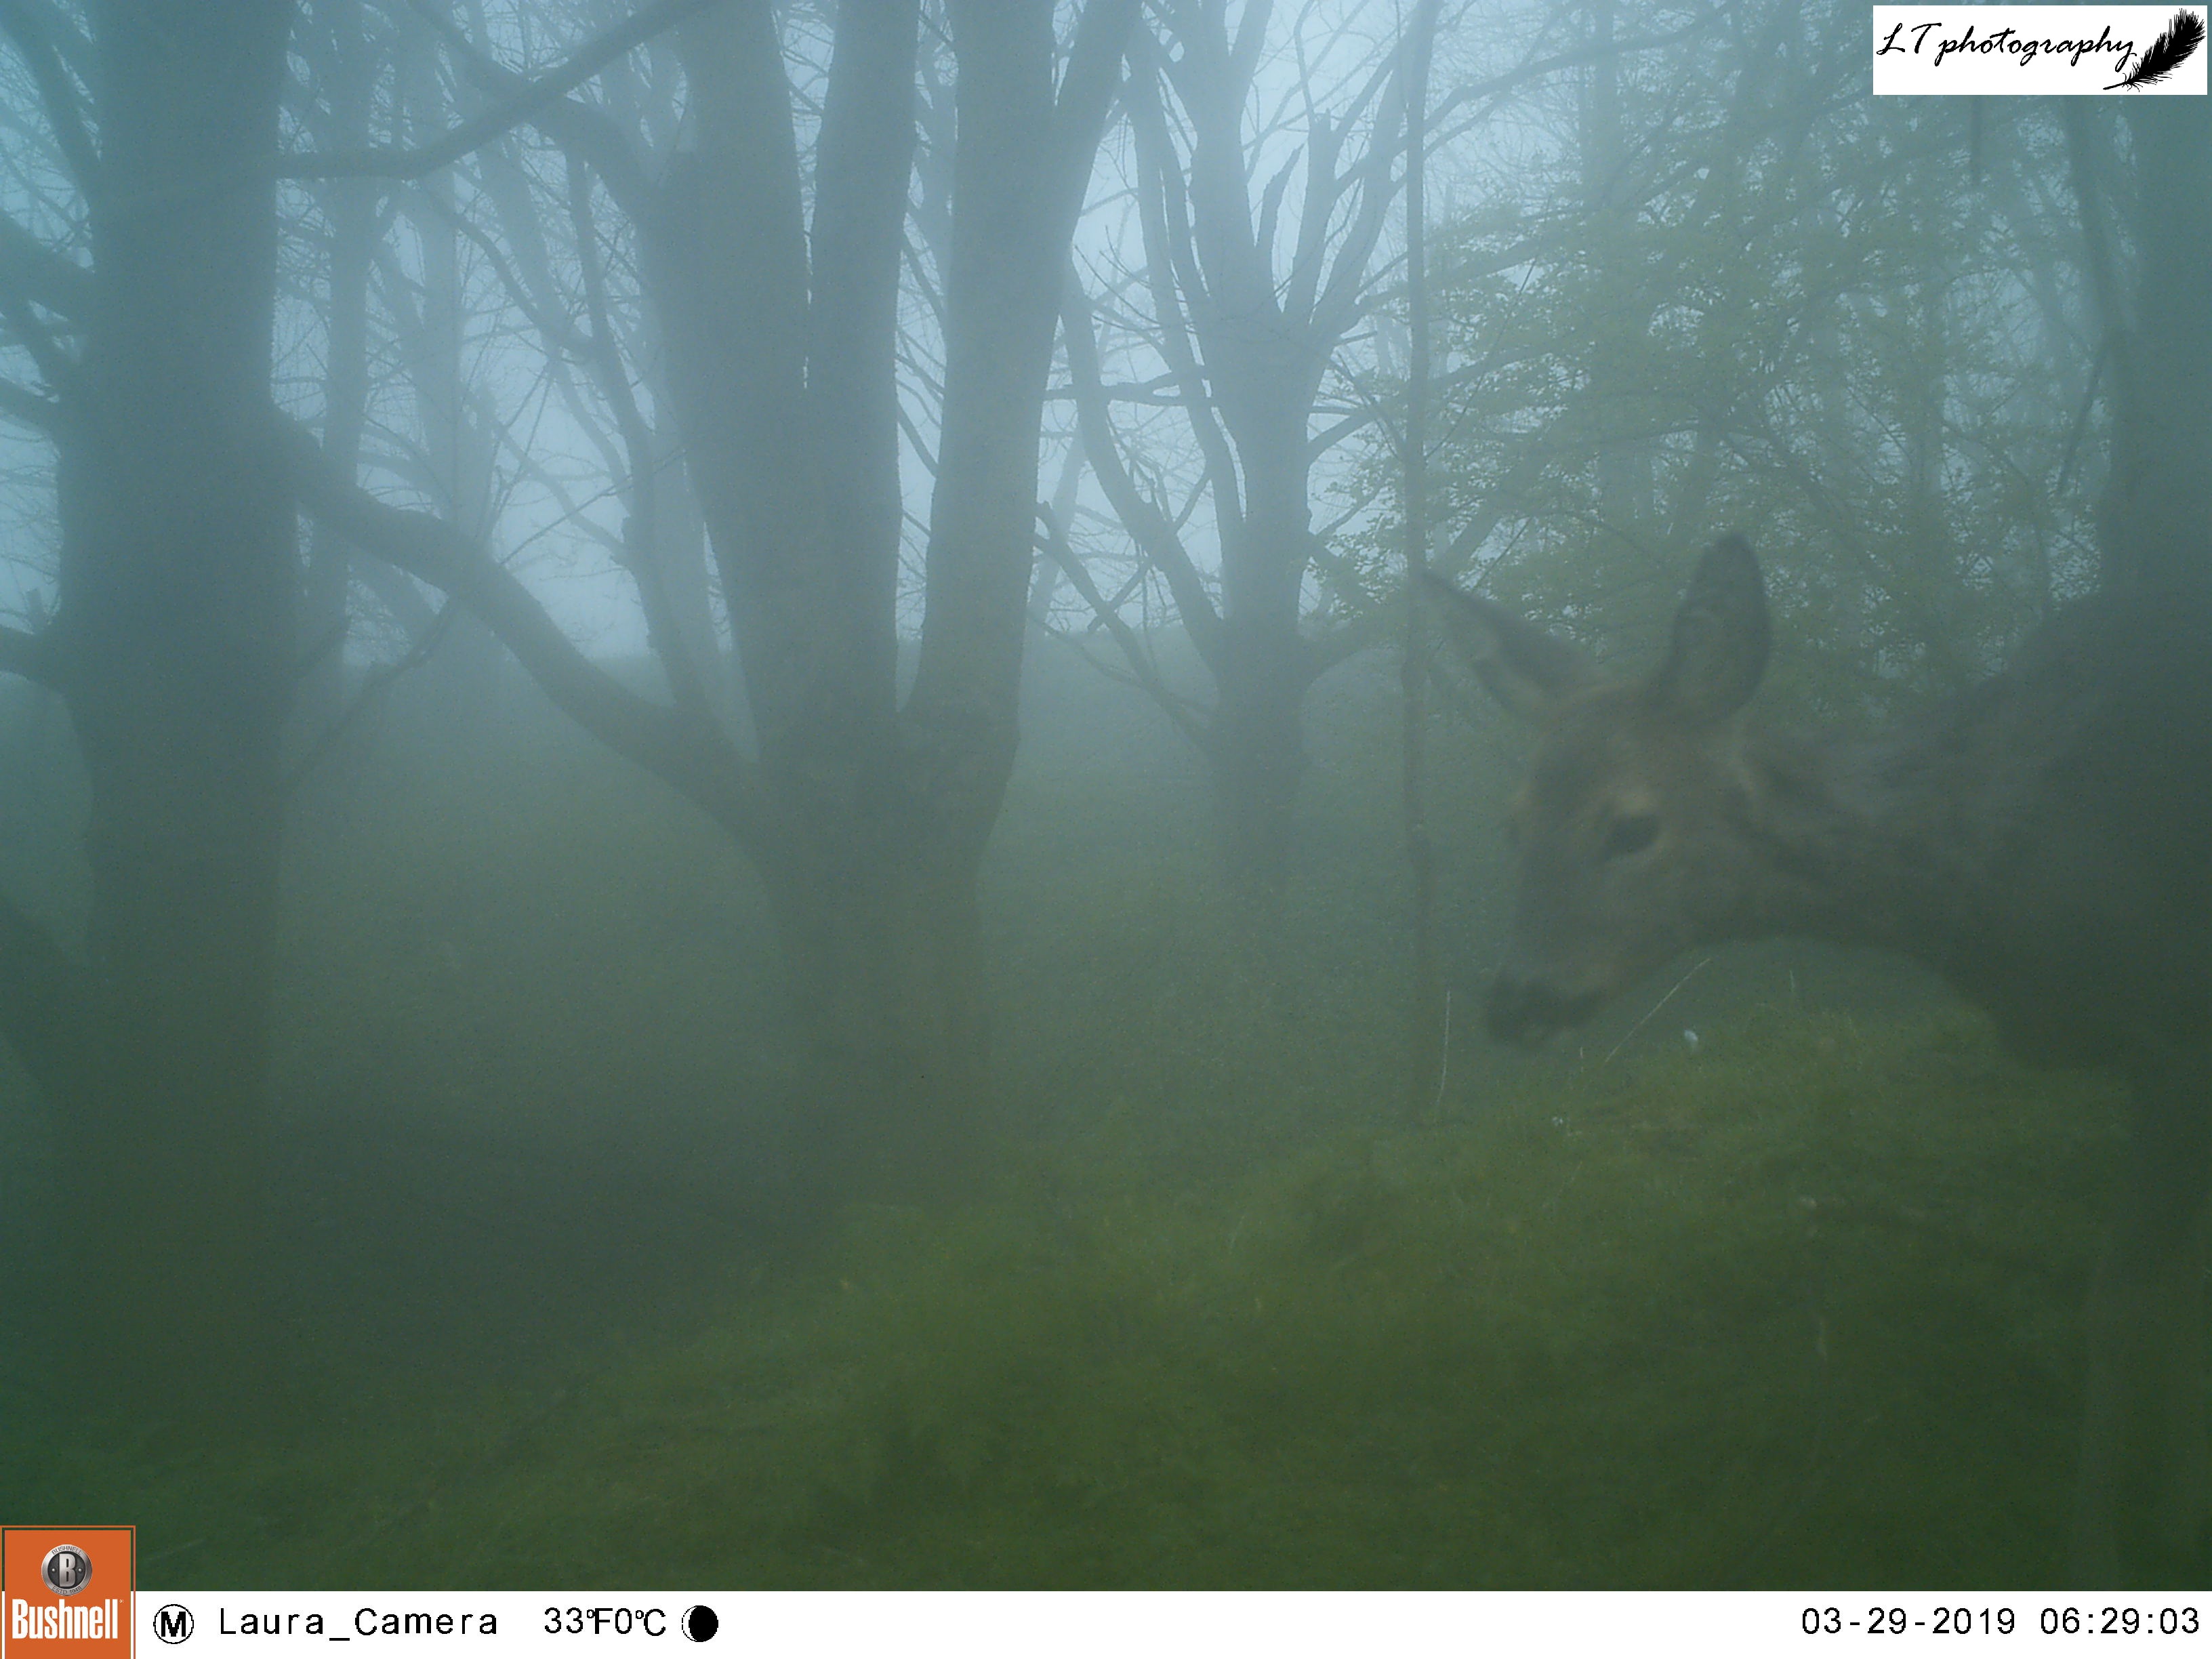
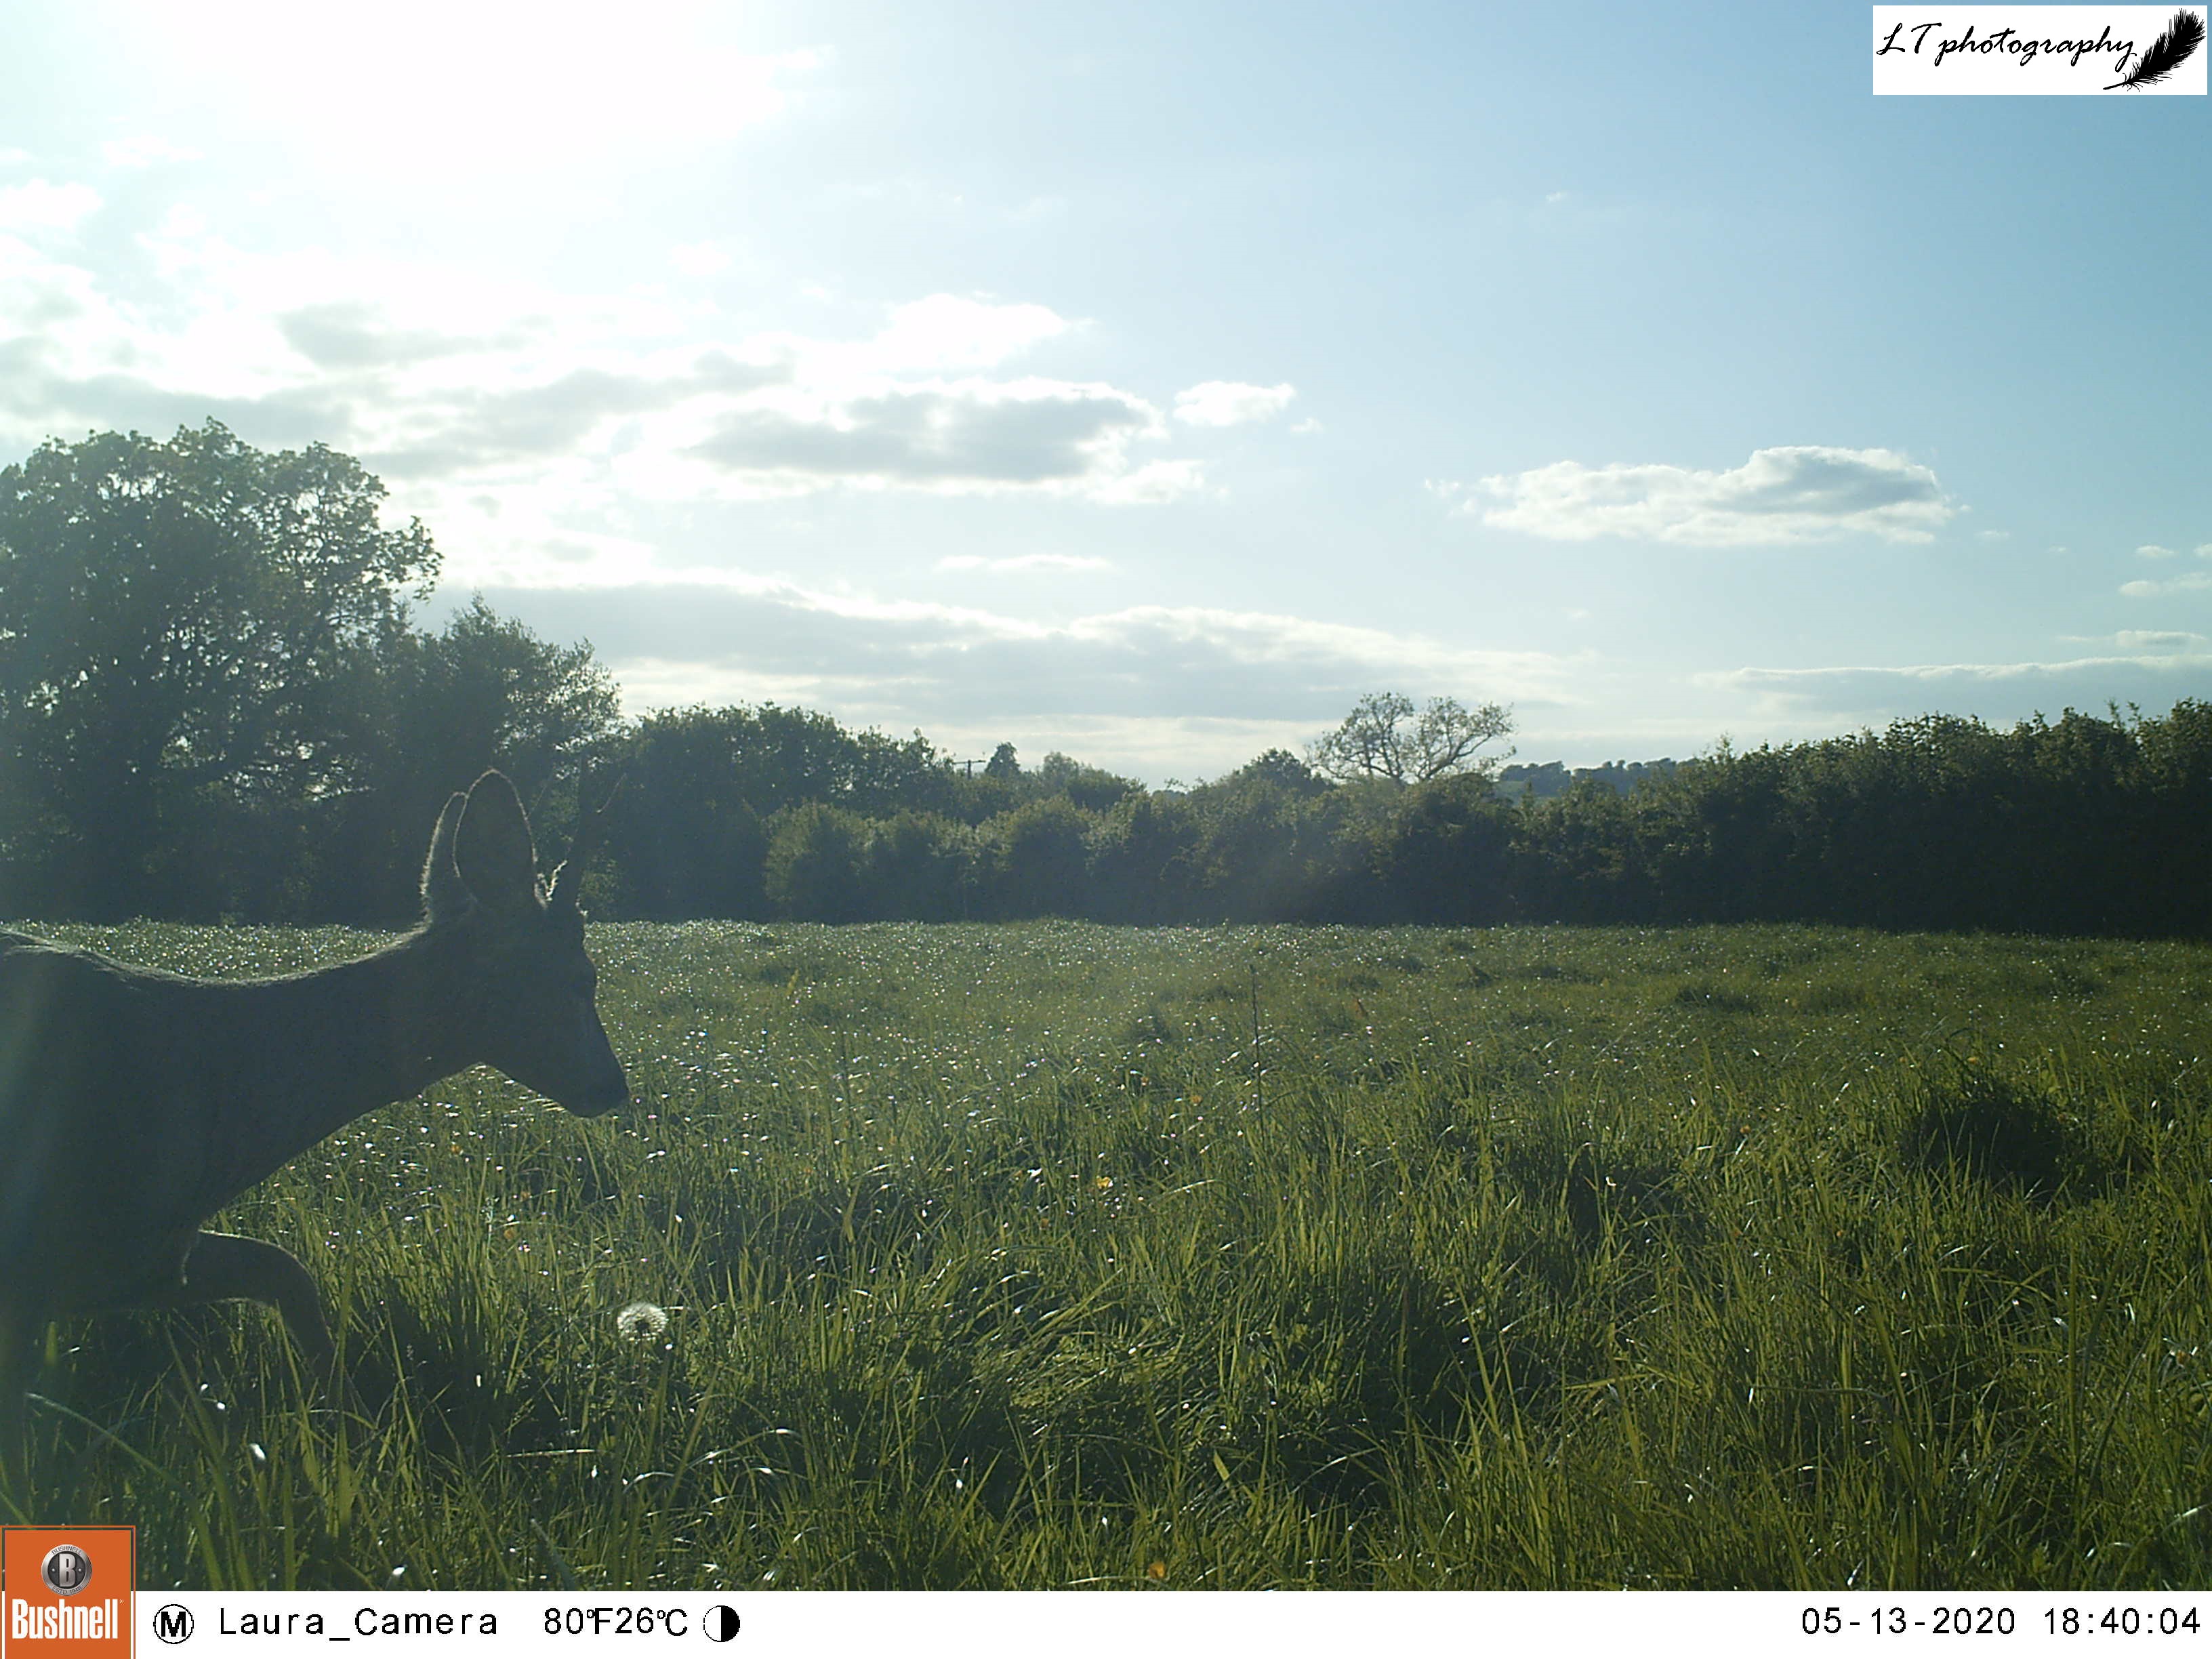
Through the stillness of an early morning mist, a shape appears, carefully stepping through the short undergrowth. She weaves through the trees, stopping to pick and browse as she goes. Then she stops, motionless. Ears pricked she listens out into the gloom, something catching her attention. Magnificent silhouette, the more impressive for her swollen belly, a sign of new life to come. Here she is captured, a glimpse of a world unknown, forever immortalised in a frame.

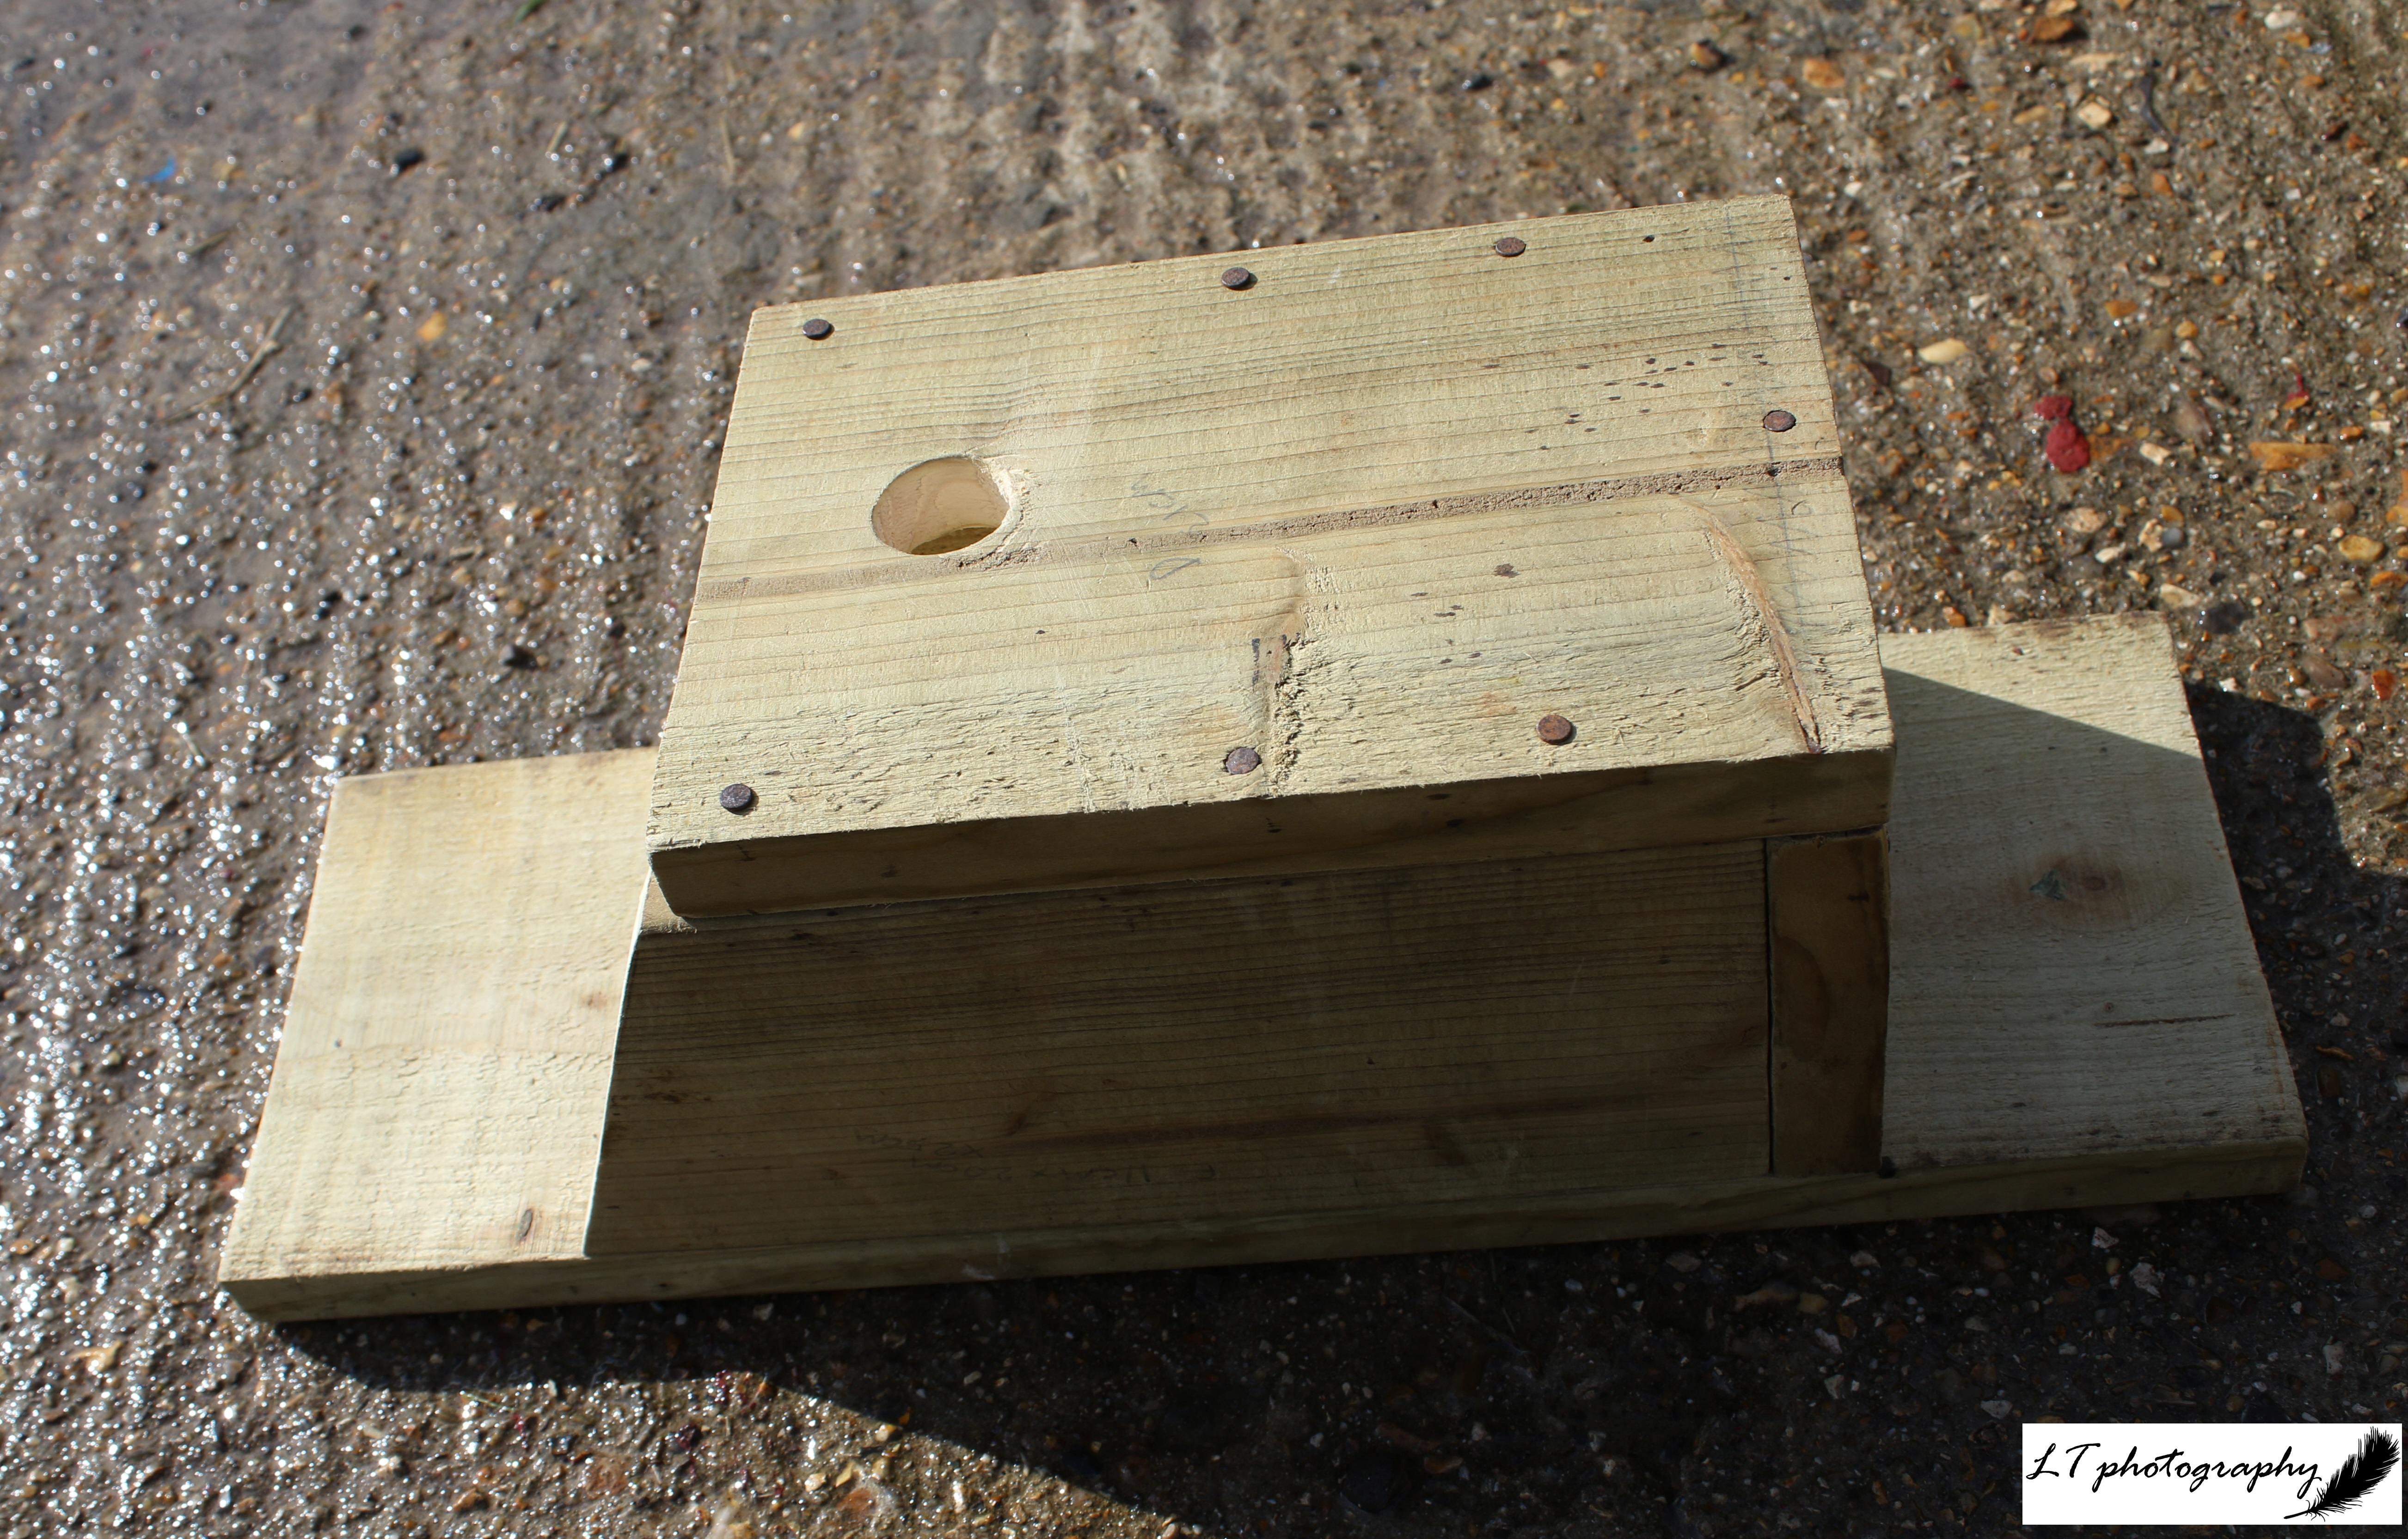
Camera traps provide a window into another world, one that is often unseen and unknown. As technology improves and efforts increase, humans are now capturing the natural world in increasing detail, observing new behaviours, and keeping track of wildlife that would otherwise be difficult to monitor. Camera traps also provide us as individuals with the opportunity to open our eyes to the world that lies outside our doors. To find out more about camera traps, how to use them, and for some inspiration, check out my ‘How to… Use and Make the Most of a Camera Trap’ post.

Since I got my camera trap a few years ago, it has become an important way for me to explore the hidden world around me. In particular, during spring 2019, I spent 10 weeks conducting camera trap surveys across 5 sites on my family’s land in Dorset. It was a lot of fun to see what species I could detect and in what numbers, whilst seeing how things changed over a period of time. For my results, check out my ‘Spring Countryside Camera Trap Surveys’ post on my blog.

Camera Trapping 2020

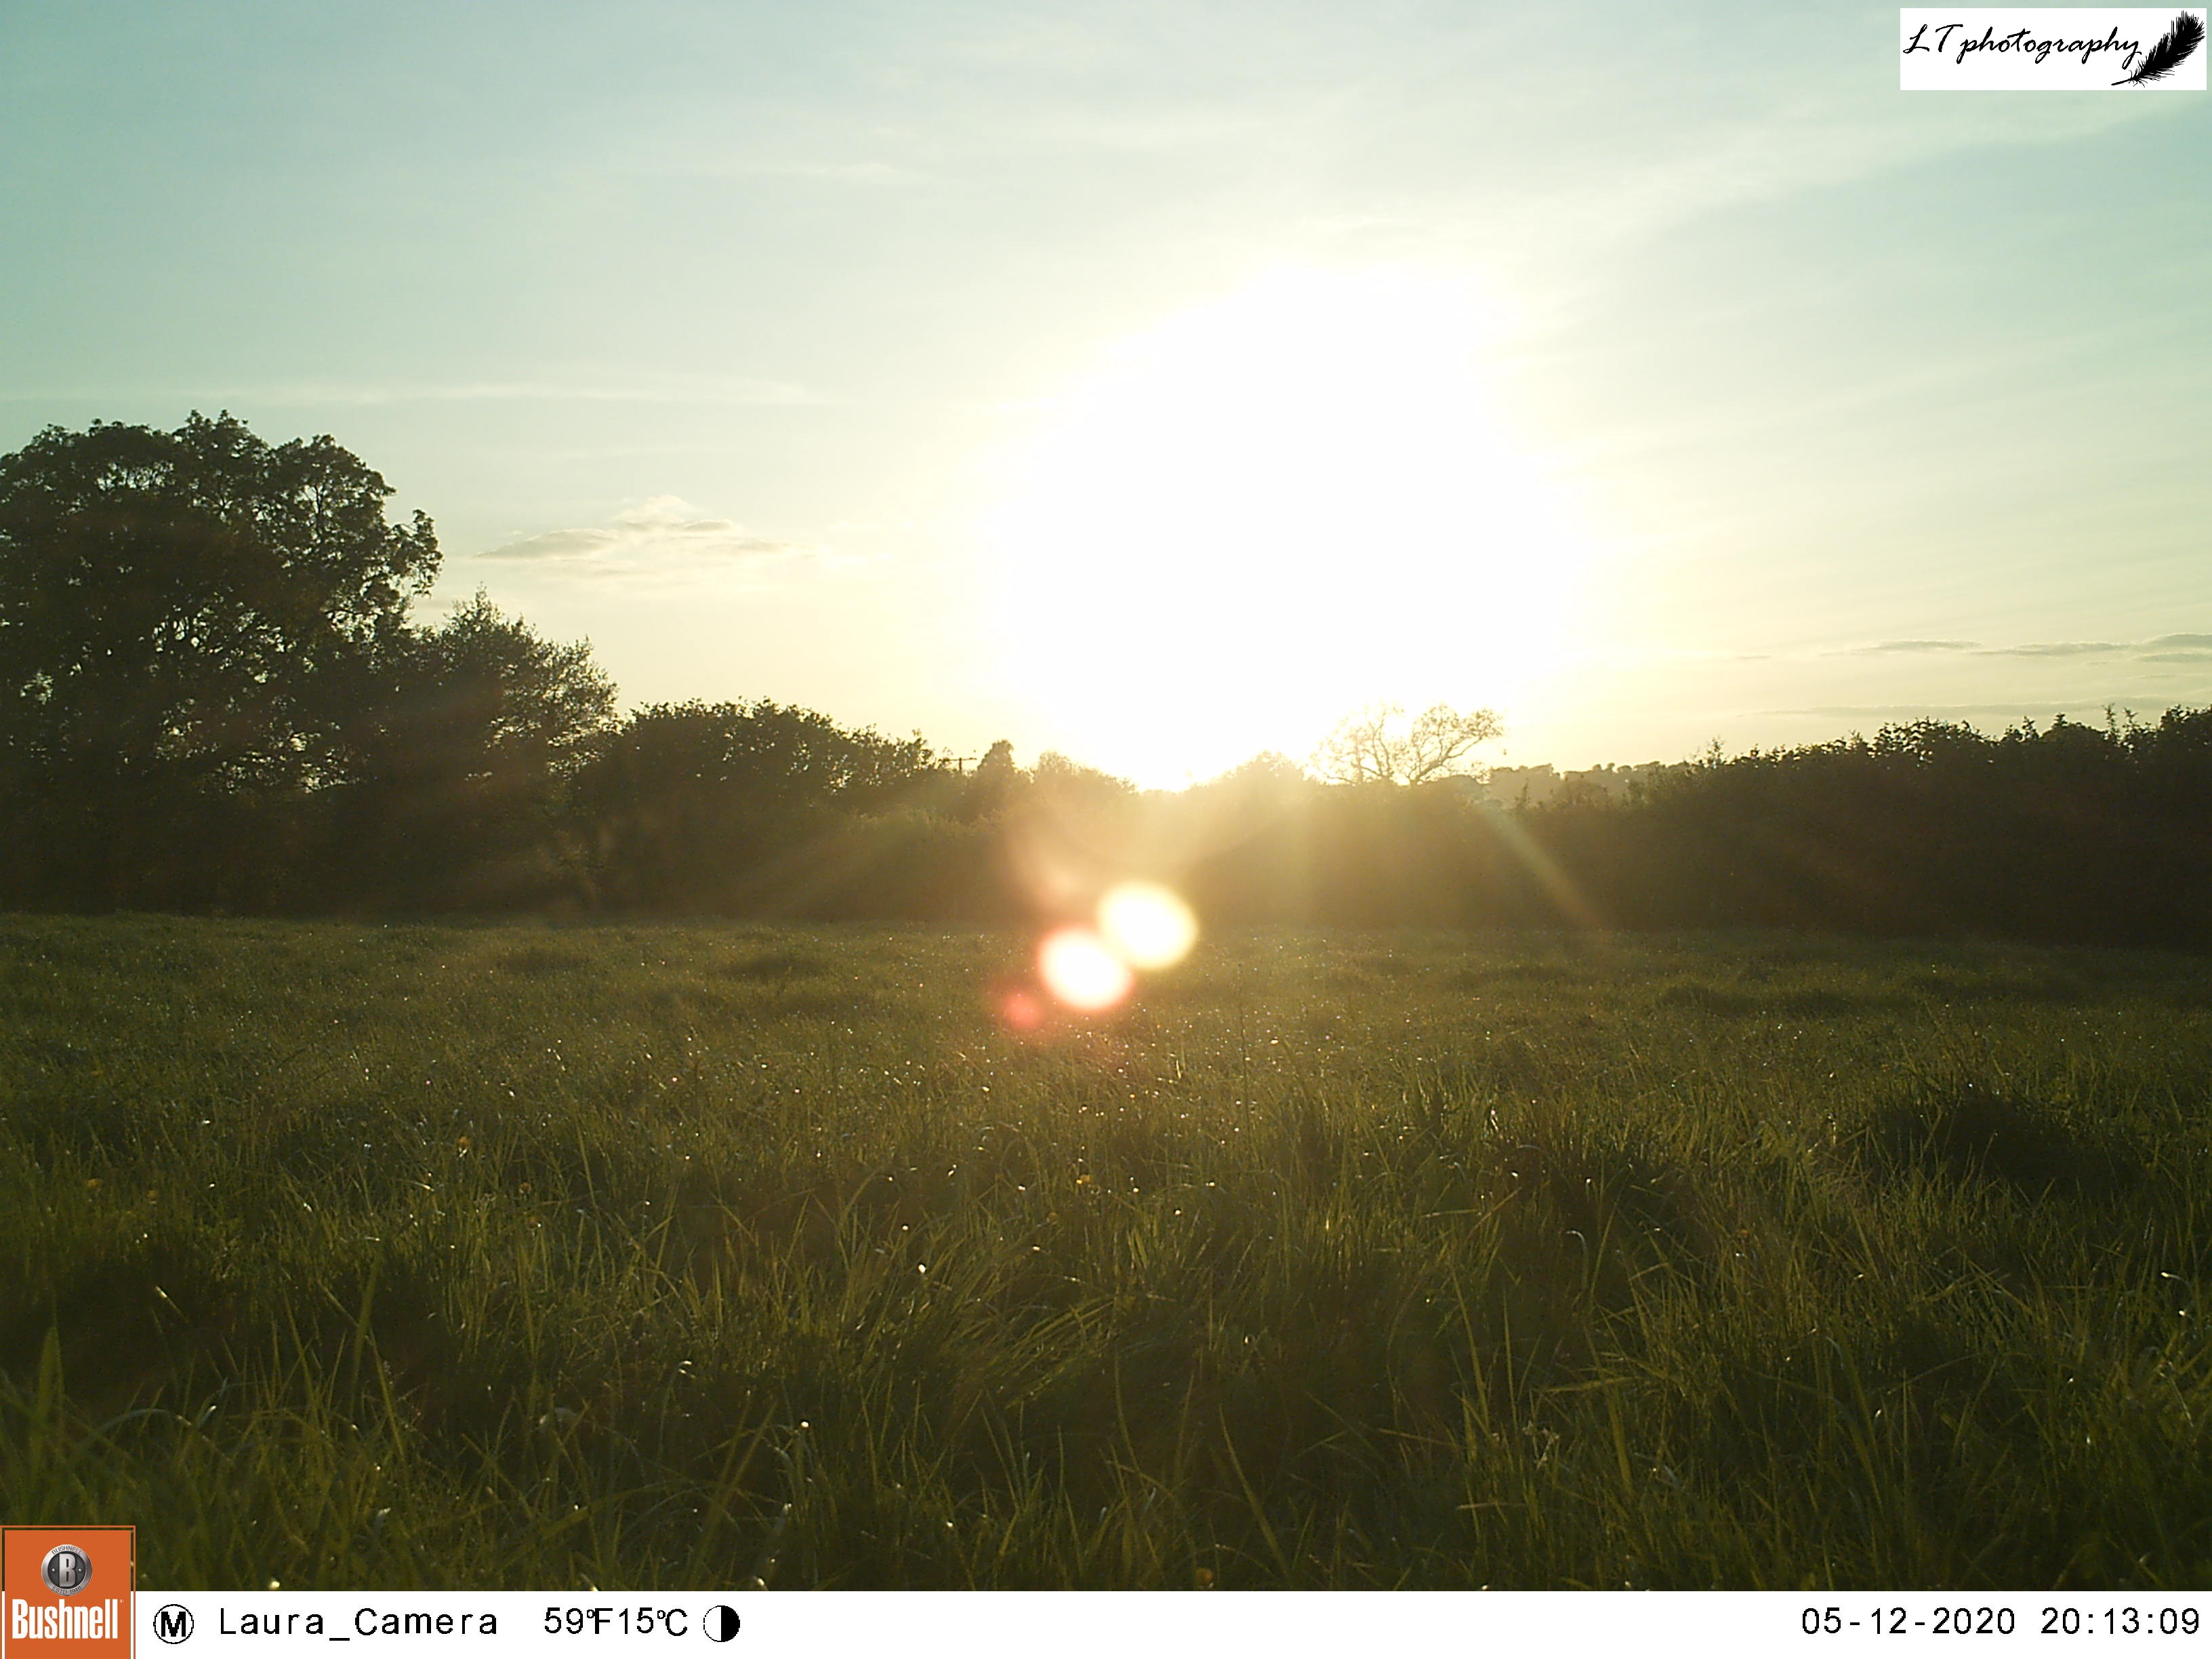
This year, despite COVID-19 leading to a national lockdown, I tried to utilise the time I got to spend outside to get my camera trap out as much as possible. The result was some successful and really enjoyable camera trap experiences throughout the spring, which helped to keep me going. On my adventures, I chose to focus on a mixture of 5 new and old sites, including Badger setts, a footpath, a Sycamore copse and a meadow. It was great to once again monitor the animal populations on our farm, experience new life, and to see if something interesting might turn up!

Highlights

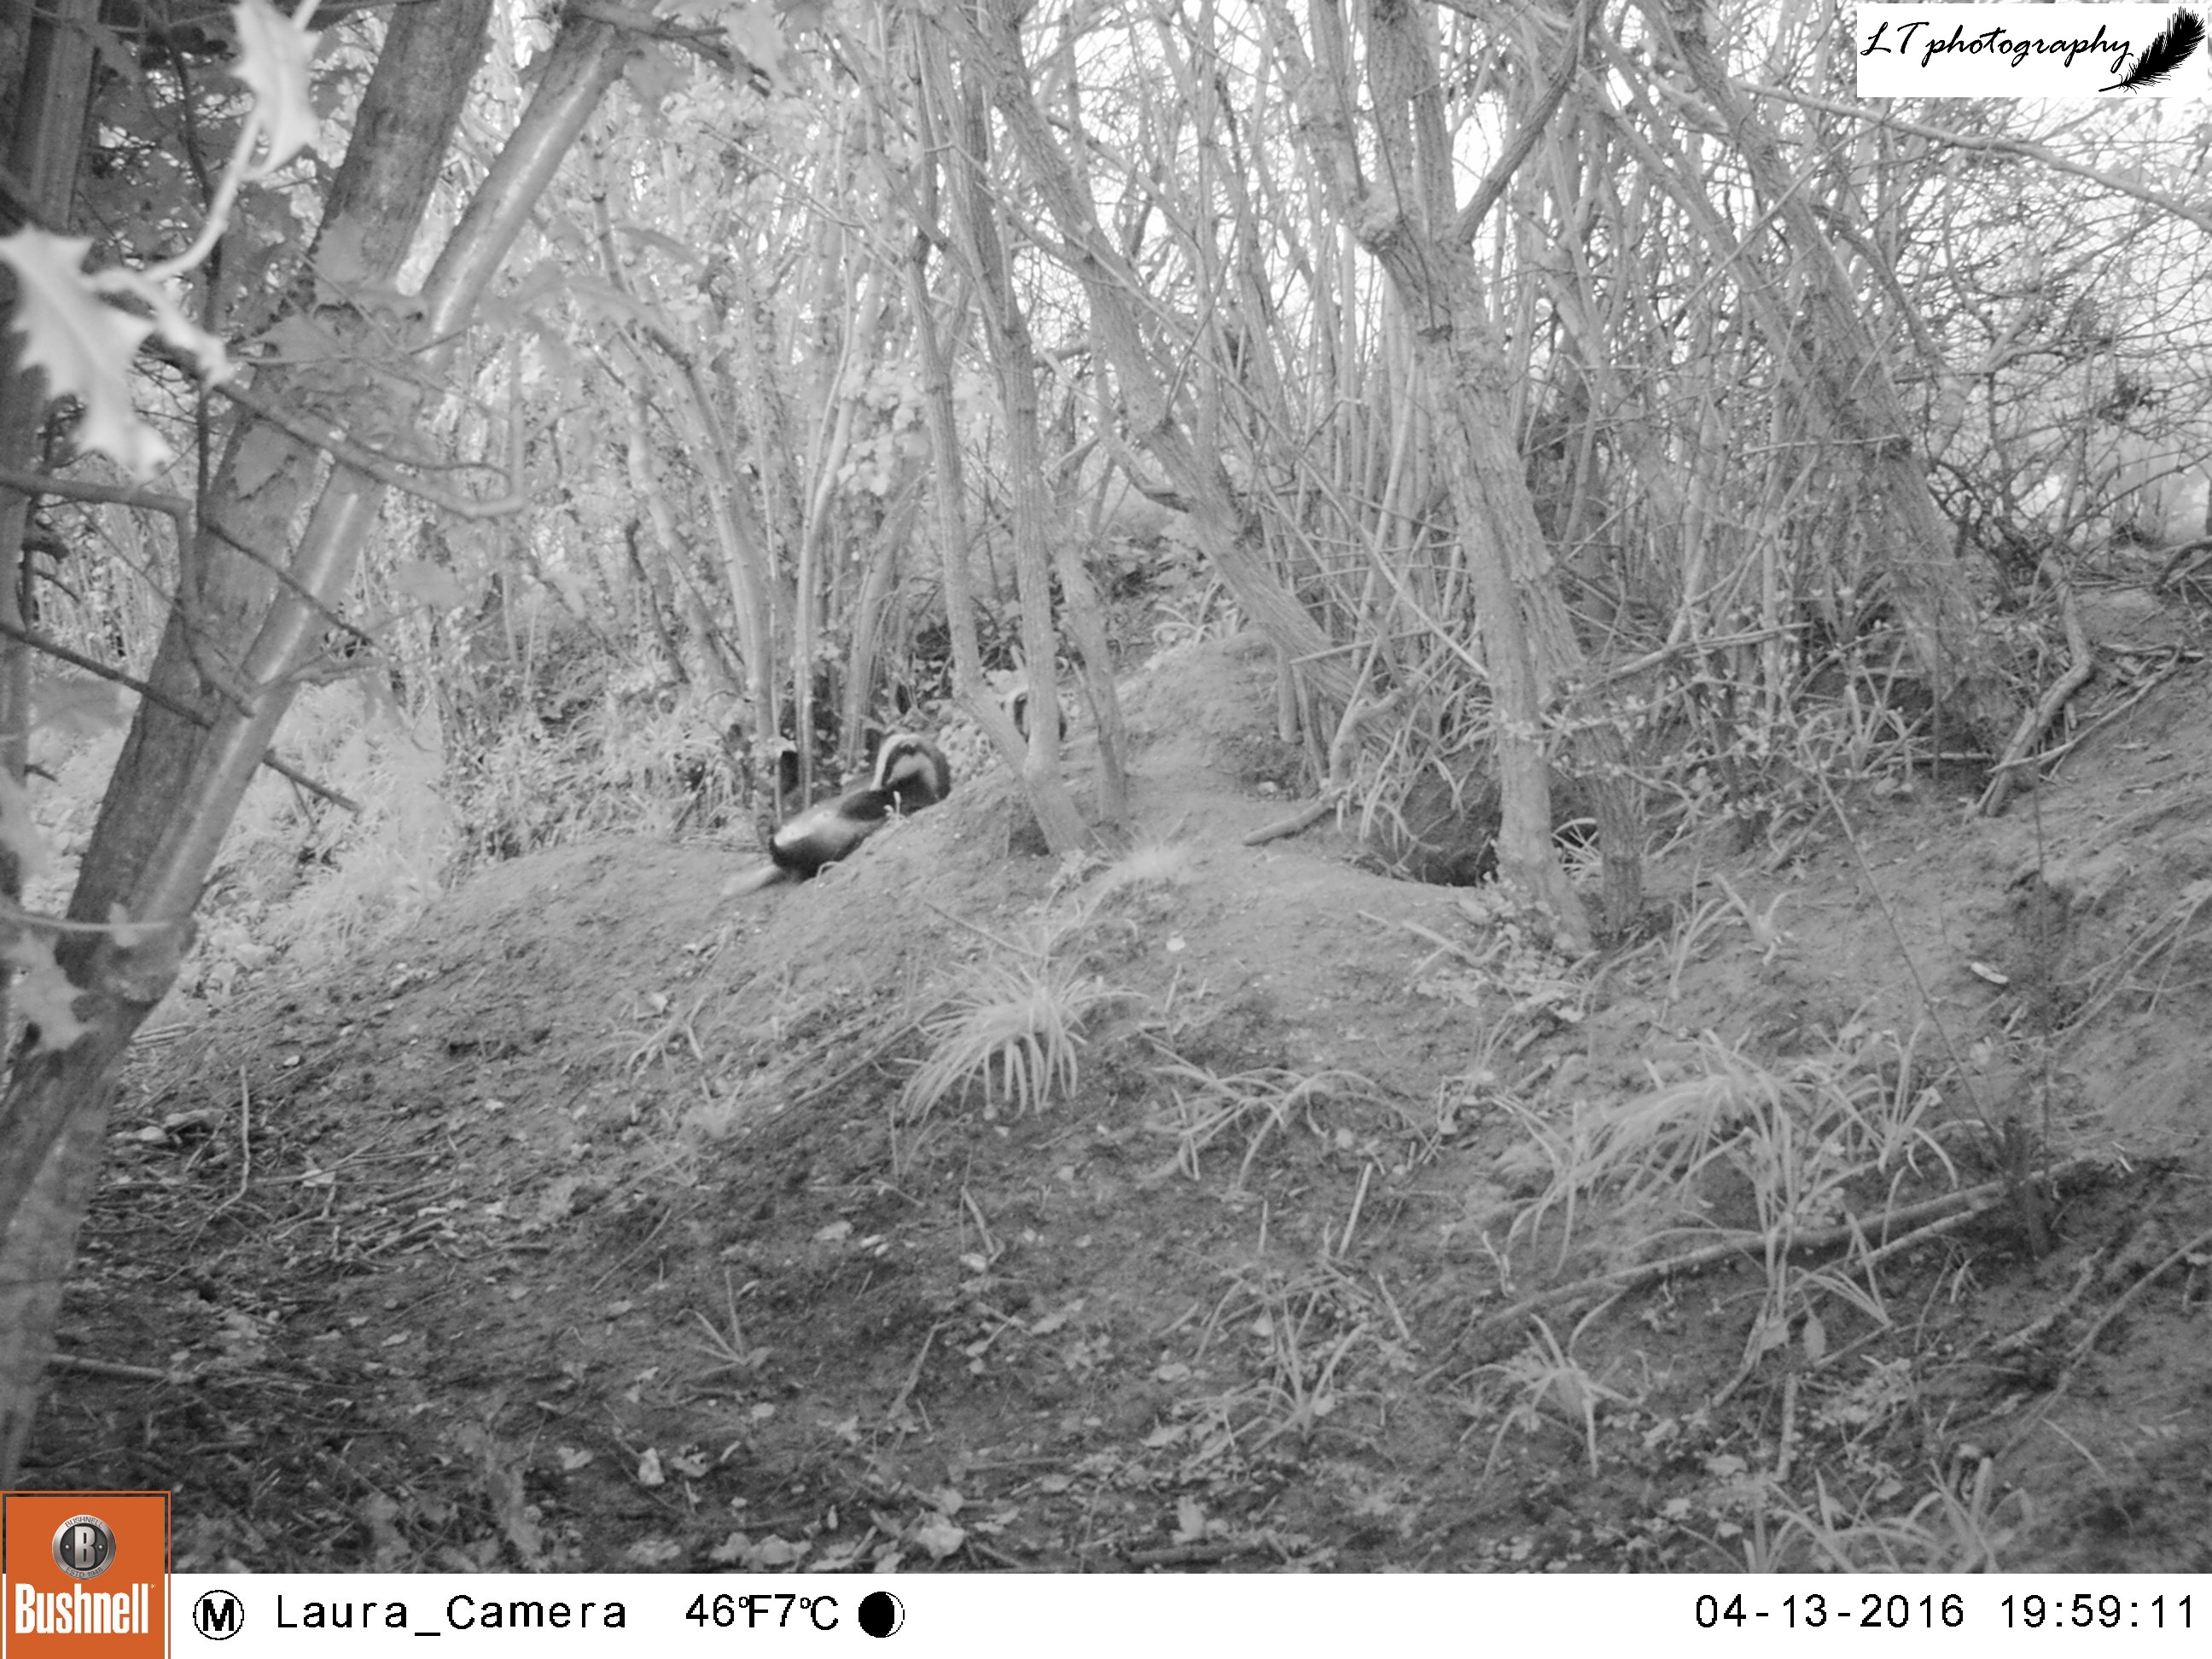
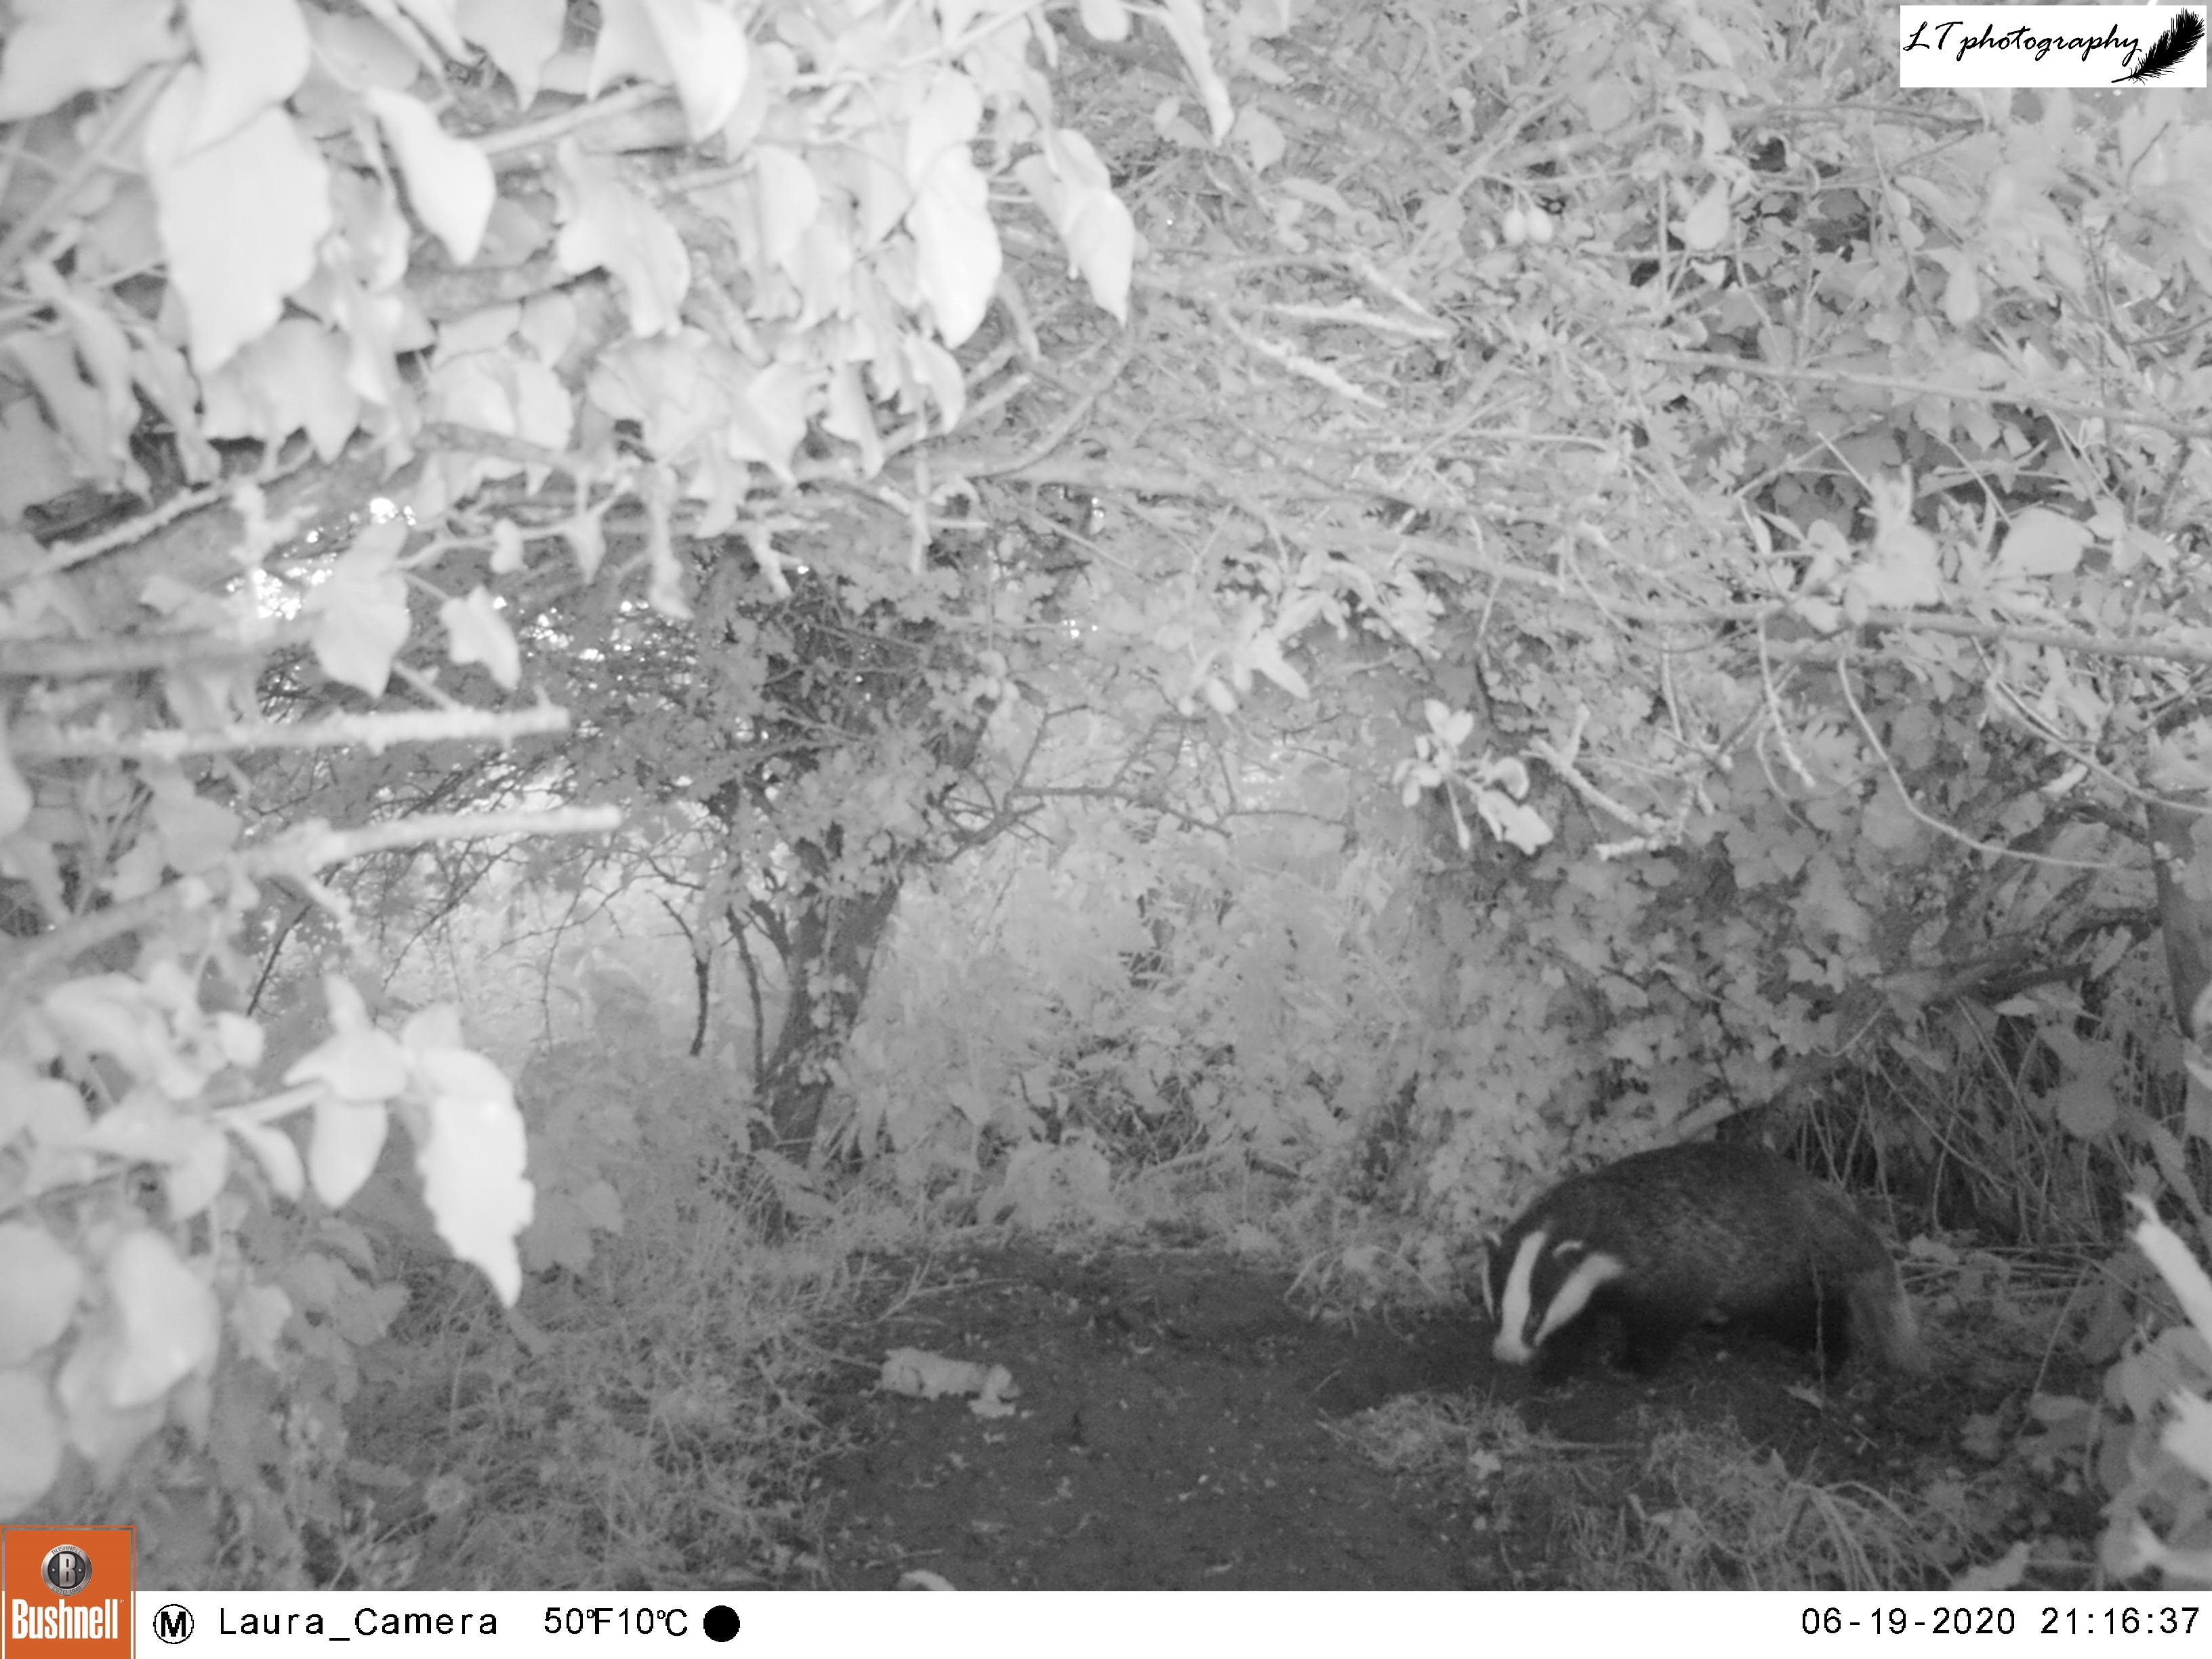
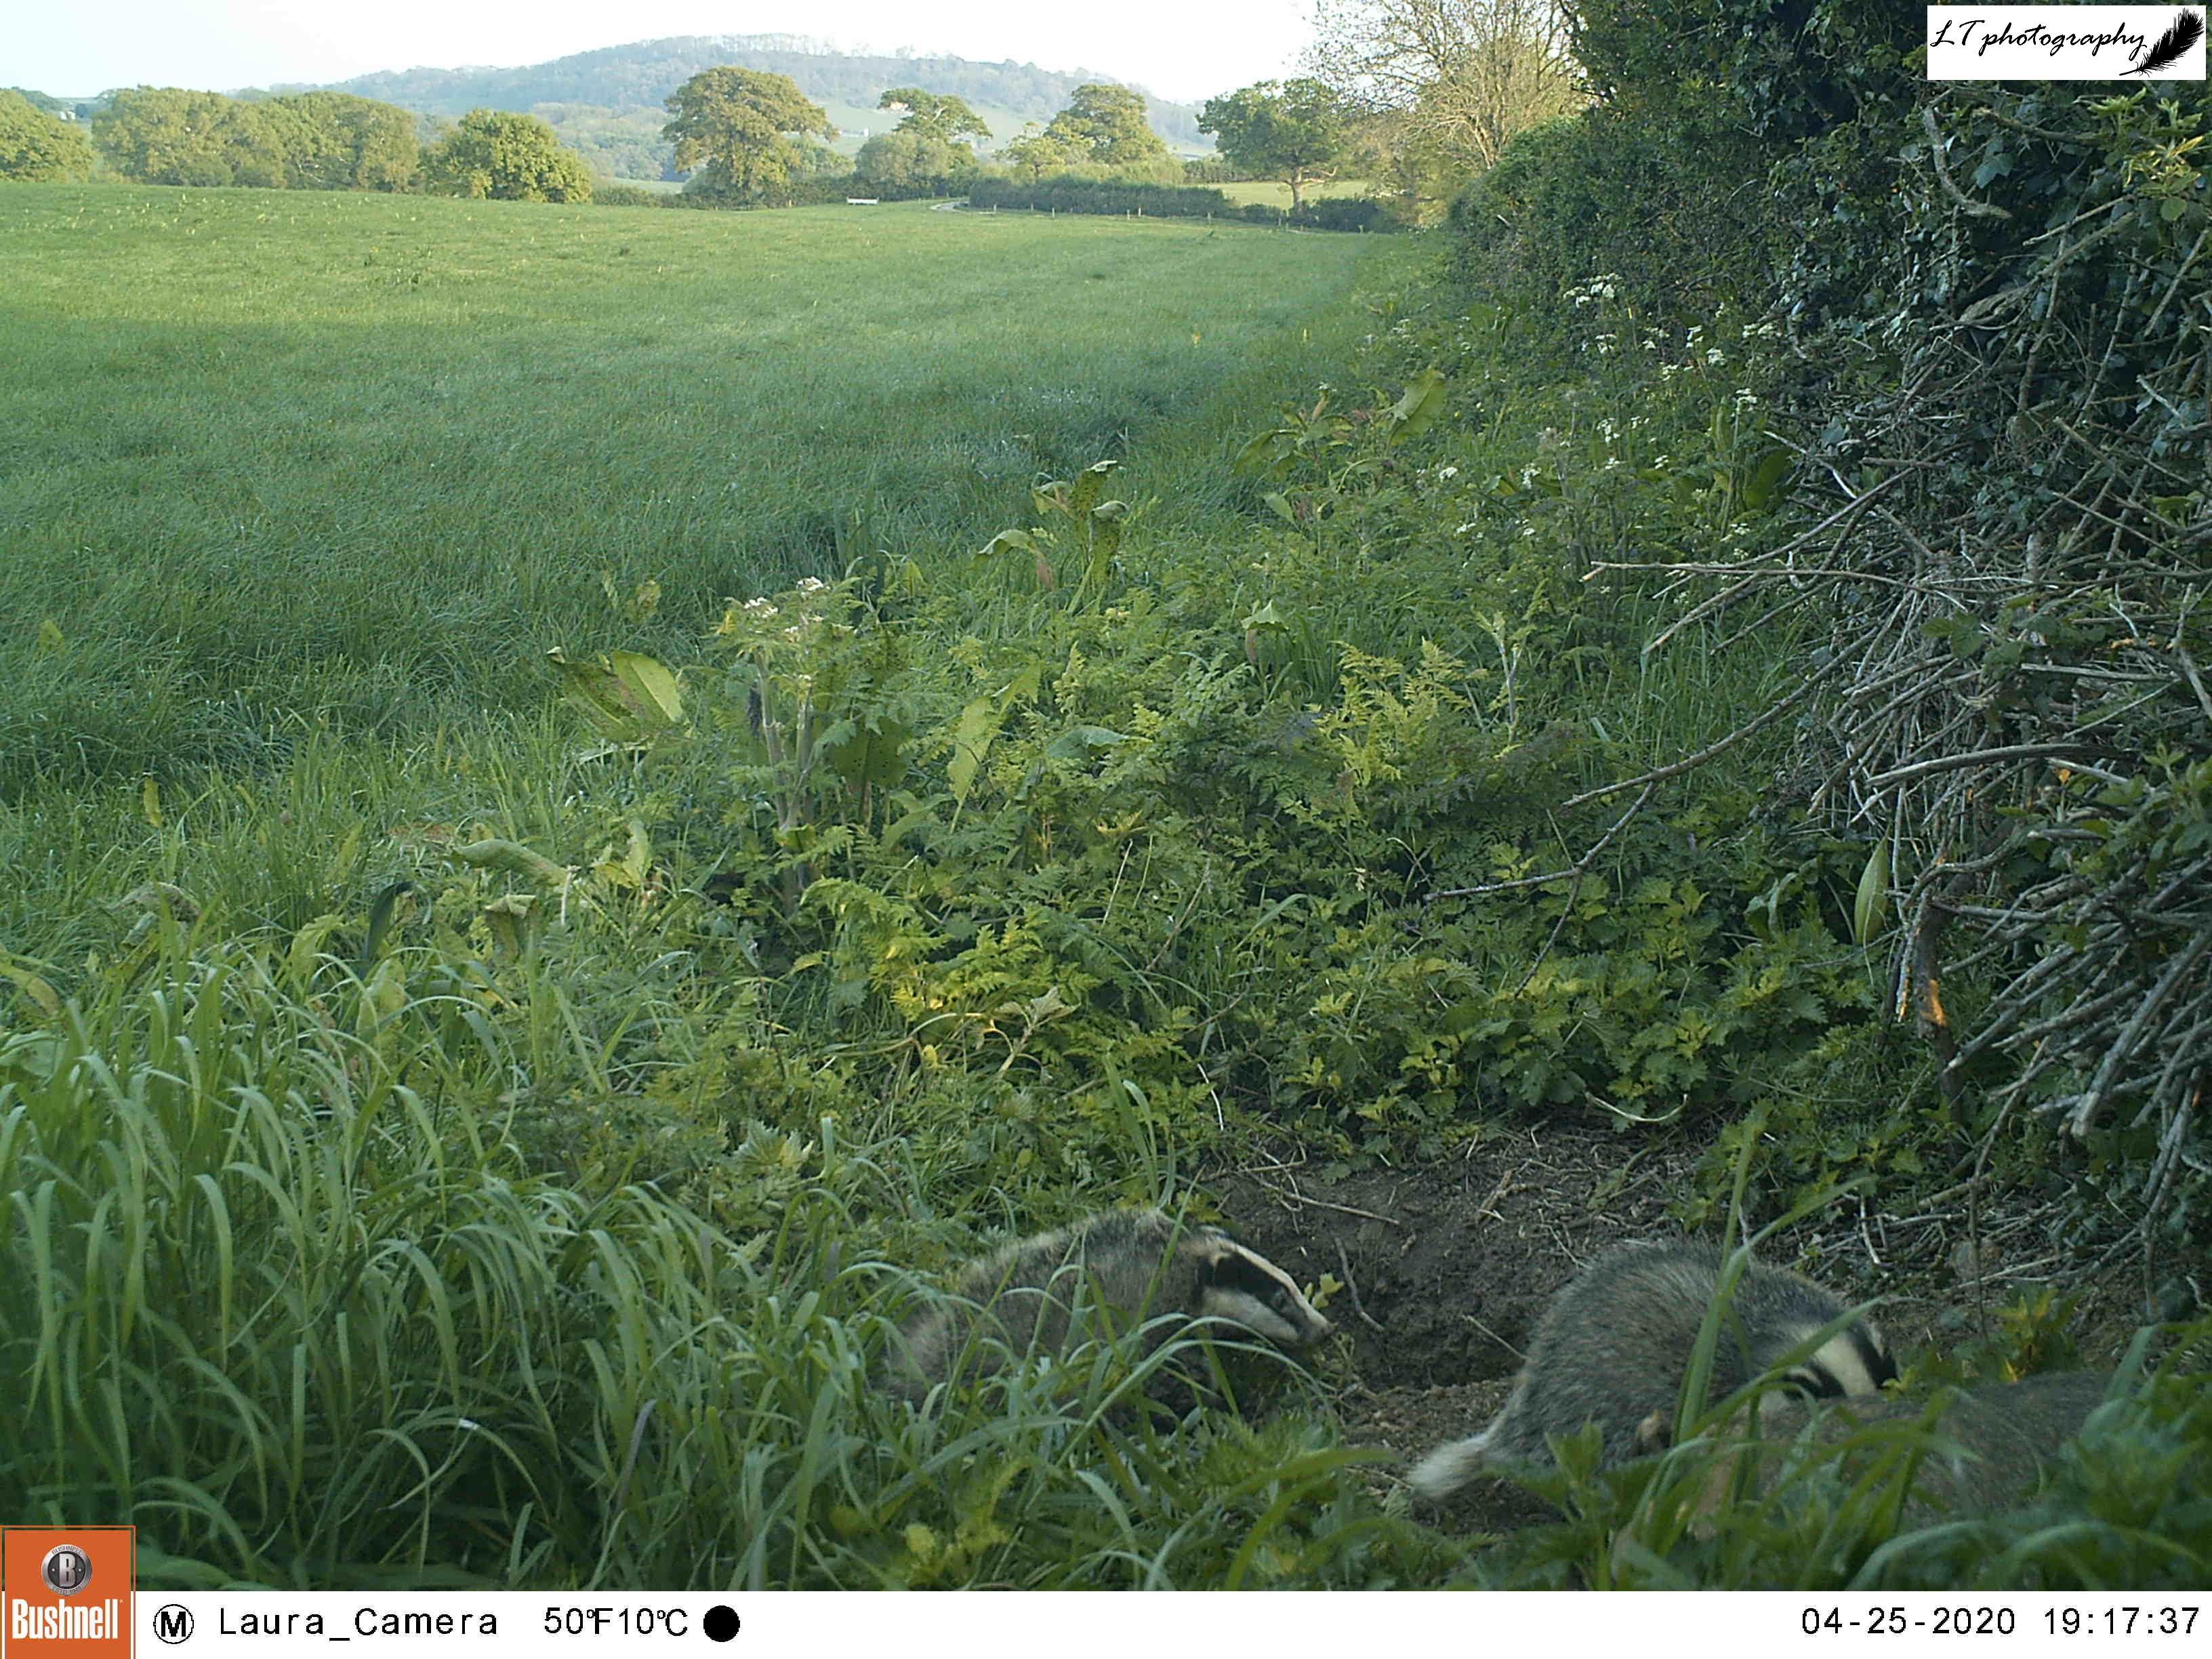
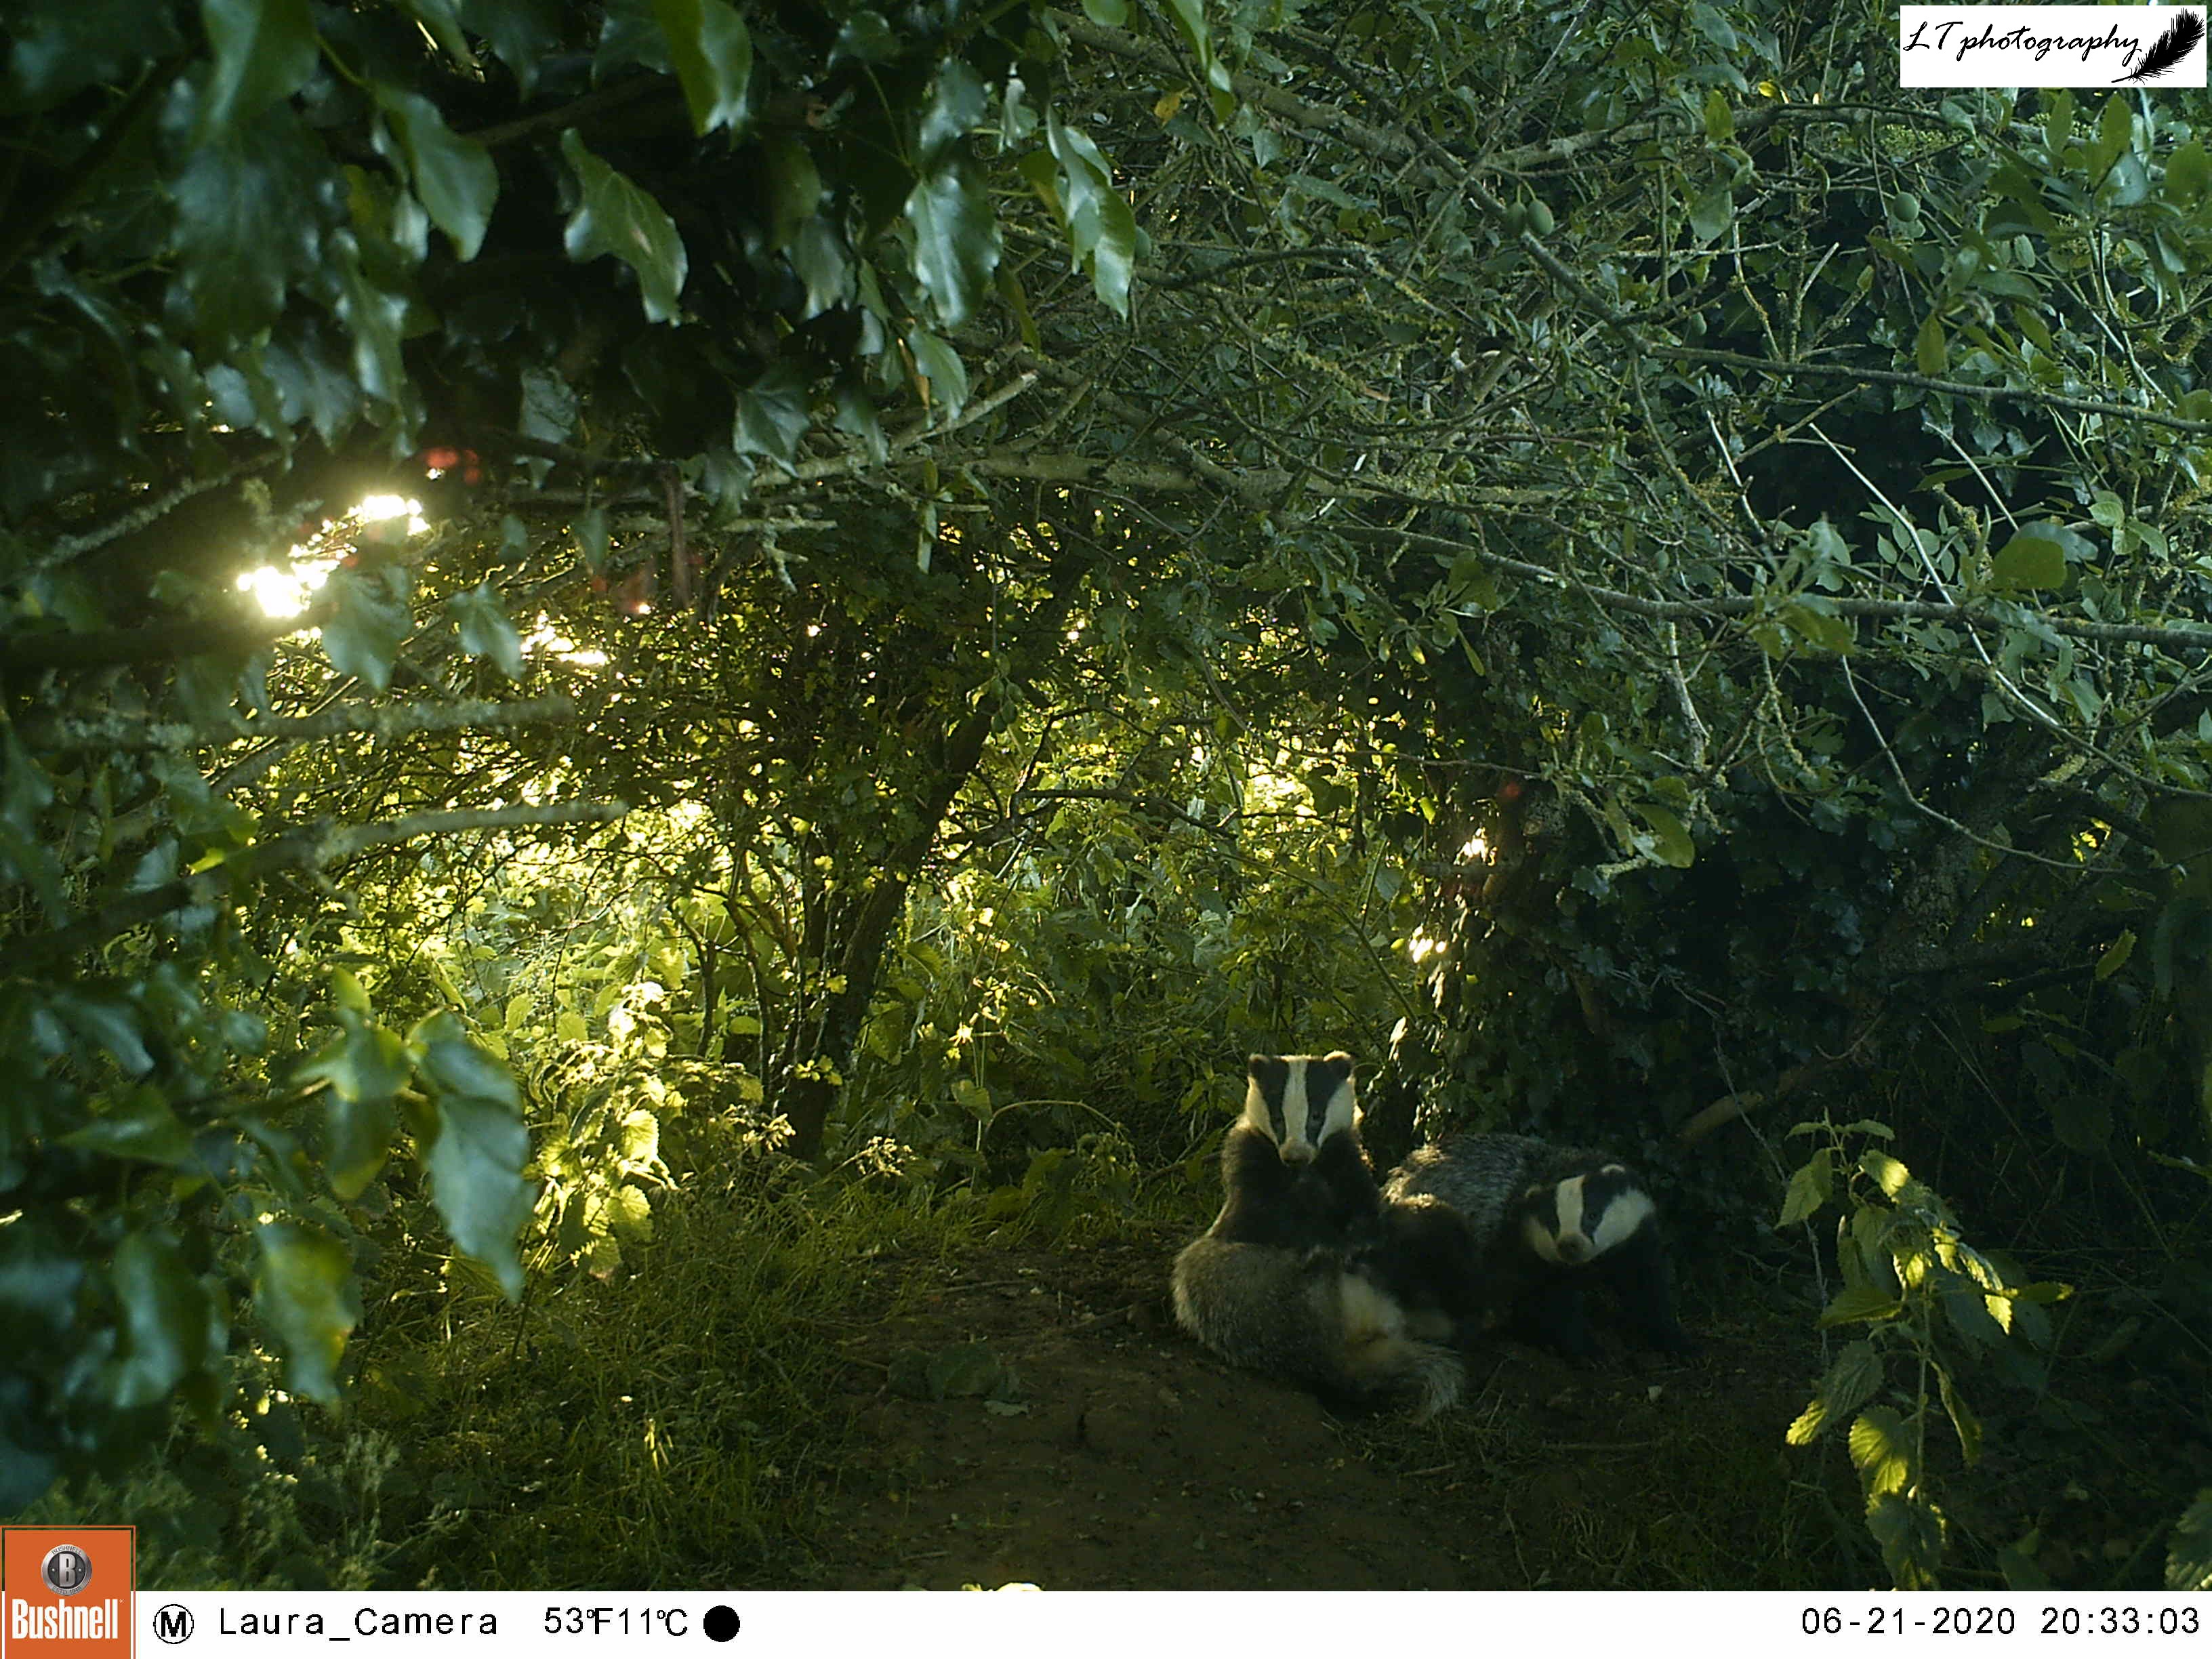
The real stars of my camera trapping this spring just happened to be our British large mammals. In particular some of my highlights involved fantastic sightings of charismatic Badgers. One of my favourites was capturing 2 cubs playing and fighting outside the entrance of a sett at all times of day in April, with a parent often popping in to check on them. I also had some great luck at another sett in June, where my camera trap captured 2 Badger cubs interacting with each other in their natural habitat, in an open area within a hedge. It was really great to see!

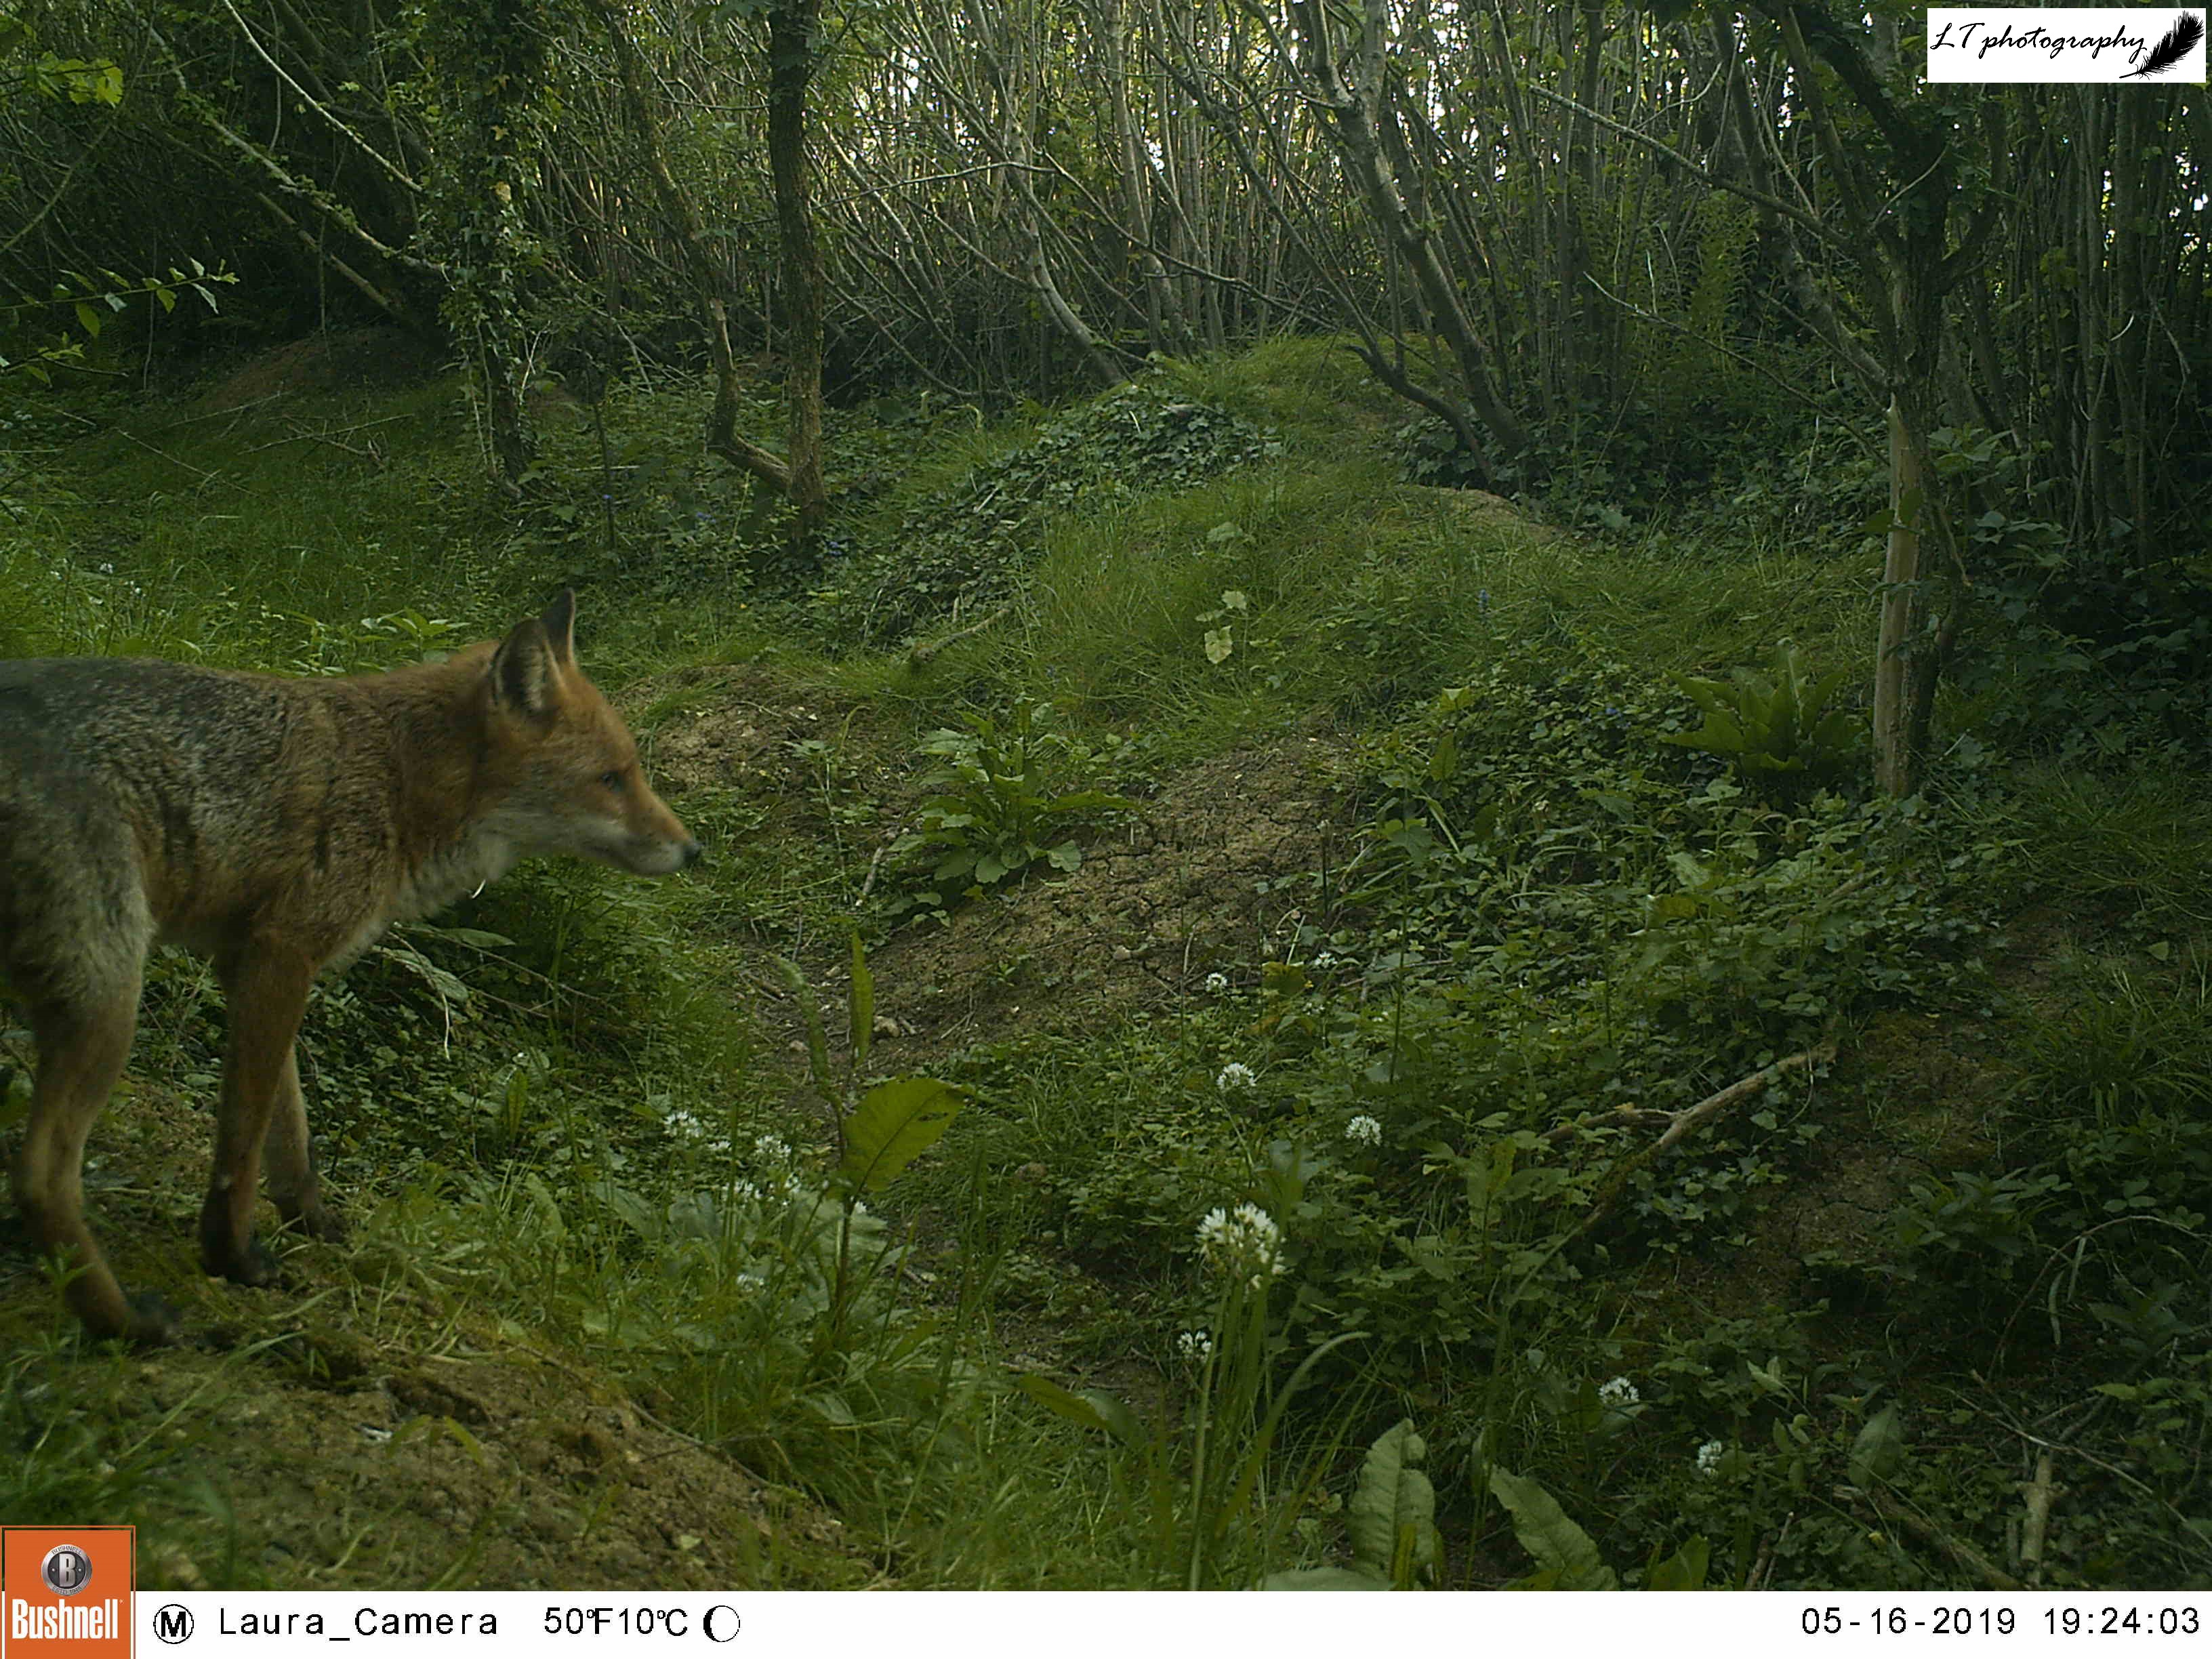
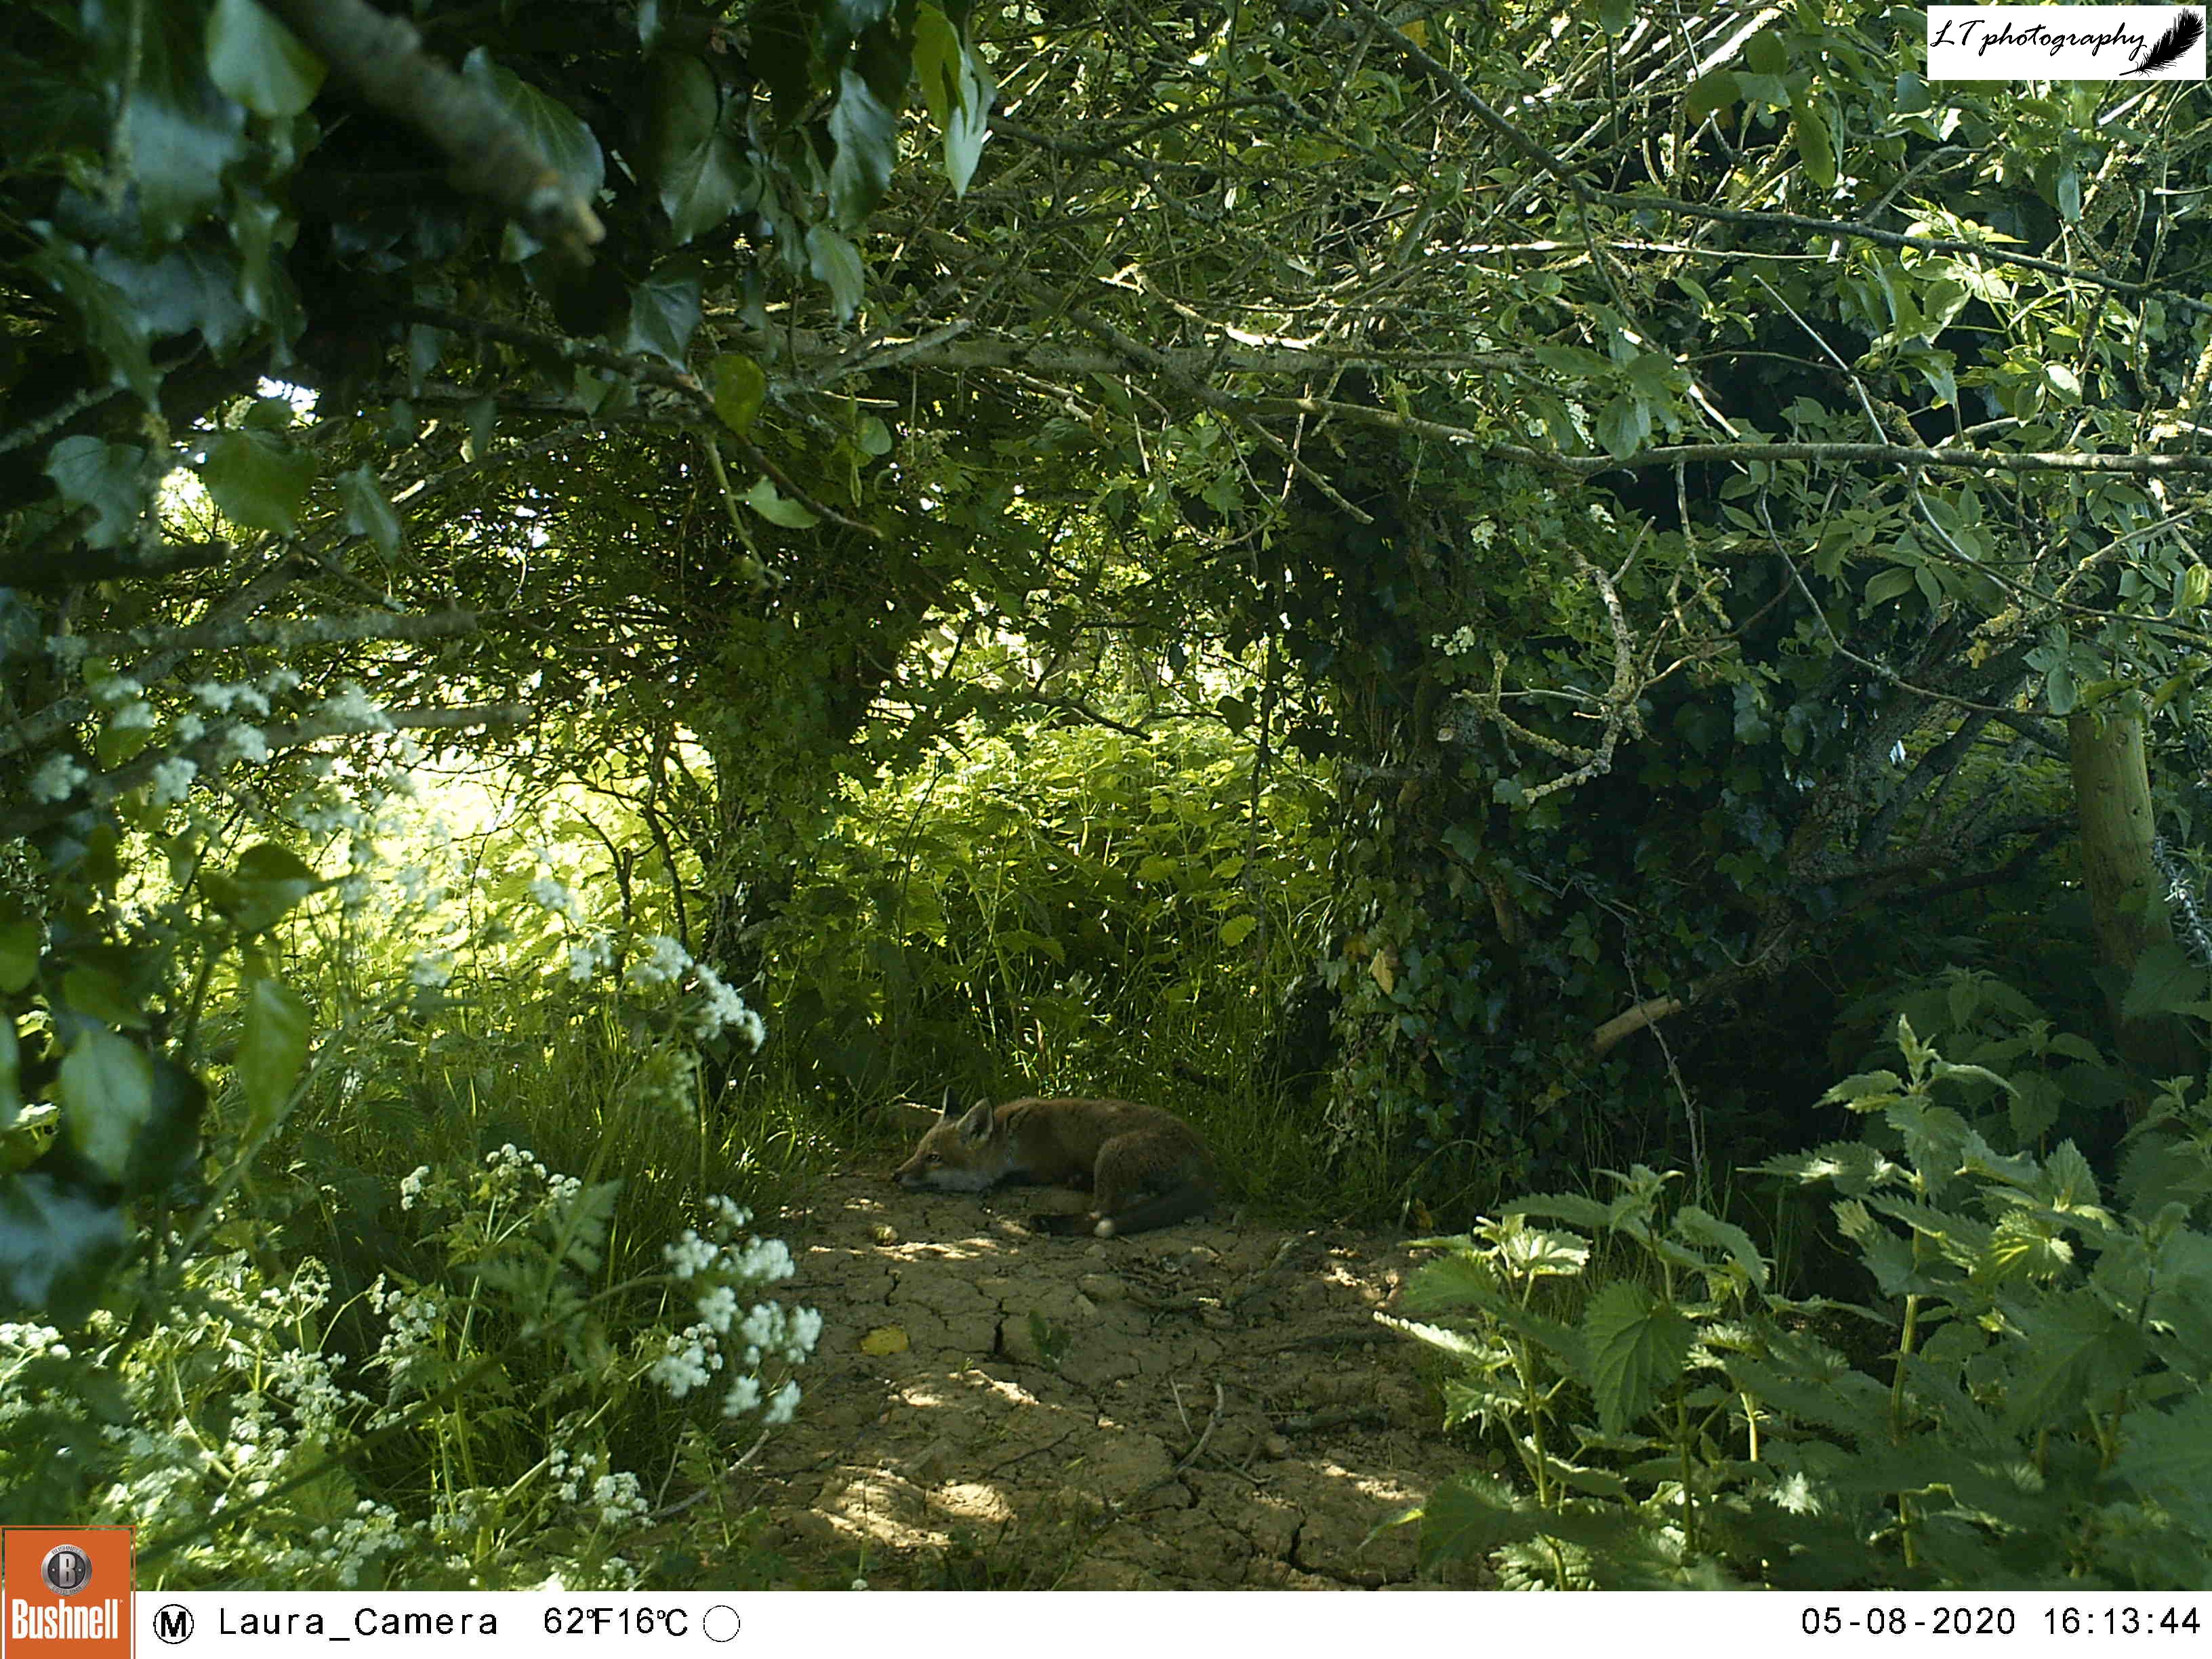
This year Foxes were also popular sights on my camera trap. These ranged from adults and cubs at their dens to being captured on the move, giving me a new insight into their lives and interactions. Roe Deer were also a popular sight on my camera trap as they moved through their habitat and spent time foraging, with does and bucks often being seen separately at these same locations. All wildlife are fantastic to be able to experience in this way though!

When Things Go Wrong!

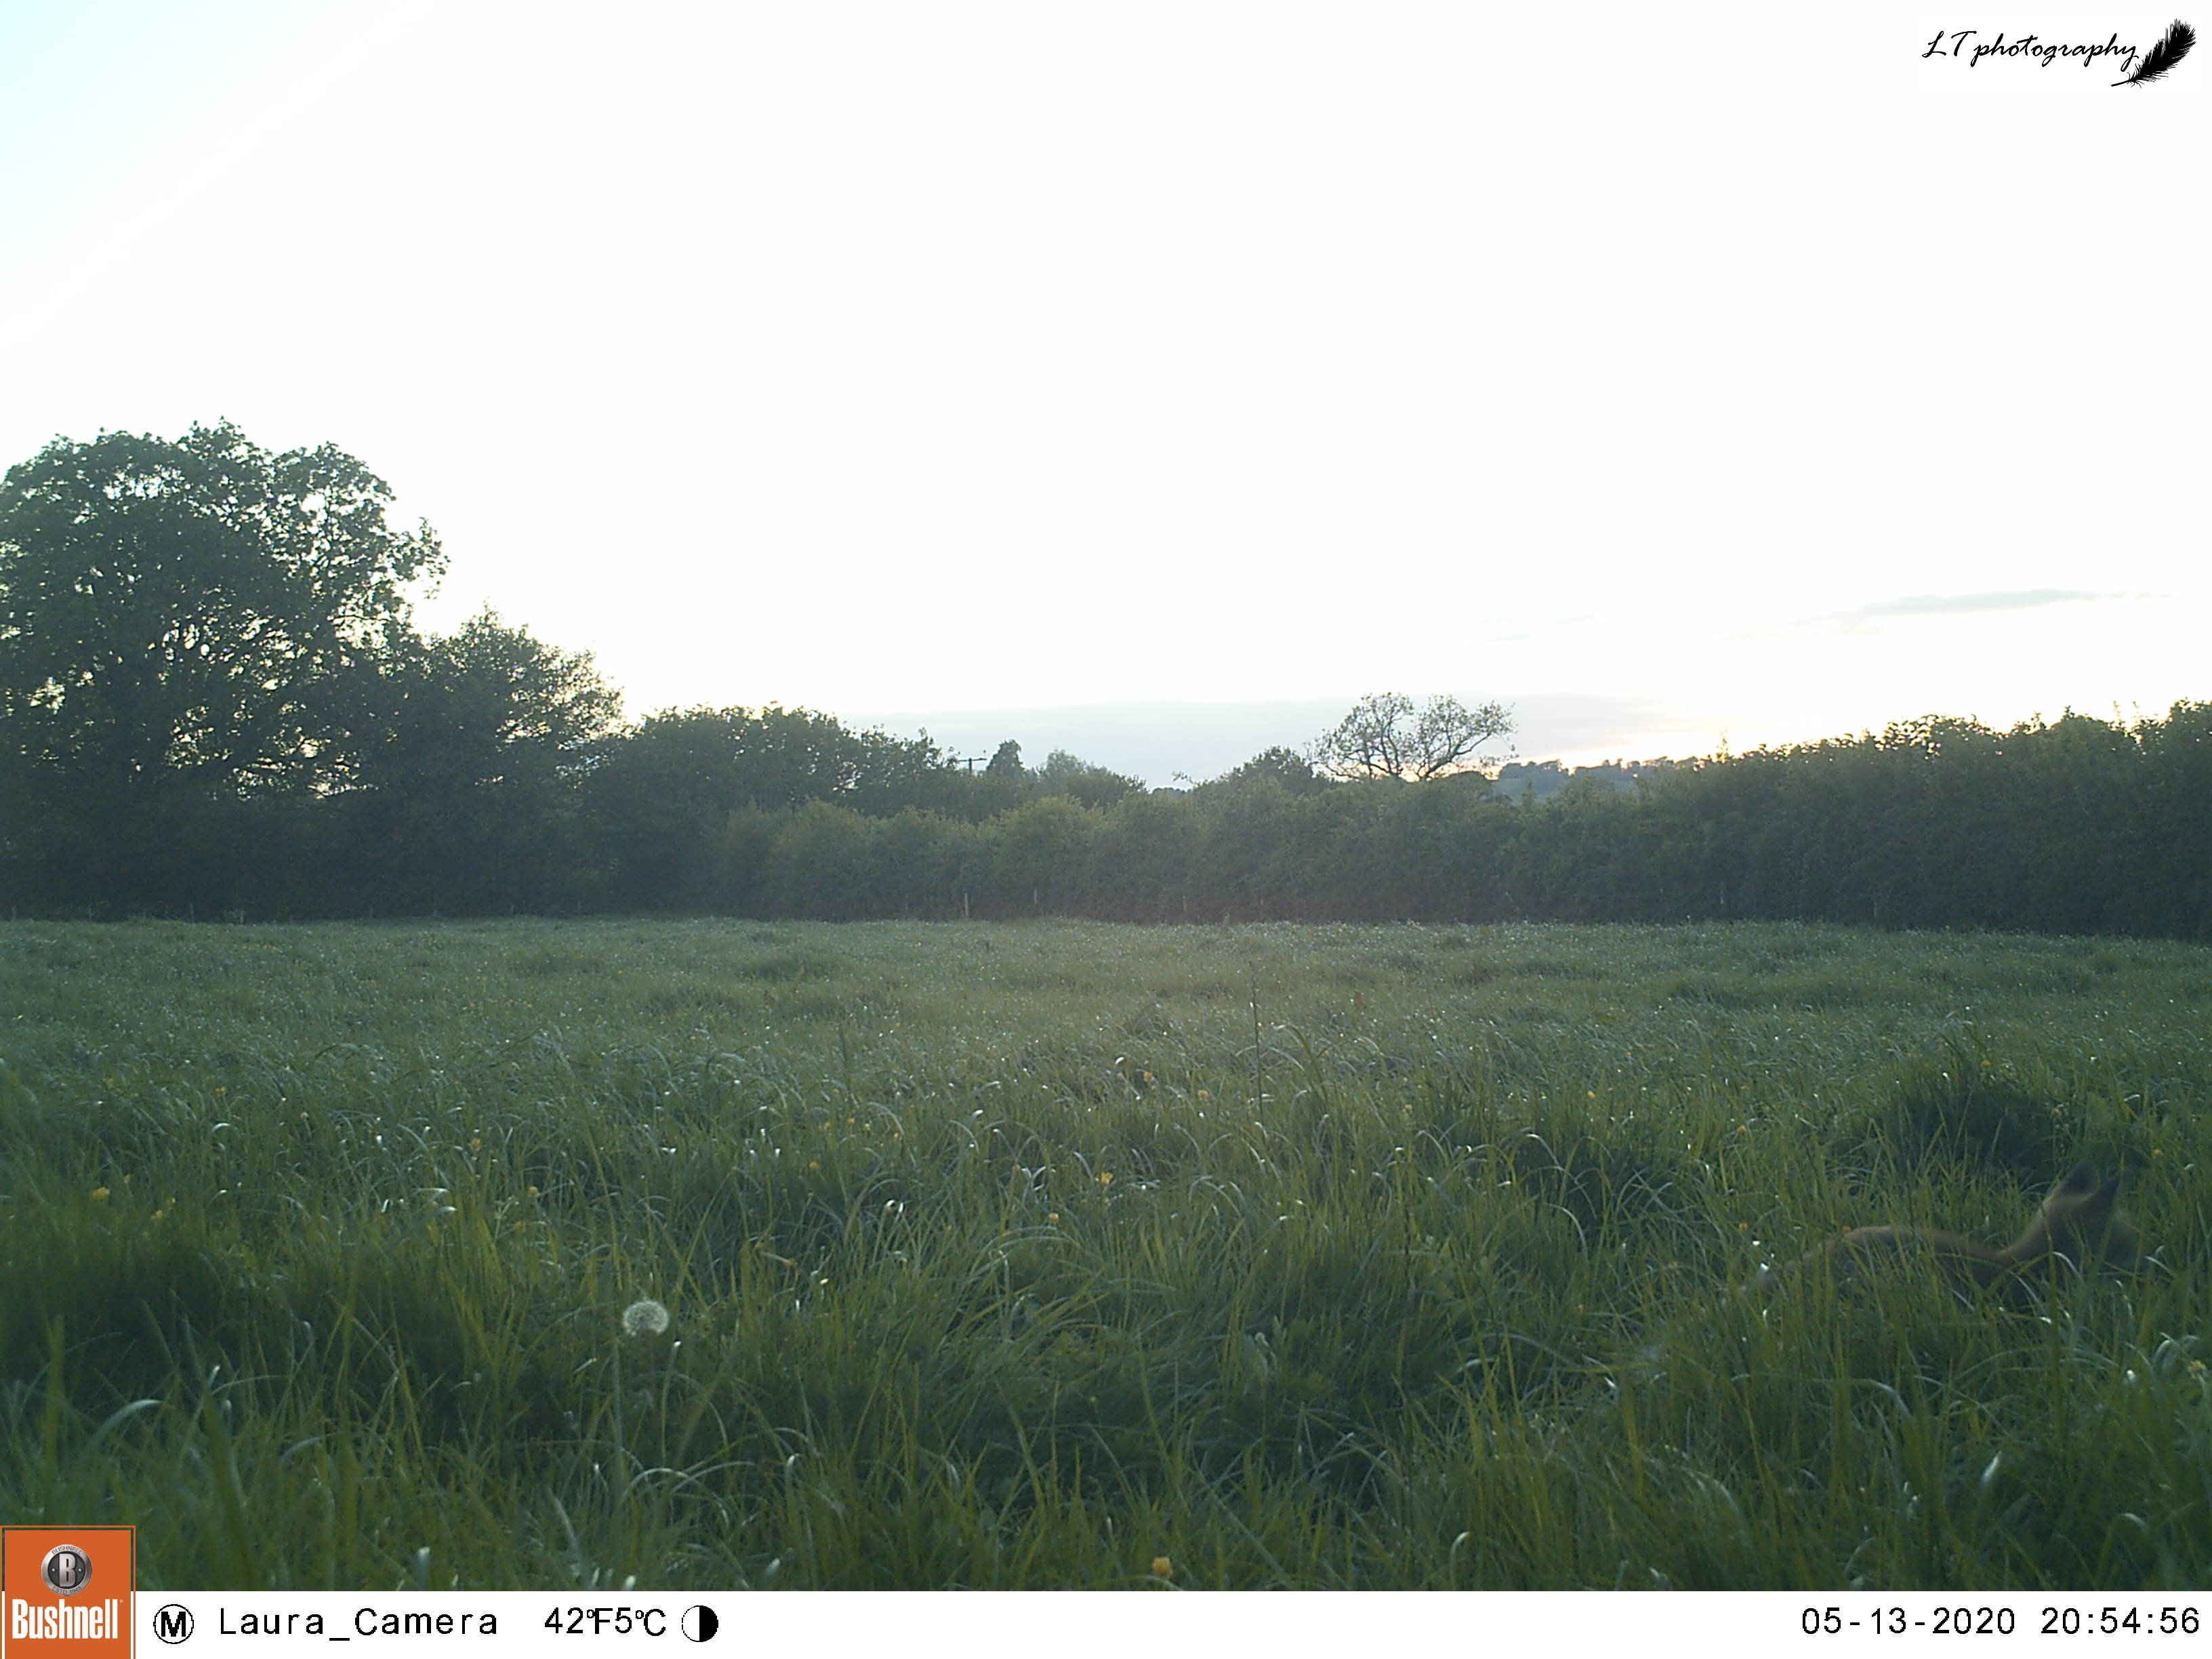
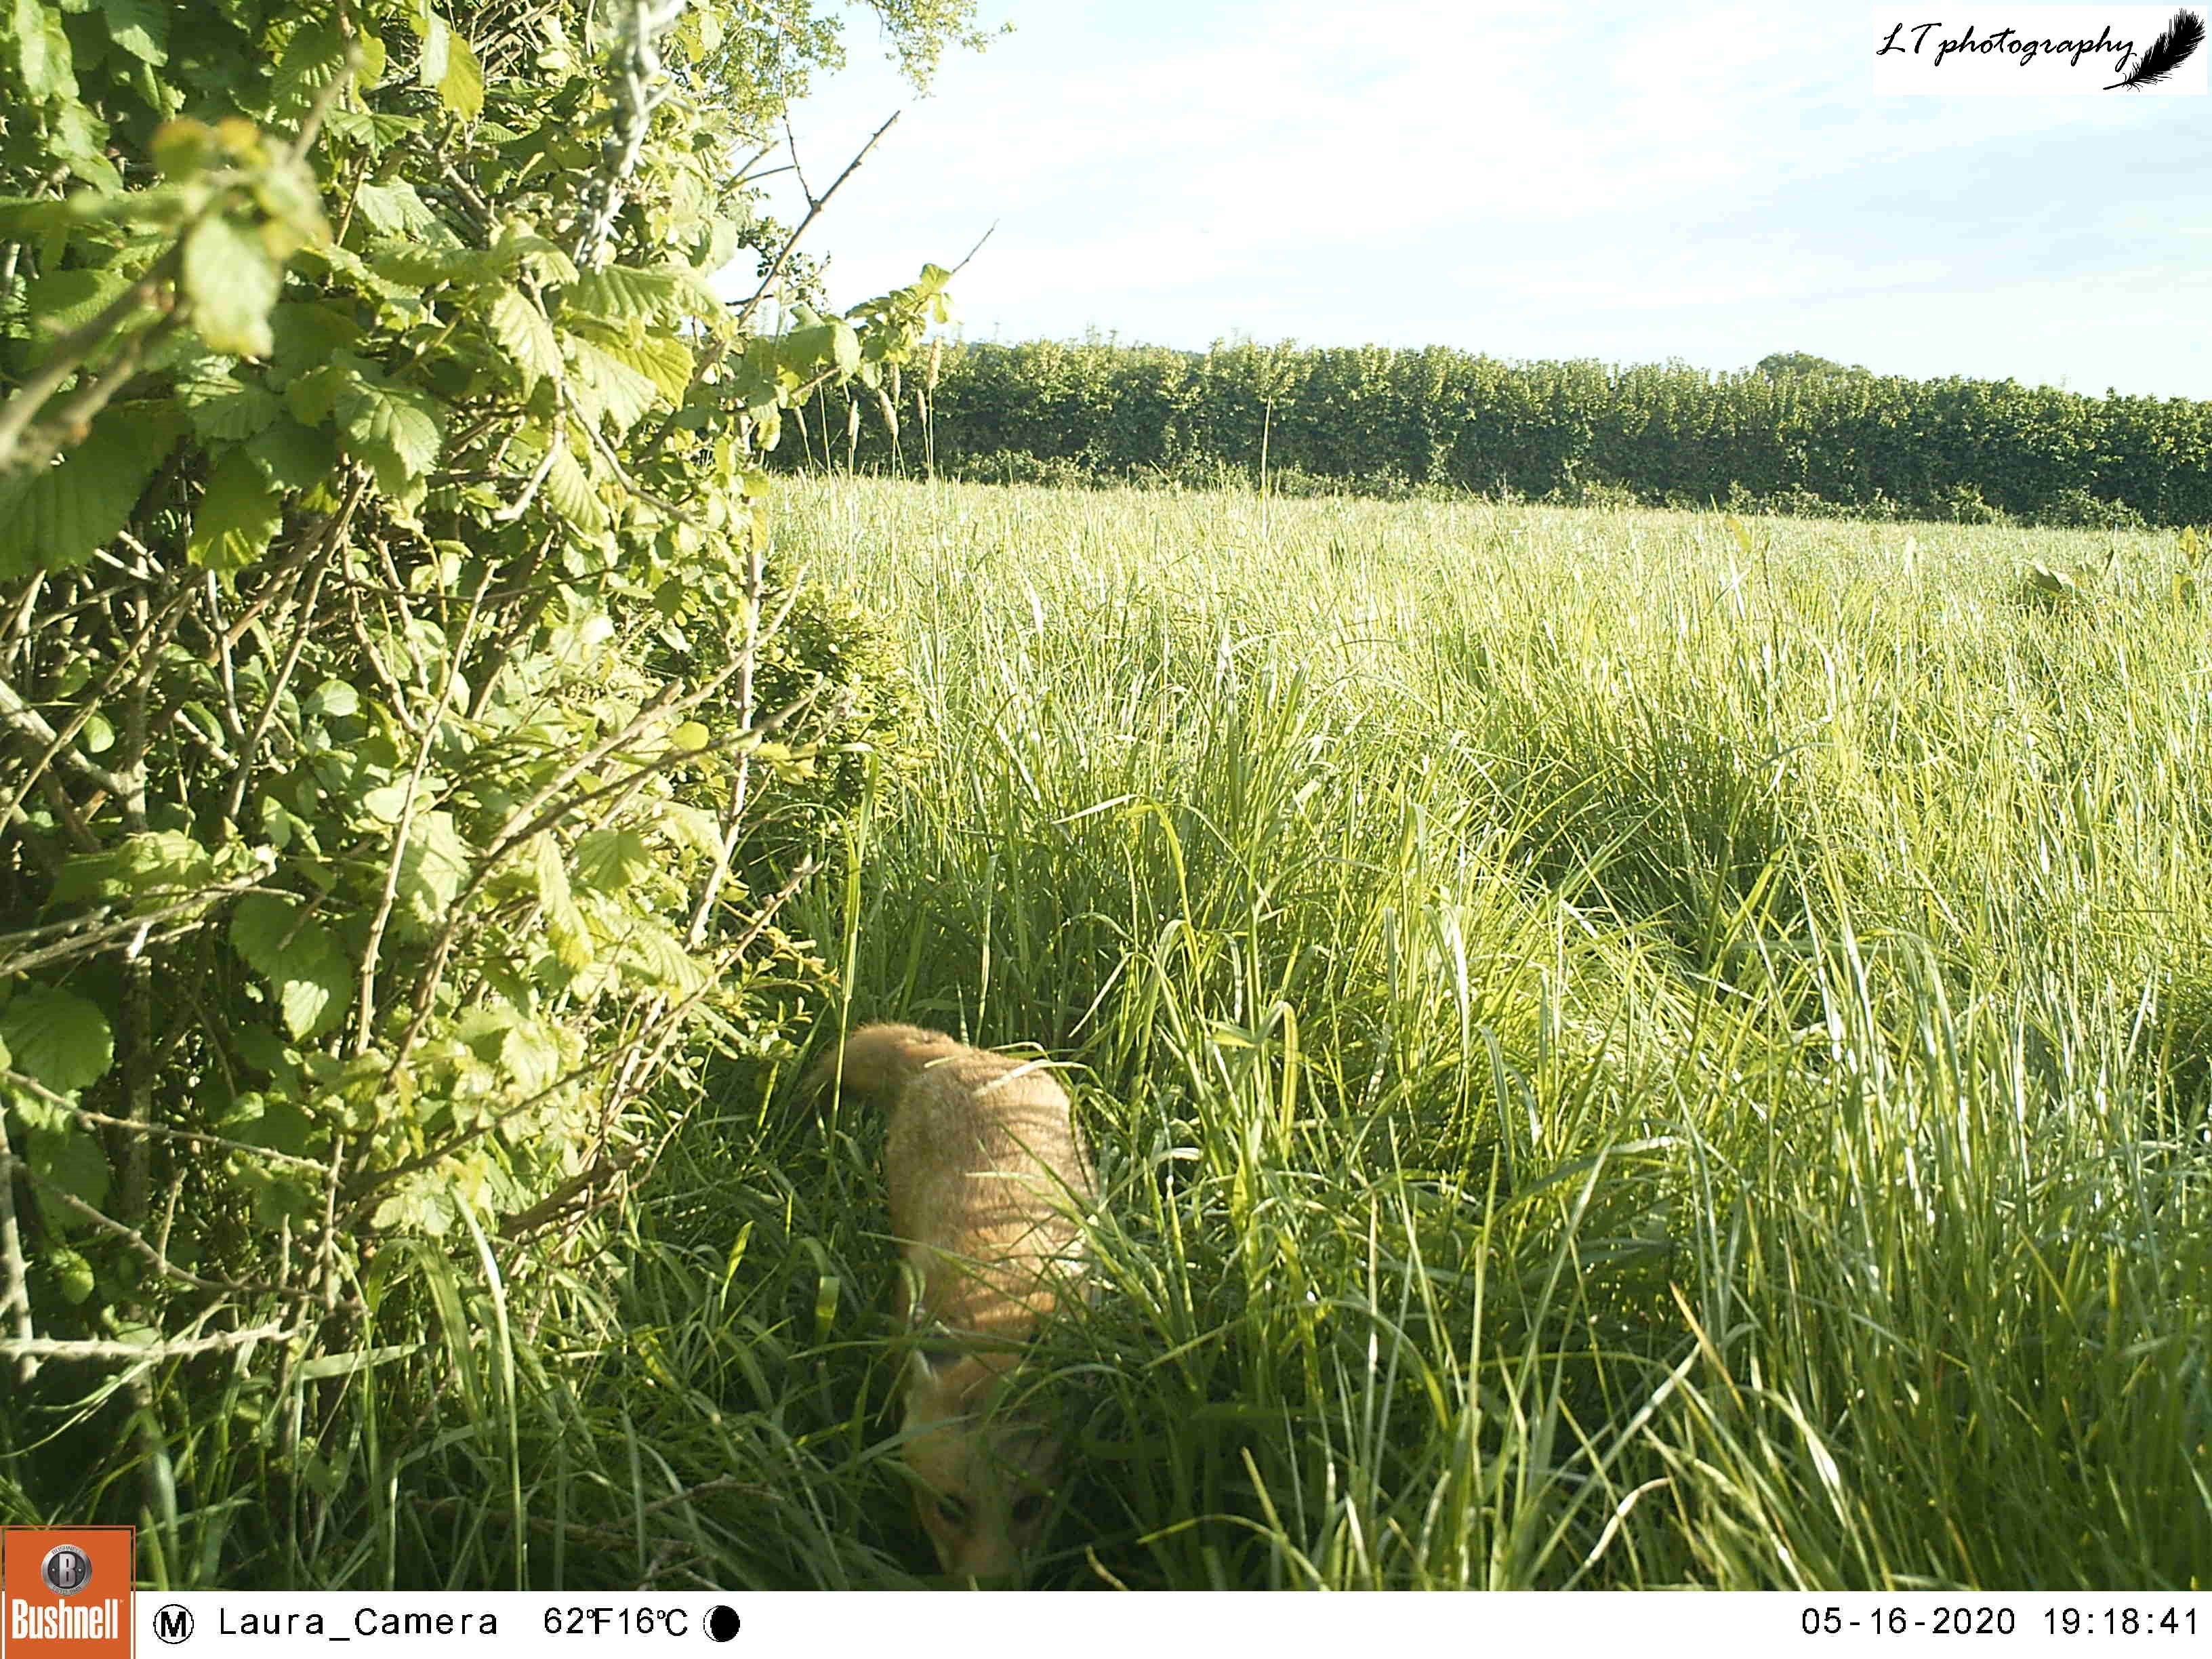
With the highs of camera trapping, there are always bound to be some lows. With many successful days camera trapping this year, my low came in the form of one project not quite going to plan! After sightings of a new fox den at the border of a hay meadow, I set out to try and get photos of this family. Over the course of two weeks I threw all my ideas and efforts at achieving my goal, but over and over again the cubs alluded me. Instead my camera seemed to spend more time capturing the local Roe deer population in this particular location! Here though are some of the glimpses I did catch of this elusive family:

The Best Bit!

There is always going to be one highlight that stands out from a season camera trapping. For me this year my best bit came in the form of a surprise. Whilst having my camera trap out on an active Badger sett for a week in May and then in June, my camera, amongst many photos of Badgers and their cubs, caught some unexpected shots of a lone Fox cub. In my photos, most days the cub would spend its time sleeping and playing alone in the central area of a hedge above a Badger sett. Sometimes it also made an entrance at night, but it was always seen alone. It was an interesting insight into this cub’s more unusual world.

As the natural world now begins to descend into a deep slumber, get out there now and explore, allowing your surroundings to give you strength, whilst leaving nothing but footprints.

How to… Make Your Own Bird Nest Box

As our summer visitors, such as Swallows and Willow Warblers, leave us for sunnier shores, and we wait for our winter returnees, such as Redwings, the world outside our doors is slowing down and wildlife is preparing for the colder times to come. Autumn is a time for extraordinary spectacles, storing up food and changing colours, but also a time for us to do our bit, to help our wild neighbours with their preparations, and to prepare for a new year to come. This can range from cleaning ponds and putting out food, to planting trees and creating wood piles. It is also importantly a time to provide new homes for nature.

Previously, in spring/summer I posted on my blog about how to make a home for nature in the form of a bee hotel (see How to… Make Your Own Bee Hotel). A bee hotel is aimed at providing solitary bees (90% of UK bee species) with a place to nest, and for my blog I made a bee hotel that has now had some success. There are other forms of homes that we can make for wildlife though, for example for different species of bird.

In the UK, more than a quarter of all bird species are of the highest conservation concern, with a decline in breeding birds (44 million) between 1967 and 2009. This means that conserving and creating habitat for birds is an important issue, and something we can all get involved in. One example of an easy way is to put up nest boxes, which mimic natural habitat. They create an effective artificial cavity for birds, providing an accessible alternative for species that are currently experiencing the loss of breeding habitat and winter roosting sites.

Nest boxes come in a variety of shapes, sizes and designs, which will depend on the species of choice and the purpose they need to fulfill. Though you can put up a nest box at any time of year, the best time is right now, ready to be used as a roosting site throughout winter and for breeding in the spring. This way you can increase the chance of your nest box being a success next year. There are no set rules though, so why not try making your own today!

How to Make a Bird Nest Box

What you need:

  • A plank or offcuts of untreated wood, about 15mm thick for insulation
  • Tape measure & pencil
  • Hand or power saw
  • Drill & different sized drill bits
  • Sand paper
  • Hammer & nails
  • Screws
  • Sealant, a piece of rubber or something similar
  • Optional: Hole plate

Step by Step Guide:

  1. Decide on your nest box design. Your nest box will most likely be aimed at a certain species, such as Robins or House Sparrows. You can also choose particular design features, such as a flat or apex roof. For the purpose of this guide though, I will provide instructions to make a standard Tit nest box.
  1. Use a tape measure and pencil to mark out the wood you need, either by creating templates out of paper or cardboard, or by drawing straight onto the wood. For this design you will need 6 pieces: a back (45cm x 15cm); a base (11cm x 15cm); a front (21cm x 15cm); a roof (20cm x 15cm); and 2 side panels (25cm high at the back, 20cm high at the front, and 11cm wide). Use a hand or power saw to cut the wood into the 6 pieces needed.
  1. Next, take the front panel and use a wide drill bit to make a hole towards the top of the panel, at least 125mm up, which the birds will use to enter the nest box. The size of the hole will vary between different species, but for my nest box I made a 25mm hole, aimed at Blue Tits and similar Tit species.
  1. Use sand paper to sand down any rough or uneven edges of the wood, that otherwise could cause problems for birds using the box.
  1. Use a hammer and as many nails as you need to make the back, base, sides and front fit together forming the main body of the nest box. It is often best to mark where the nails will go first and partially drive each nail through the first piece of wood first (e.g. the back), which will make nailing the pieces together easier and help avoid splitting the wood.
  1. Attach the roof to the box using screws that you can later remove when needing to clean the nest box out. Seal the gap between the roof and the back of the nest box with either flexible sealant or an attached flap of recycled rubber.

Optional editions: Add a nest box hole plate to the front of the box to prevent predators from enlarging the nest box hole and larger bird species using the box. Also, you could apply a water-based wood preservative product to the outside of the box to prolong its life and help to repel water.

Tips on putting your nest box up

  • Unless there is shade during the day, position the nest box facing between north and east to avoid strong sunlight.
  • Choose a location which is 2-4 metres above ground level, out of reach of predators, and away from constant disturbance.
  • Make sure there is a clear flight path to the entrance of the nest box and that there is shelter from bad weather.
  • Place your box away from the location of any other nest boxes to reduce the chances of competition.
  • Avoid using nails to attach the box to a tree, as they may cause harm. Instead try to tie the box to the trunk or hang it, or otherwise use stainless steel screws or nails that do not rust.

Enjoy!