There is nothing like the exhilaration of camera trapping. Setting up the camera trap/trail camera in a golden location, waiting with anticipation for the camera check day, and riding a rollercoaster when capturing something totally unexpected. Camera trapping is one highly addictive activity!

So why is camera trapping so popular? Well, camera traps allow us to non-invasively open up a normally unseen world. This is a thrilling thing to be able to do, giving us the addictive ability to observe wildlife up close and personal without disturbance. In this way, camera traps can be used as an important tool to identify the presence or absence of species, monitor animal populations and record interesting behaviour.

At home on my family’s farm, I use my camera trap to carry out surveys across our land, to find out what wildlife is present, how abundant these species are, and to experience new life in spring in all its glory. However you choose to use your camera trap, I can only say for you to have lots of fun and adventures whilst doing it!

Buying a camera trap
So where do you start if you do not already own a camera trap? Well all off-the-shelf camera traps have similar components and operate on the same principles: a digital camera connected to an infrared sensor that “sees” warm moving objects. Camera traps typically range from £30 to £1000, meaning there is a lot of choice out there. To find the camera trap that is right for you though, you should consider these key questions:
- How much are you willing to spend?
- What are you going to be wanting to use it for?
- Where are you going to be using it?
- Do you want to use it during the daytime, night-time (black and white or colour) or both?
- Do you want to take photos, videos or both?
- Will you want increased capabilities, such as wireless, geo-tagging or higher detection capabilities?
The camera trap I use is a simple Bushnell model that I bought many years ago now for about £120.


How to use a camera trap to get the best from it
Camera traps have a lot of potential as they can remain operational 24/7 and can be left in the field for long periods of time. To increase your chance of camera trap success though, you need to set it up properly to maximise animal detection. Here are some handy tips to get you started:
- Visit your chosen site before setting up your camera trap to make sure it is the best site possible.

- Do not forget to make sure your camera has another battery life and SD card room each time you set it up.
- Carefully select where to mount your camera trap, such as a sturdy tree or post, to make sure your camera will be supported and positioned to take in your chosen field of view.

- Consider the height of the animal(s) you are trying to capture to increase detection and inclusion in the frame. For the best result, position your camera trap so it sits just below the target’s shoulder height.

- Camera angle is as important as height when positioning the camera trap. For best result and to increase the detection range, you want the camera trap to aim horizontally at the subject. A stick is a great way to get a better angle for your camera.

- Think about where you want the animal to be positioned in the frame. Larger animals are easier to detect so will be detected at longer ranges compared to smaller ones, and animals walking across the camera trap’s field of view will be more easily detected compared to walking towards it.

- Try to reduce the number of false triggers by trimming back vegetation that could trigger the camera if moving in the wind. Do not remove enough to disturb your intended subjects though!
- And always do your research! The more you know about a site or species, the more likely you will get results.
Inspiration for camera trap sites and uses
Over the few years I have owned my own camera trap, I have used it for a number of different purposes and in a variety of locations. Here are some examples of my own work to help inspire you:
- Abroad – In 2017, I was lucky enough to spend 2 weeks in Costa Rica on a field course for my Bachelor’s degree, and so I decided to take my camera trap along with me. This allowed me to get some cool sightings of some interesting wildlife


- Badger setts – A popular choice for a camera trap site is at a badger sett. With 3 established badger setts on my family’s land, I have previously had all sorts of interesting results by observing setts in this way. In particular, it has always been great to see how different species cohabit such locations.


- Paths – A great place I have found to put my camera trap is on an enclosed footpath on our land. This is because the path, fondly known as Badger Alley, is bordered either side by hedges, is in the vicinity of used and disused badger setts, and is frequently used by wildlife but infrequently by humans. Always be aware of how safe a camera trap may be on footpaths though!


Garden – One of my all time favourite projects I used my camera trap for, was to get photos of our own special garden visitor in October 2018. I love getting to see the wildlife that is truly on our doorstep!

- Woodland – I have previously found that a woodland can be an interesting place to capture wildlife. The result can often be unexpected or interesting, with less of an idea of what might turn up.


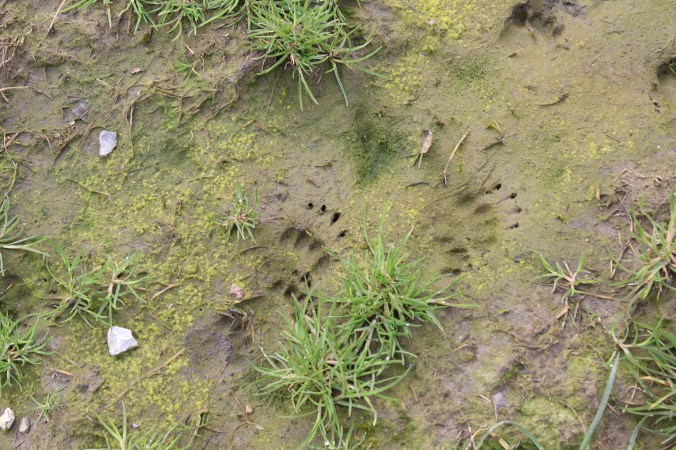
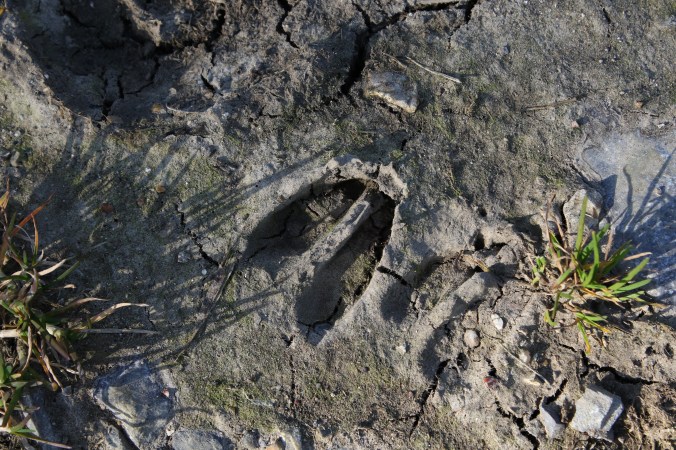
Animal trail – Another great way to try and capture the wildlife that is in your local area is to find and set up your camera trap on a well used animal trail. It is interesting to find out what animals are actually making those tracks!


Specific animals – Often when camera trapping, you want to capture a specific animal, which leads to research and setting up the camera trap in a position where this animal has been sighted. Relating to this, my other favourite camera trap project has been to capture fox cubs above ground and to observe their behaviour. This has resulted in many cute photos over the years!


Now it’s your turn! Even if you do not own/want to own a camera trap, there are always ways around it, for example why don’t you see if you can borrow one from somewhere or someone.
Though camera trapping does not always go to plan, the results can be truly satisfying. Time to see what you can find!
For more camera trap action, check out my blog post from last year called: Spring Countryside Camera Trap Surveys