How to… Identify All Year Round Garden Birds

Photographs will be updated in the future

In the UK, 633 wild bird species have been recorded up to 2024, from eagles and owls to kingfishers and thrushes. Between 2015 and 2020 though, almost half of all bird species in the UK were seen to have experienced a decline in number, adding to a steady decline over 50 years. Some of the biggest factors have been increased development, agricultural intensification, habitat loss, lack of woodland management, disease, and climate change, amongst others.

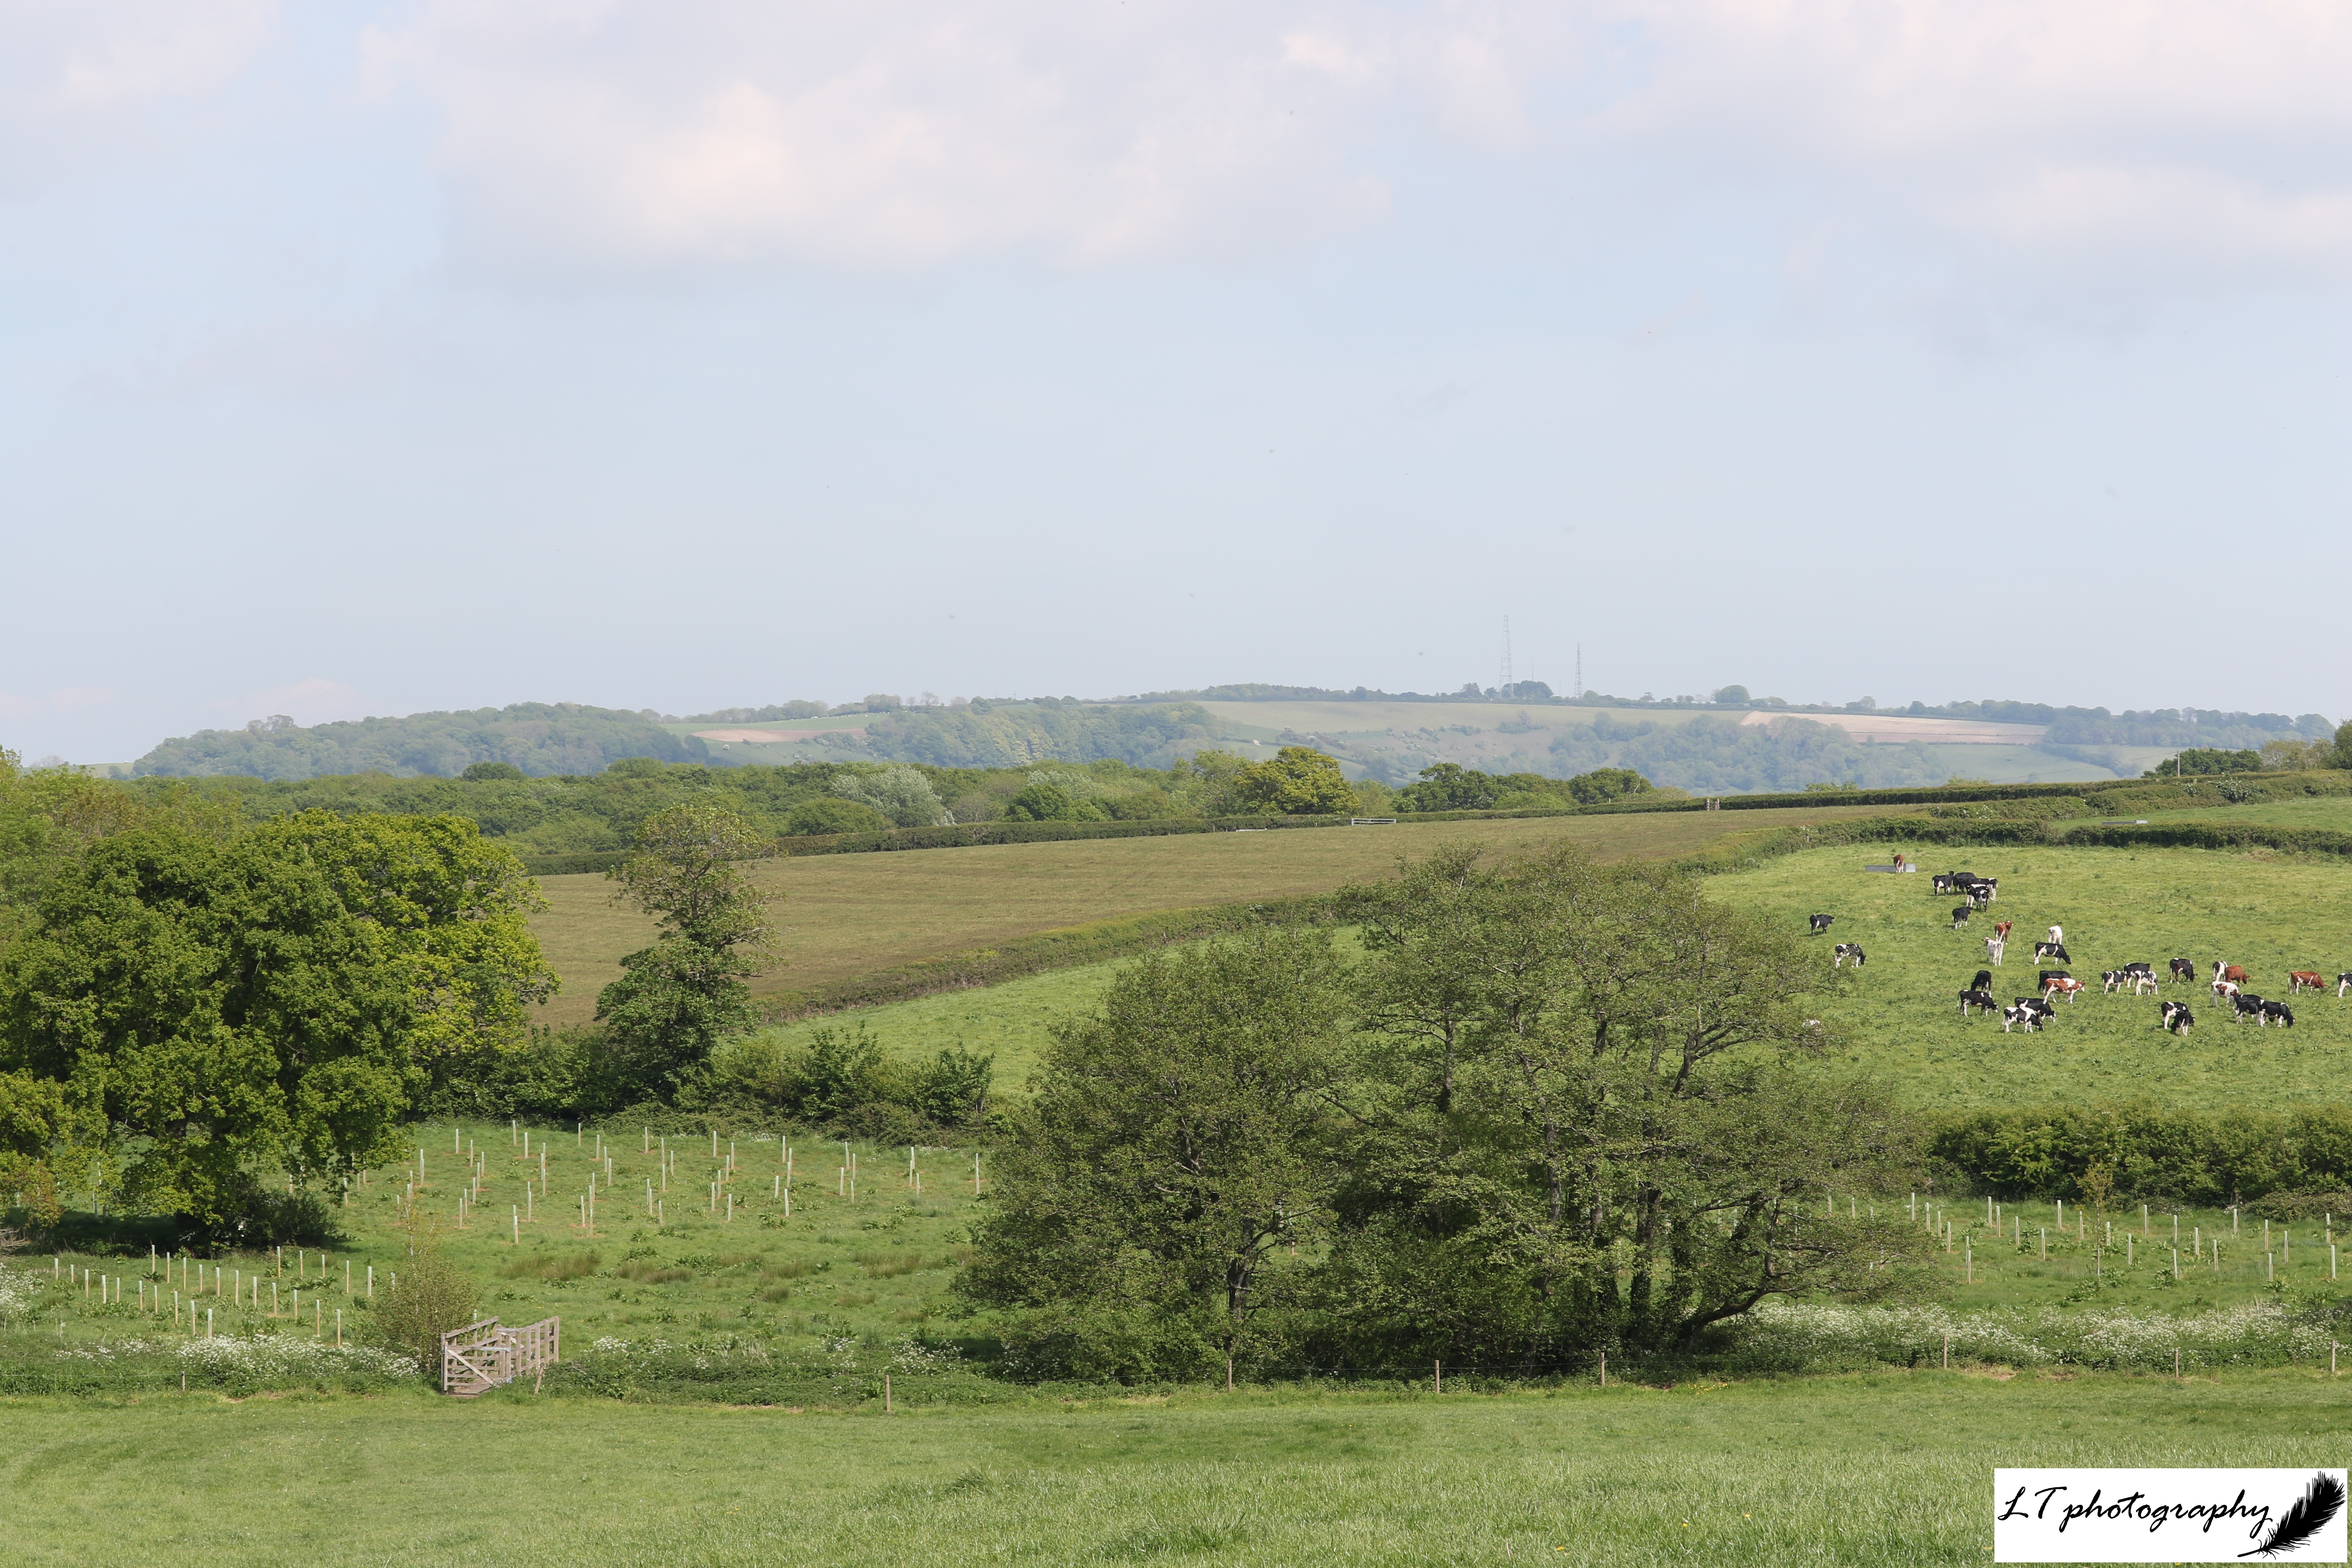
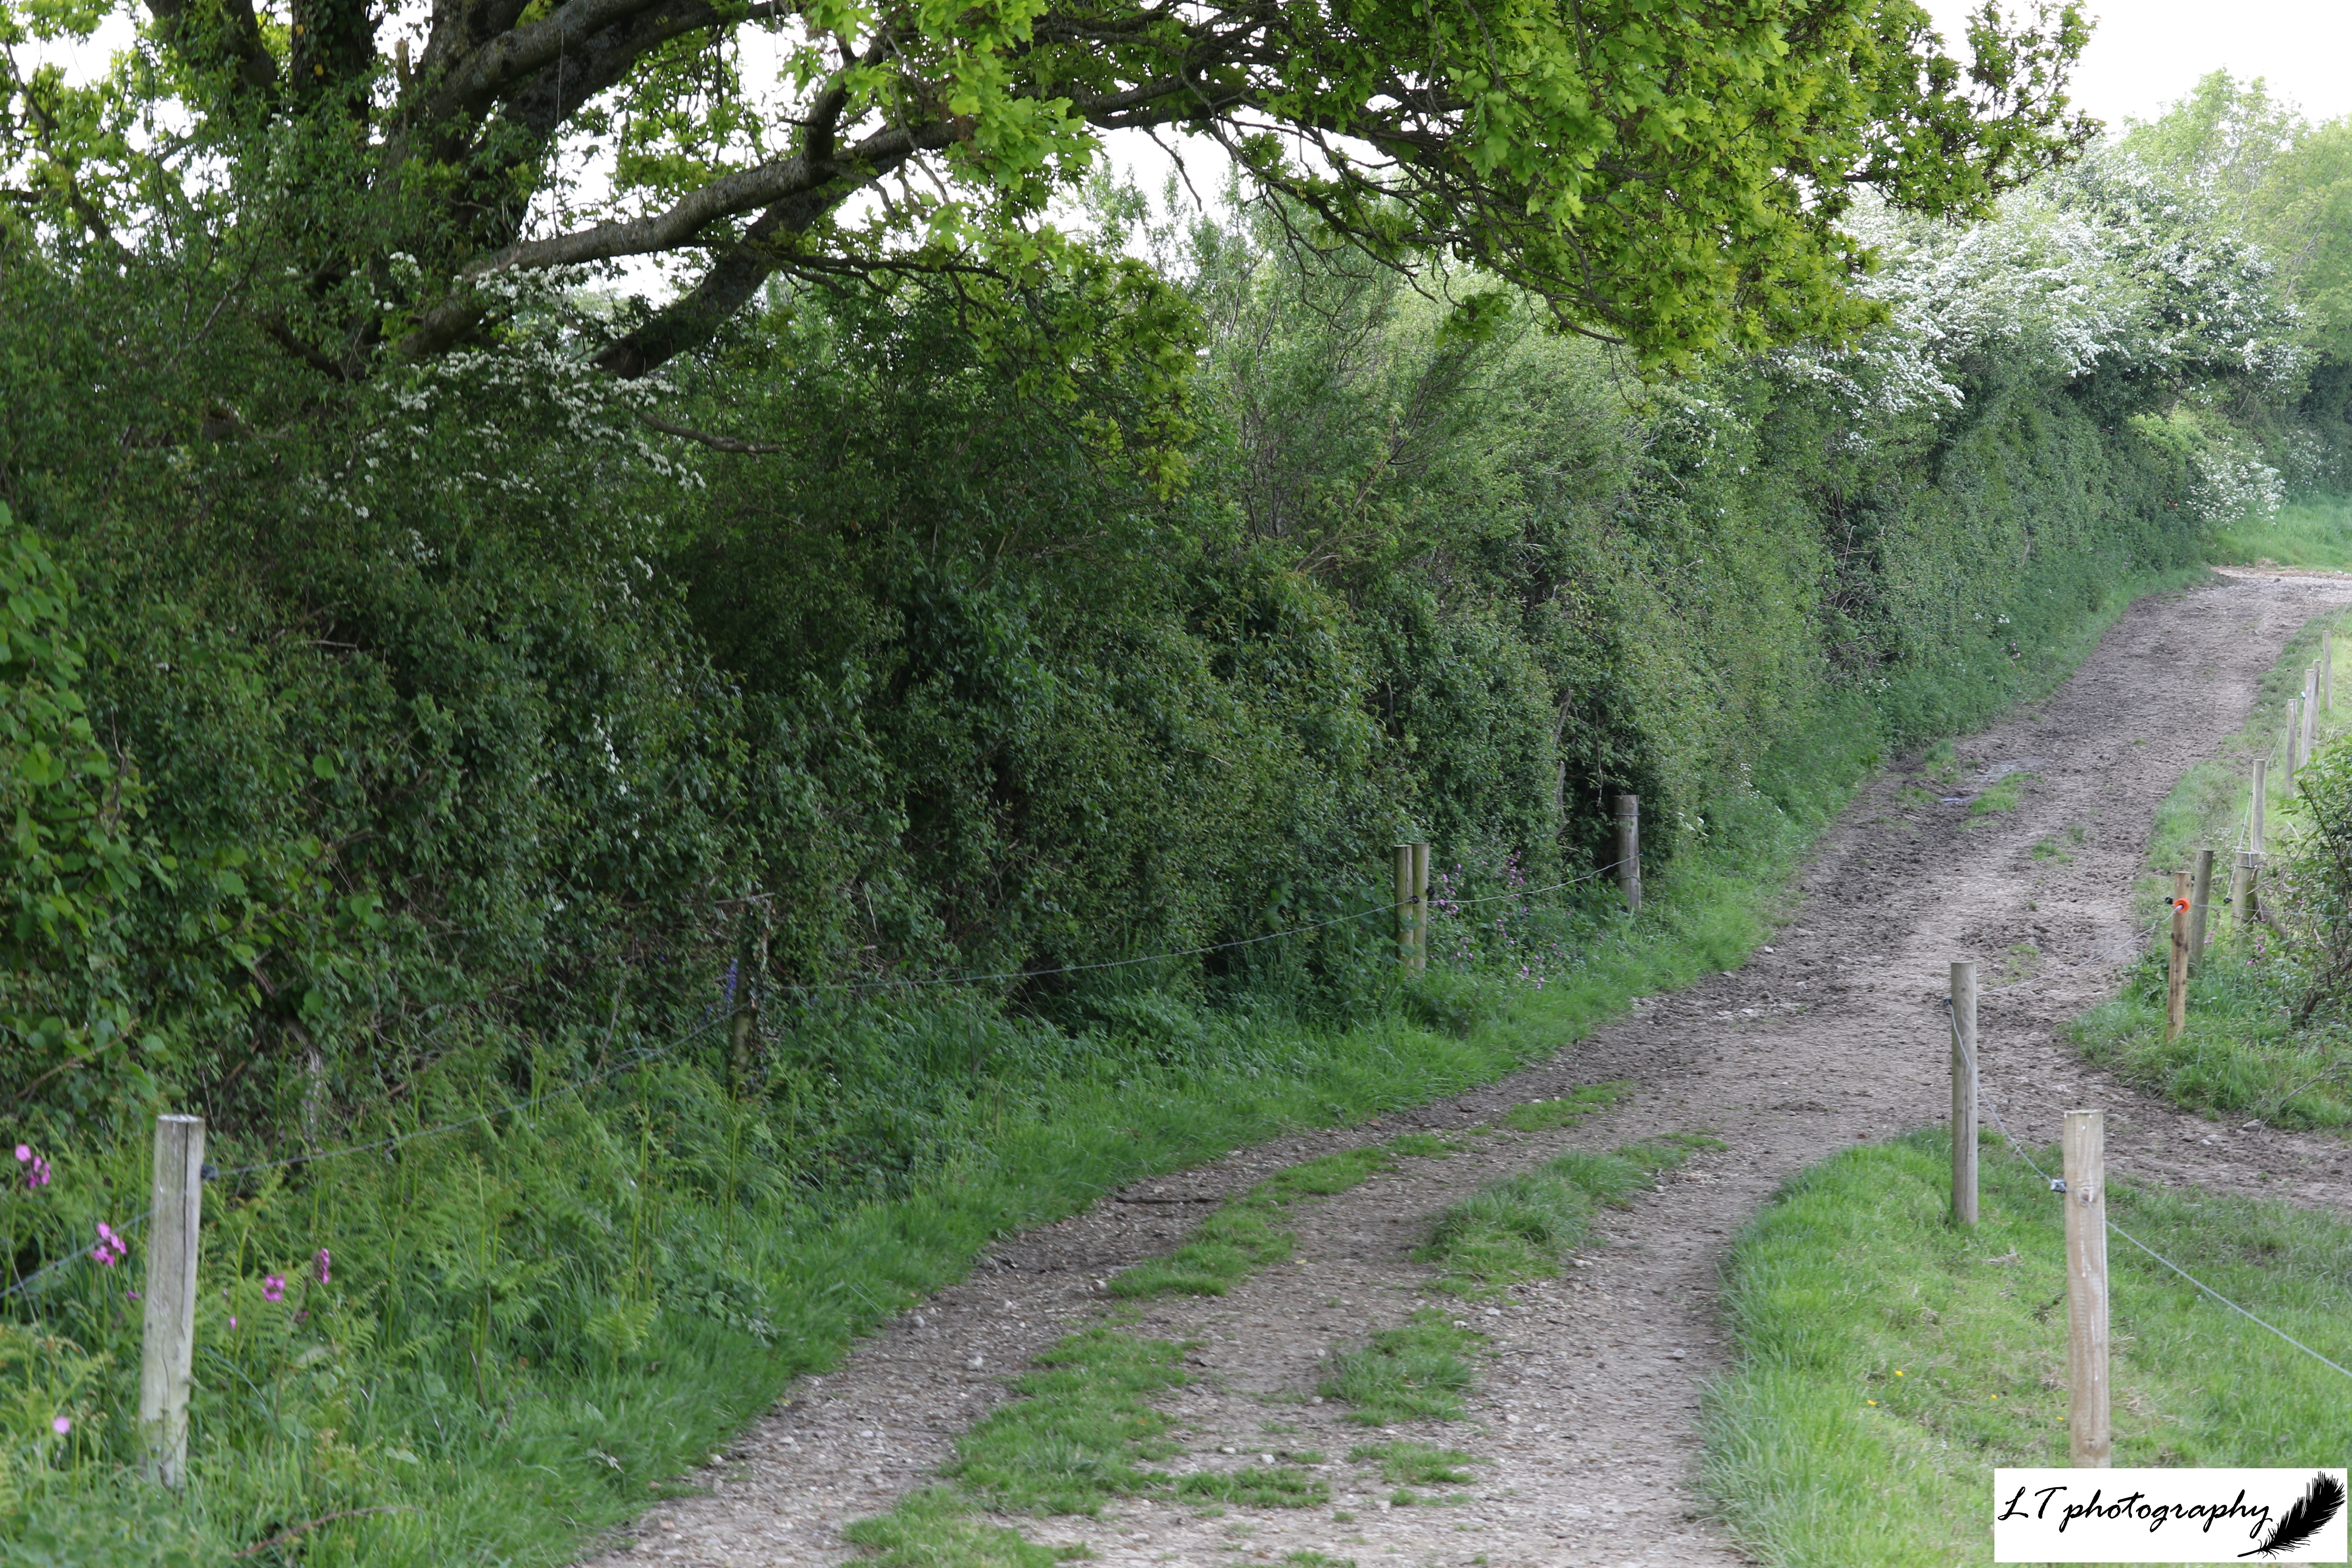
As bird species continue to lose access to habitat and food sources across the UK, our gardens, however big or small, are becoming an important lifeline for populations. ‘Garden birds’ refer to any species that visit and utilise a garden, and species will depend on what food, water, and habitat is available, and also the habitats that can be found around a garden. This often leads to variation in what people may see from garden-to-garden.

Despite differences, there are a number of birds that are more likely to be seen in gardens, and it is great to know what you may be seeing to help easily tailor your garden for their use, such as what bird food to offer. To help identify species, here you can find a helpful guide to 10 birds that can often be seen in gardens across the UK, even when their populations are decreasing in number. Take a look below!

Species:

Common Blackbird (Turdus merula)

  • Length: 23.5 – 29cm
  • Weight: 80 – 125g
  • Colour: Adult males are all black with a yellow beak, whilst adult females are dark brown with a more dull beak. Young start as a speckled version of the female and change to adult feathers through moulting their feathers
  • What To Feed: Mealworms, fat balls, or sunflower hearts on the floor or in a ground feeder
  • Breeding Season: March to Late July
  • Nest: A round cup made of twigs, grass and other plant materials, close to the ground in adequate cover
  • UK Conservation status: Green

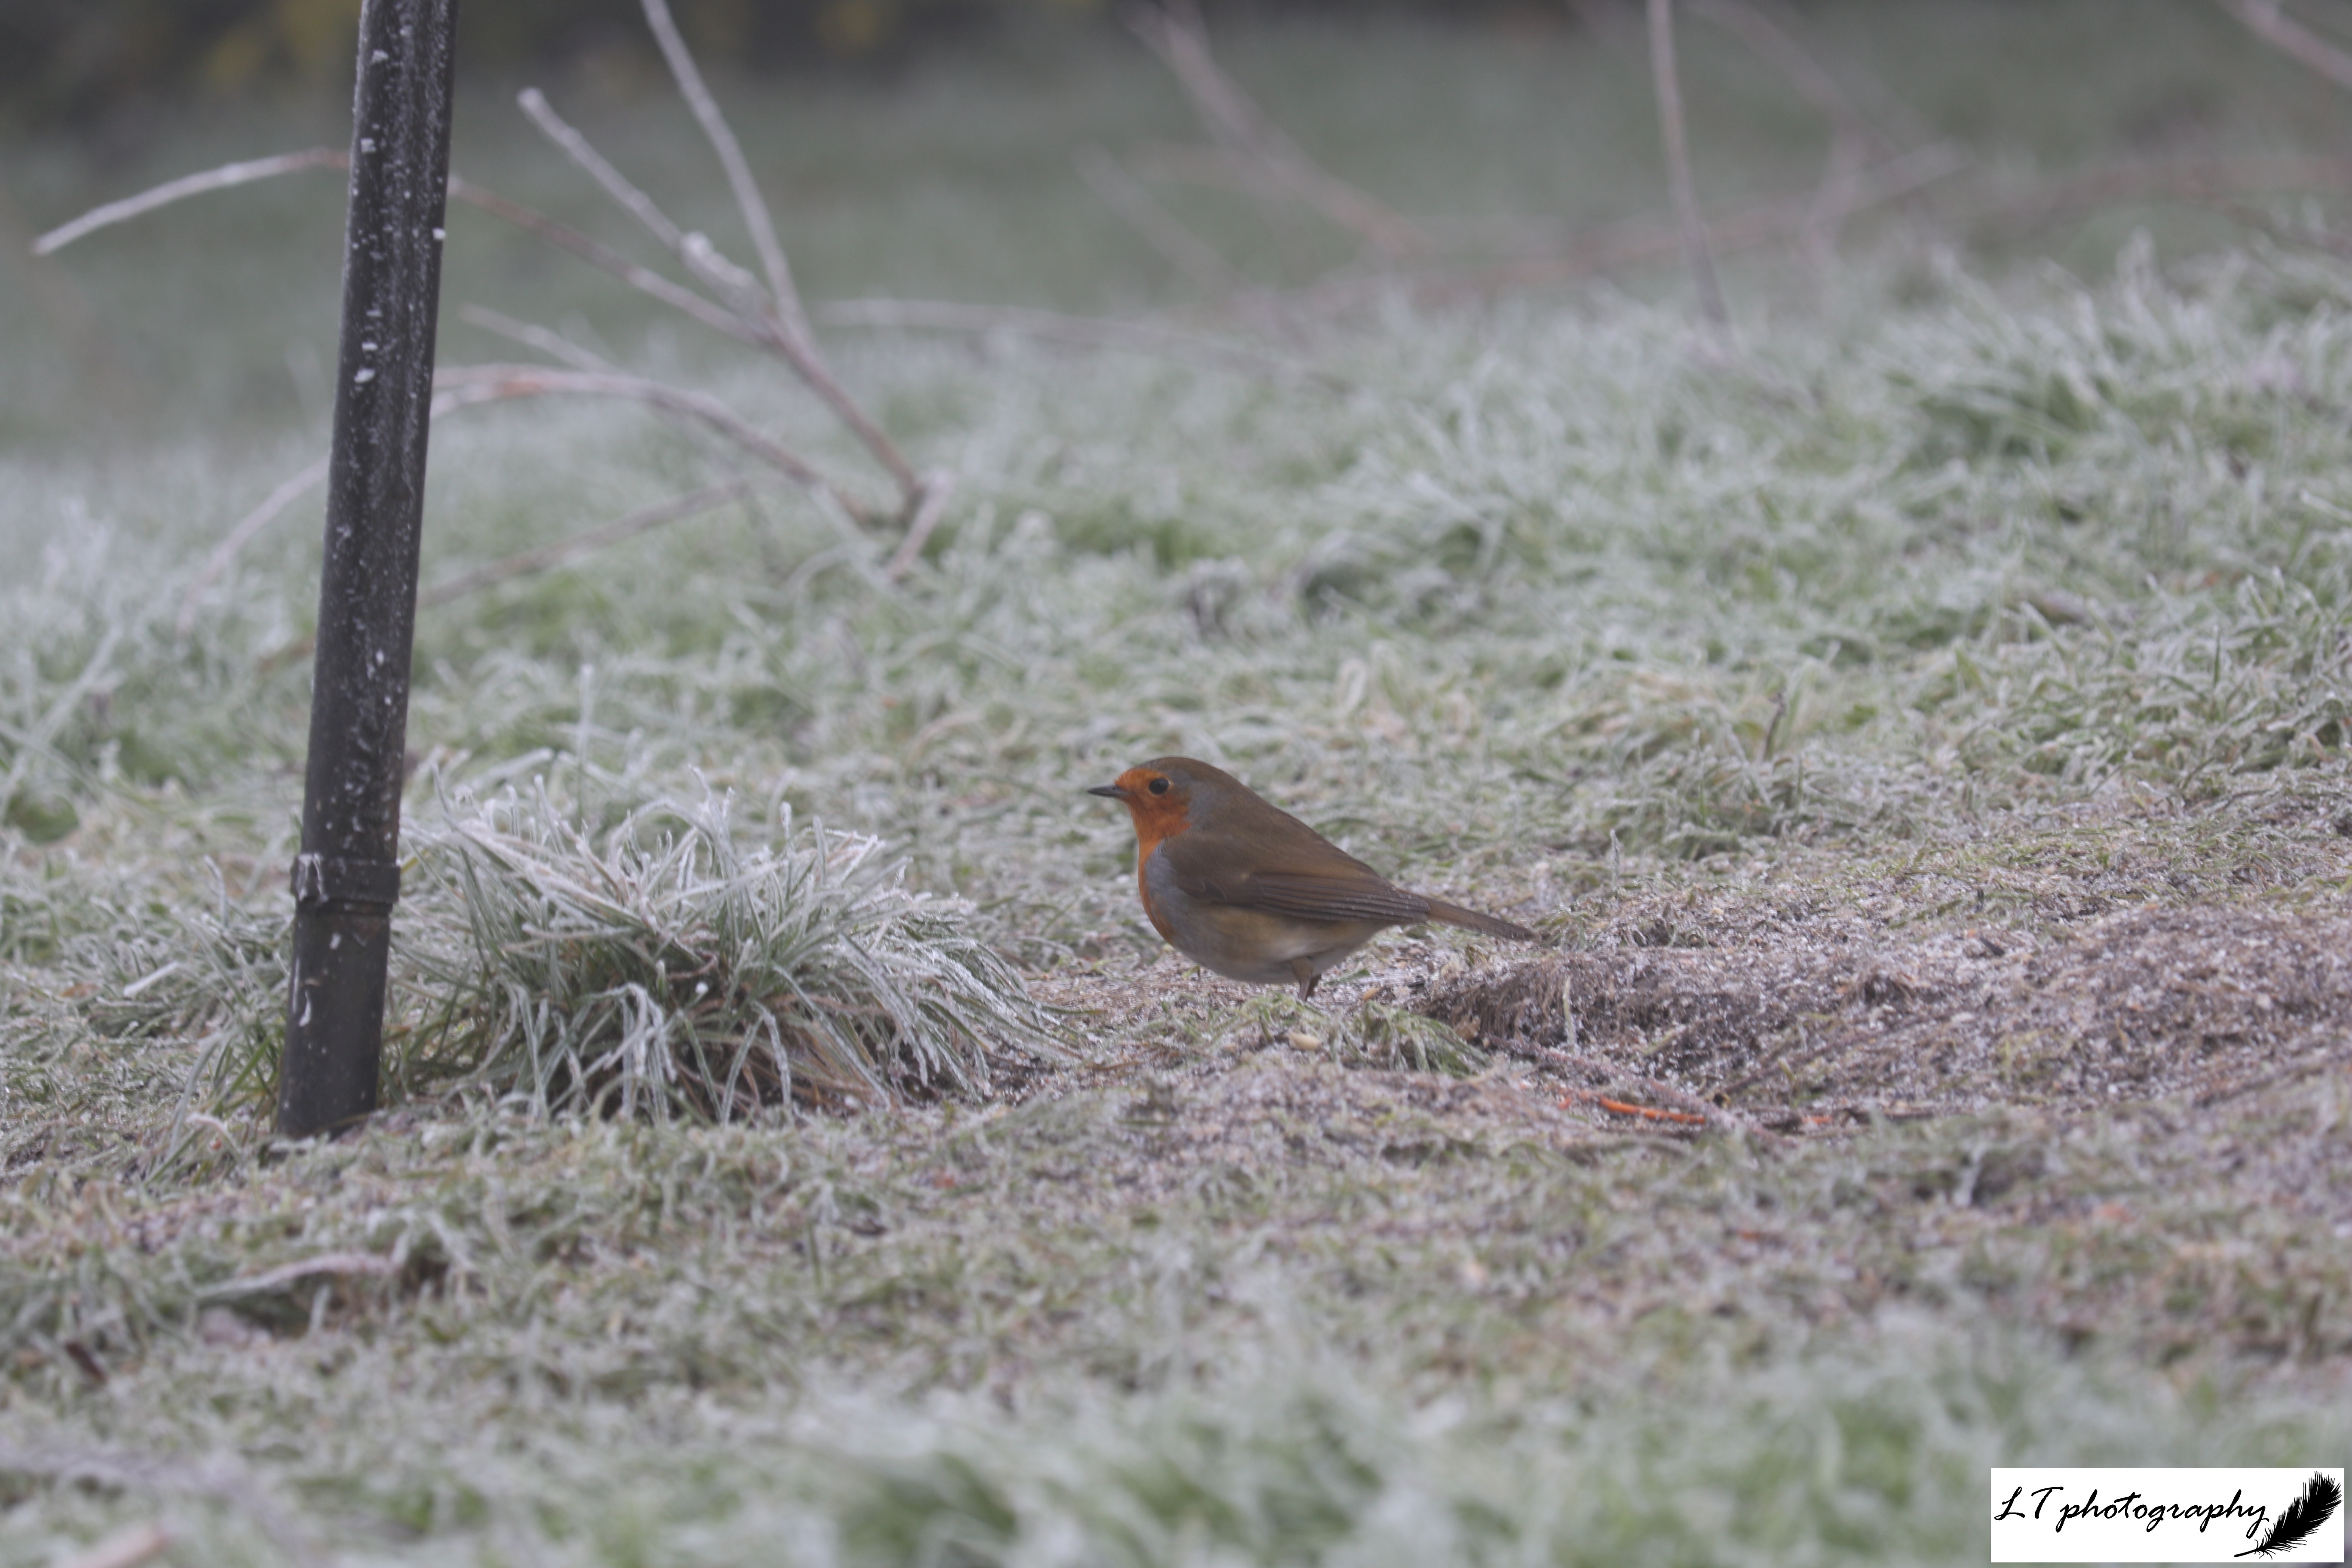
European Robin (Erithacus rubecula)

  • Length: 12.5 – 14cm
  • Weight: 13 – 21g
  • Colour: Adult males and females look the same, both brown with an orange-red breast and white underside. The young start a speckled brown
  • What To Feed: Mealworms, suet, or seeds on a ground feeder, bird table or bird feeder with platform
  • Breeding Season: March to mid-August
  • Nest: A round cup made of grass, moss and leaves and lined with hair and maybe feathers, usually tucked in a hole, crevice or behind something
  • UK Conservation Status: Green

House Sparrow (Passer domesticus)

  • Length: 14 – 16cm
  • Weight: 23 – 35g
  • Colour: Adult males have a grey crown and cheeks, chestnut sides to head, black bib, grey underparts, rufous-brown back, and white wing-bar. Adult females and young (until body moult) have buff-brown upperparts, underparts grey, brown cap and cream supercilium behind eye
  • What To Feed: Will eat a range food, including seeds and grains from feeders
  • Breeding Season: March to August
  • Nest: In cavities, where dried plant material is stuffed in to make an untidy sphere which is then lined with softer materials, such as feathers
  • UK Conservation Status: Red

Blue Tit (Cyanistes caeruleus)

  • Length: 13.5 – 15cm
  • Weight: 9 – 13.5g
  • Colour: Blue crown, wings and tail, white cheeks, black eye-stripe, underparts yellow, and greyish-black central belly stripe. Their young begin with more dull feathers and yellowish cheeks
  • What To Feed: Fat balls, suet, peanuts, or sunflower seeds from hanging feeders
  • Breeding Season: March to June
  • Nest: Built inside cavities and formed of a cup of plant material, such as moss, lined with soft materials, such as feathers, wool and fur
  • UK Conservation Status: Green

Great Tit (Parus major)

  • Length: 13.5 – 15cm
  • Weight: 14 – 22g
  • Colour: Black head with white cheeks, moss-green back, blue-grey wings and tails, yellow underparts and black central belly-band. Males have wider, more defined belly-band. Young begin more dull and with yellowish cheeks
  • What To Feed: Suet, fat balls, peanuts, or sunflower seeds in hanging feeders
  • Breeding Season: March to July
  • Nest: Built inside cavities, formed of a cup of twigs, roots, moss, lichen and/or grasses, and lined with soft materials, such as hair or plant material
  • UK Conservation Status: Green

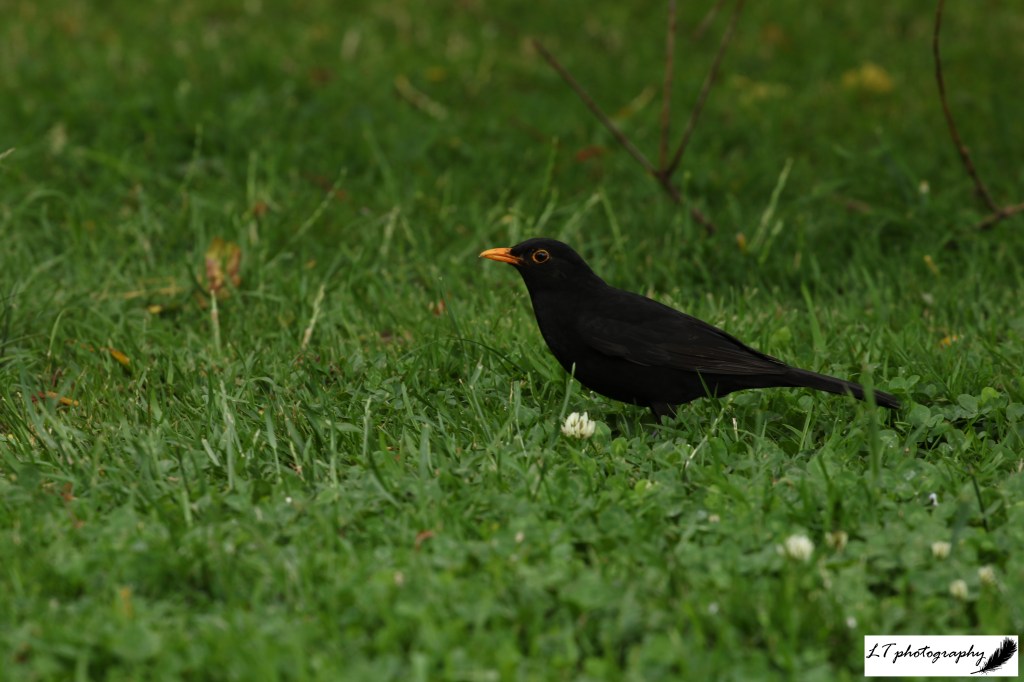
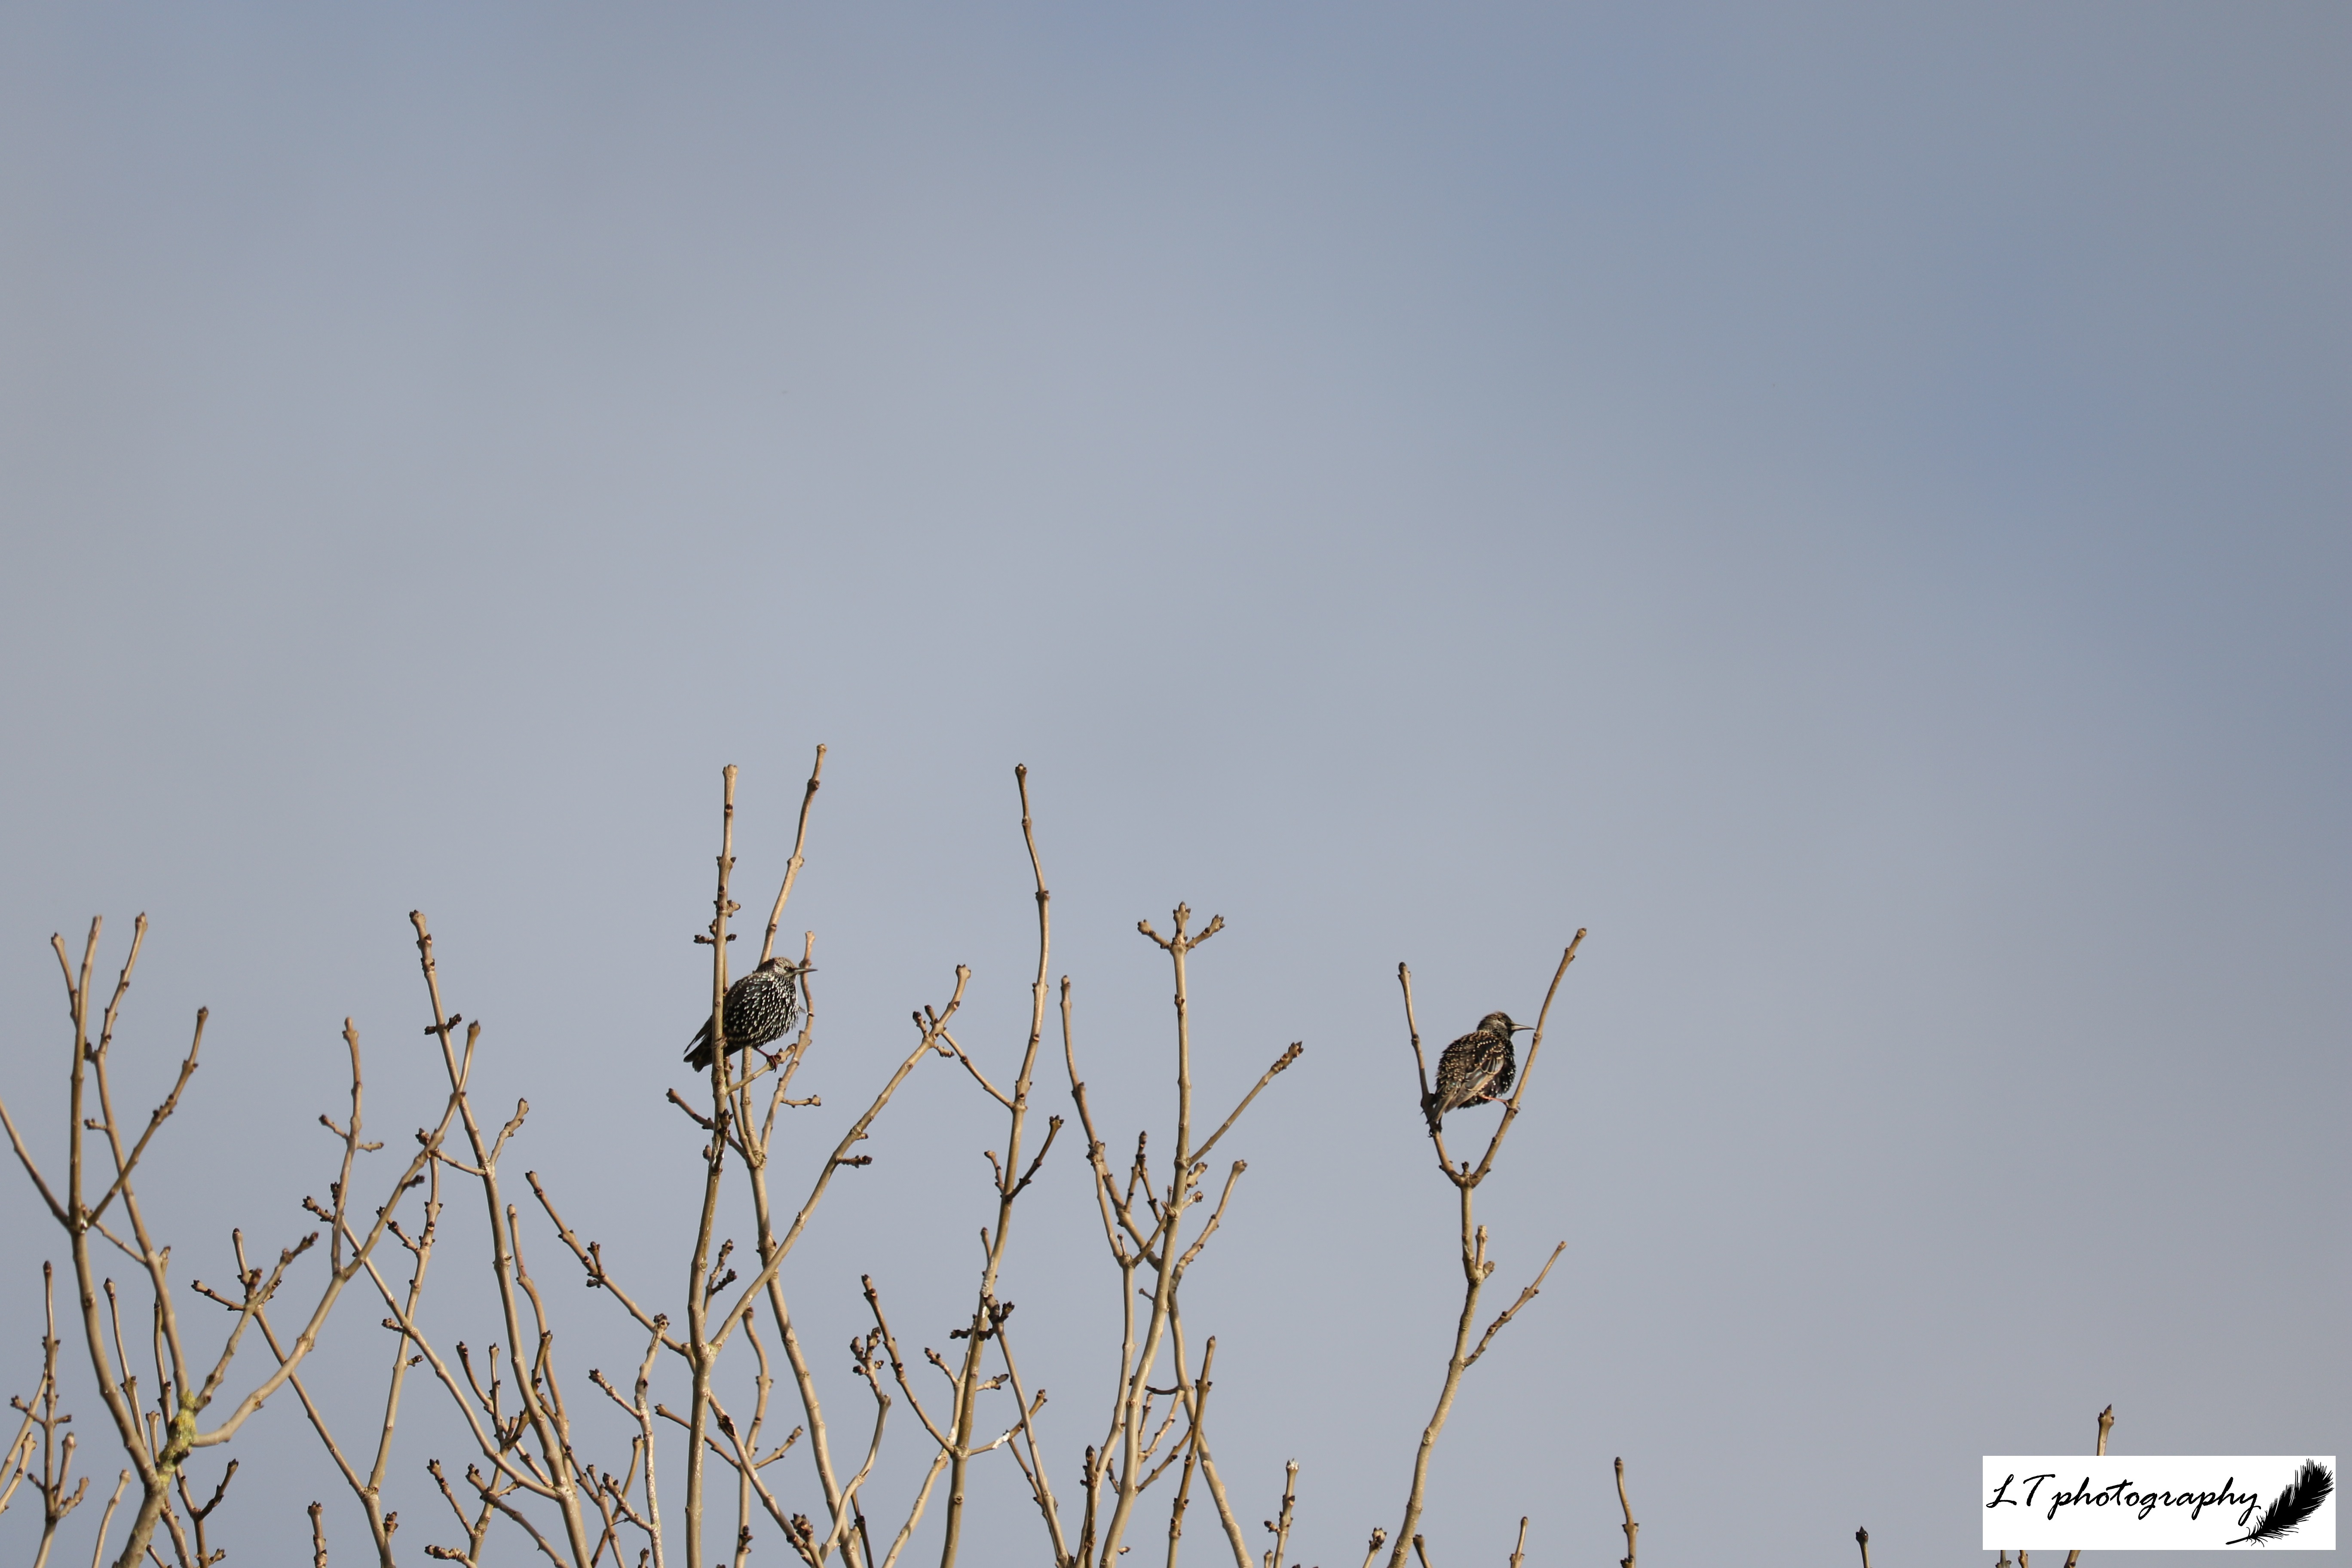
Starling (Sturnus vulgaris)

  • Length: 19 – 22cm
  • Weight: 60 – 97g
  • Colour: Black bird with long-pointed yellow bill, white spots dotted through plumage, a green-purple sheen to the feathers and pale pink legs. The young start with grey-brown feathers and change with body moult
  • What To Feed: Suet, peanuts or sunflower hearts in hanging and ground feeders
  • Breeding Season: March-July
  • Nest: In holes and cavities in trees and buildings, made up of a messy depression of plant stems, grass, and moss, and often lined with feathers or wool
  • UK Conservation Status: Red

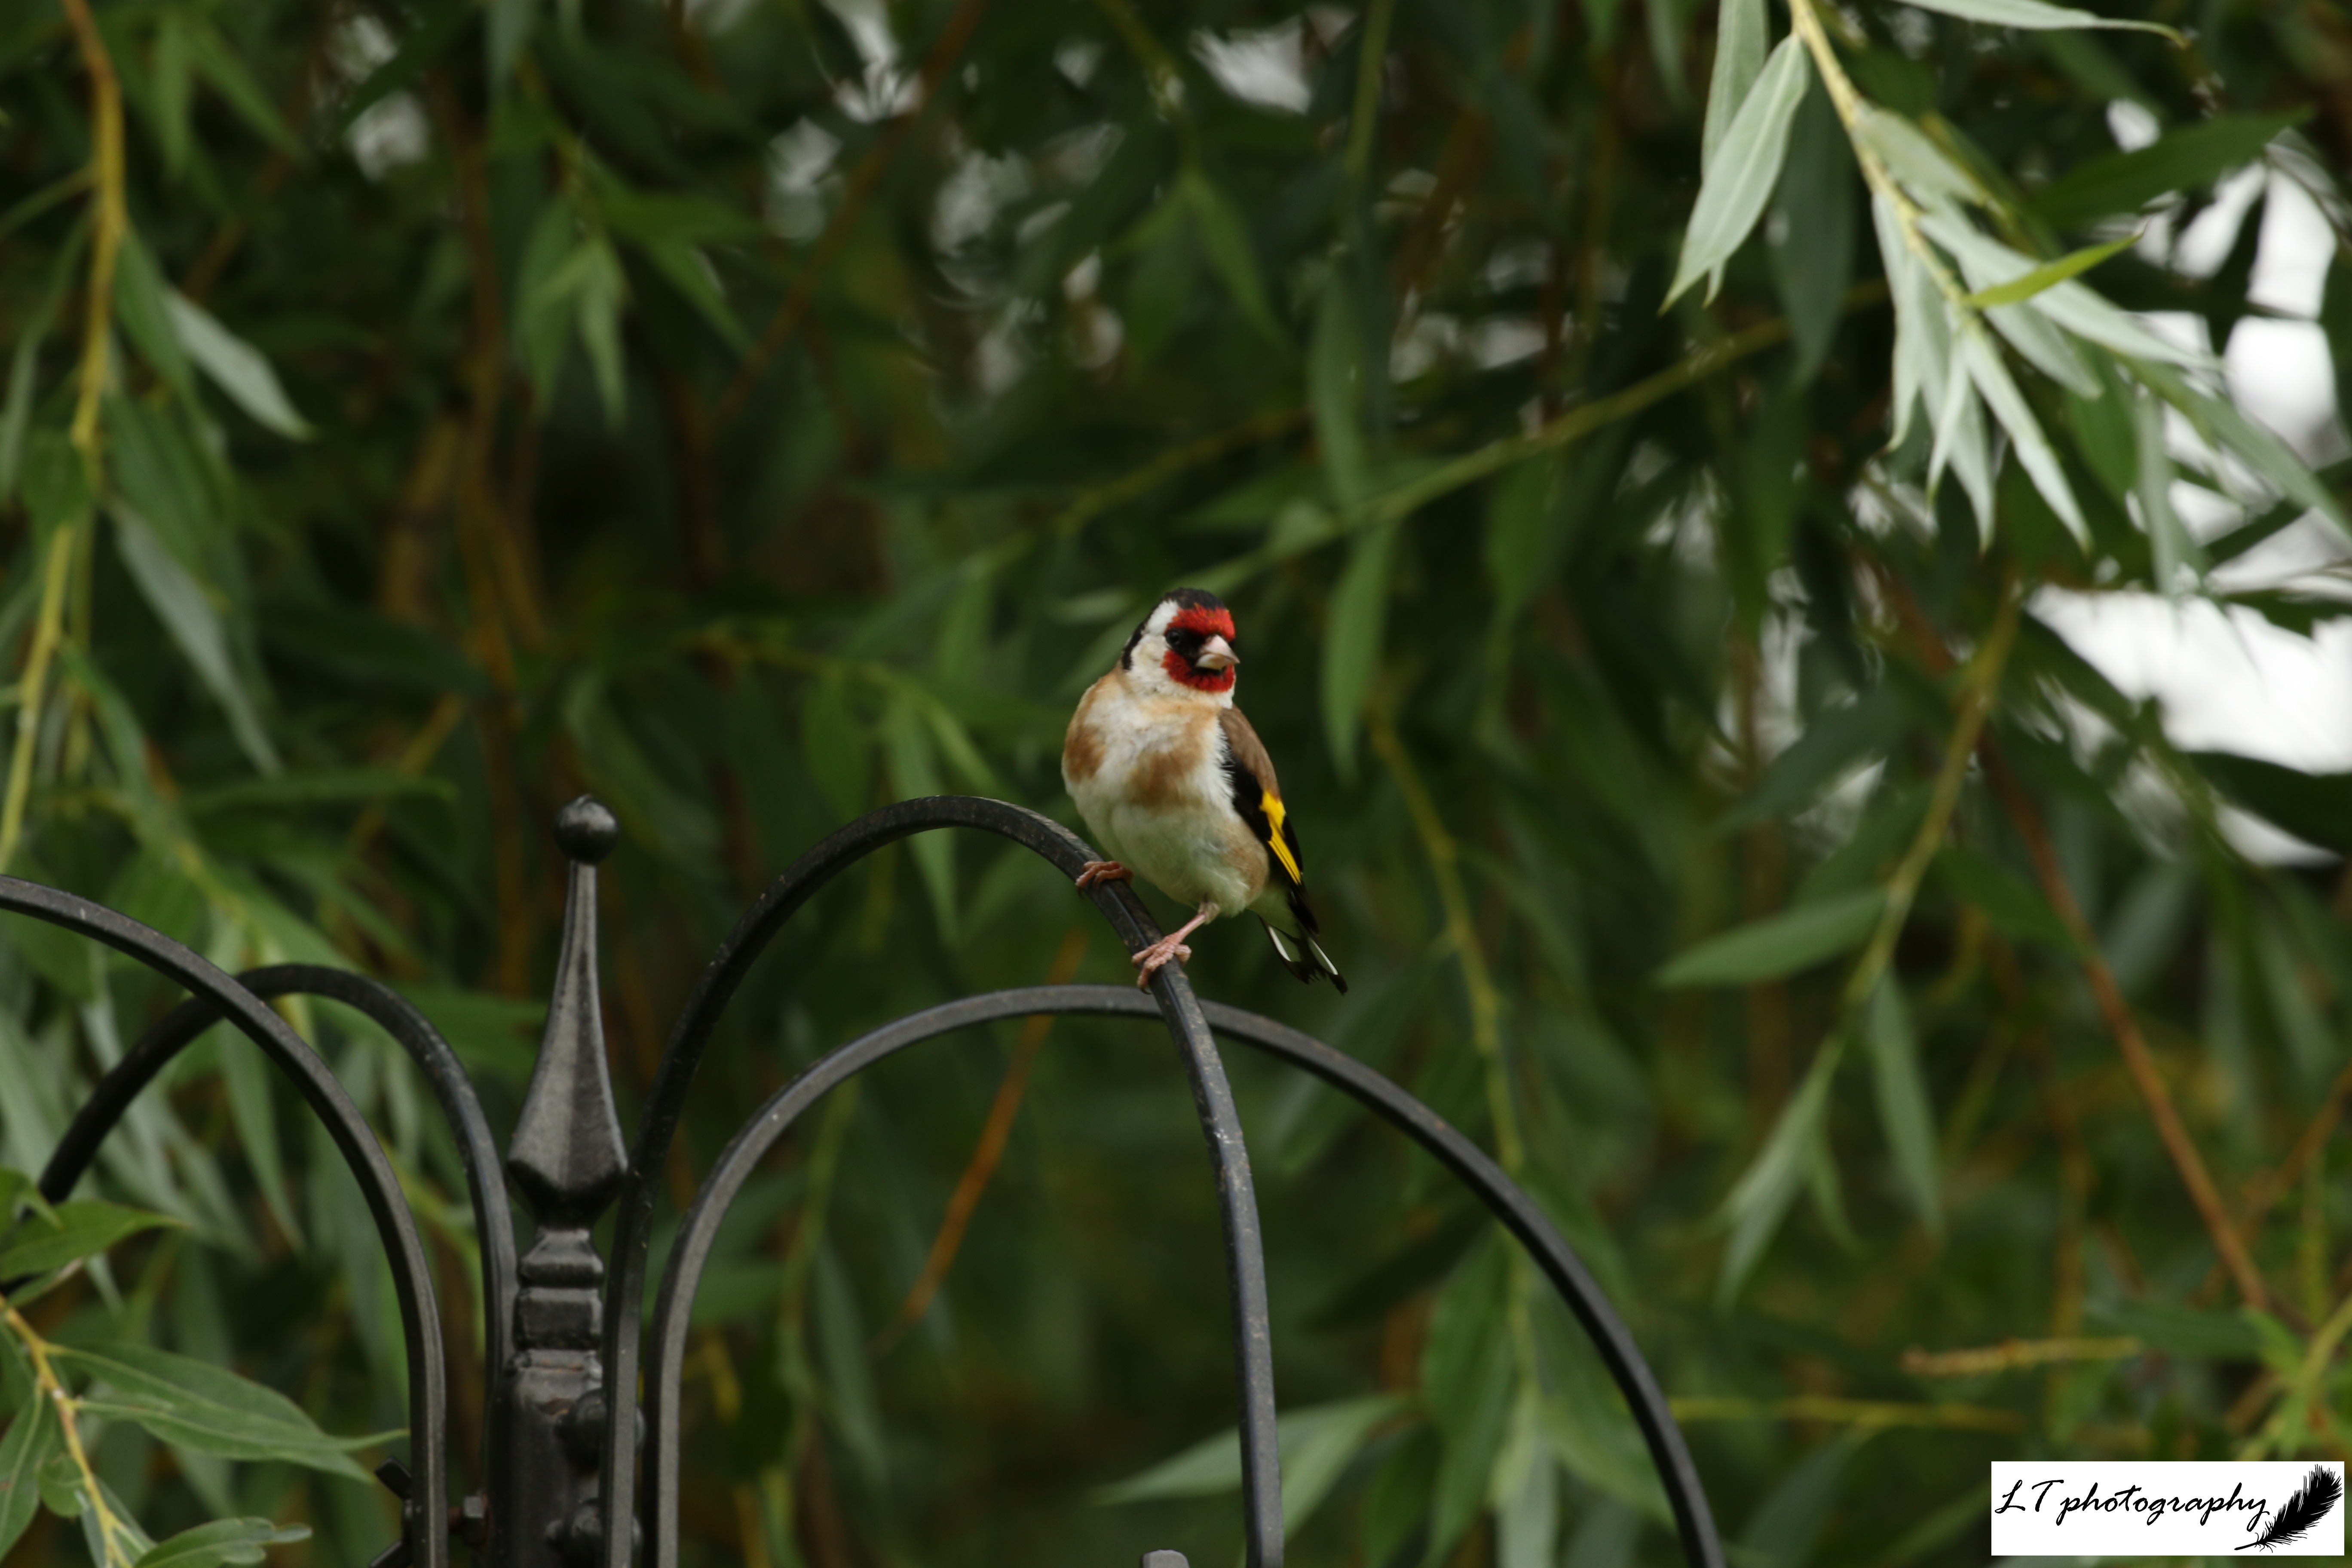
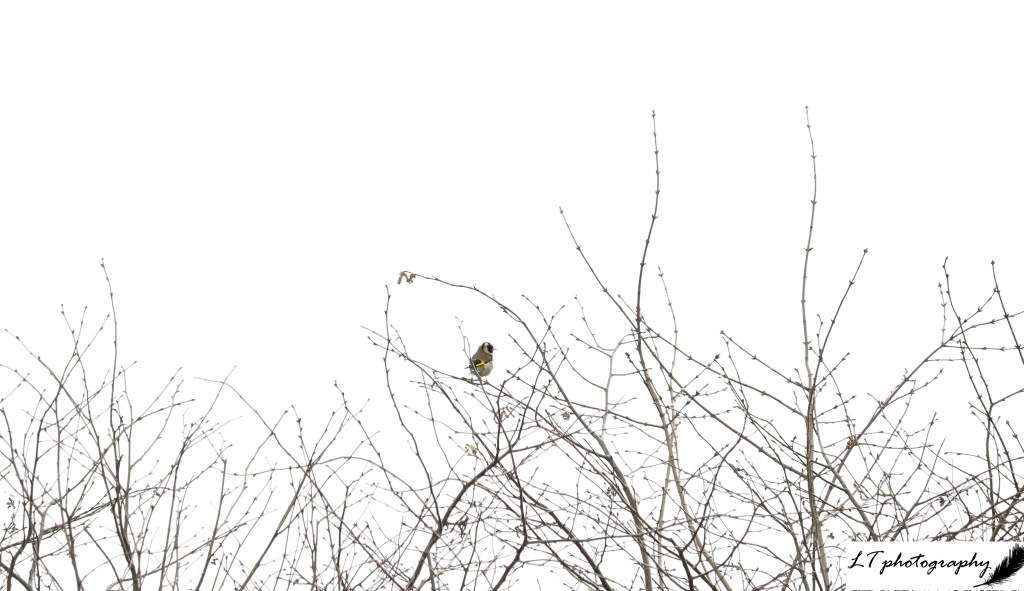
Goldfinch (Carduelis carduelis)

  • Length: 12 – 13.5cm
  • Weight: 13 – 20g
  • Colour: Adults have a black and white head with red face, brown back, black wings with yellow bar, and black tail with white spots. Young lack colourful head until body moult
  • What To Feed: Sunflower hearts, niger seeds or mixed seed in hanging feeders
  • Breeding Season: April to August
  • Nest: A neat cup made of moss, grass, wool, and hair, relatively far off of the ground in tight tree branches, hedges or shrubs
  • UK Conservation Status: Green

Chaffinch (Fringilla coelebs)

  • Length: 14 – 16cm
  • Weight: 17.5 – 29g
  • Colour: Adult males have pinky-red cheeks and breast, and blue-grey crown and neck, whereas adult females and young lack the colourful head and instead have a grey-green one. All have a distinct pale rump and double white wing bars
  • What To Feed: Peanuts, sunflower seeds, seed mixes, or suet in hanging or ground feeders
  • Breeding Season: April to June
  • Nest: Deep cup of lichens, grass, roots and feathers, lined with plant down, feathers or wool, usually in the fork of a tree, shrub or hedgerow
  • UK Conservation Status: Green

Collared Dove (Streptopelia decaocto)

  • Length: 29 – 33cm
  • Weight: 168 – 249g
  • Colour: Pale pinky-grey-brown feathers, black neck collar, dark eye, grey underparts, and reddish feet
  • What To Feed: Small seeds from ground feeders or bird tables
  • Breeding Season: March to September
  • Nest: Sparse platform of twigs and leaves in trees or high up in buildings
  • UK Conservation Status: Green

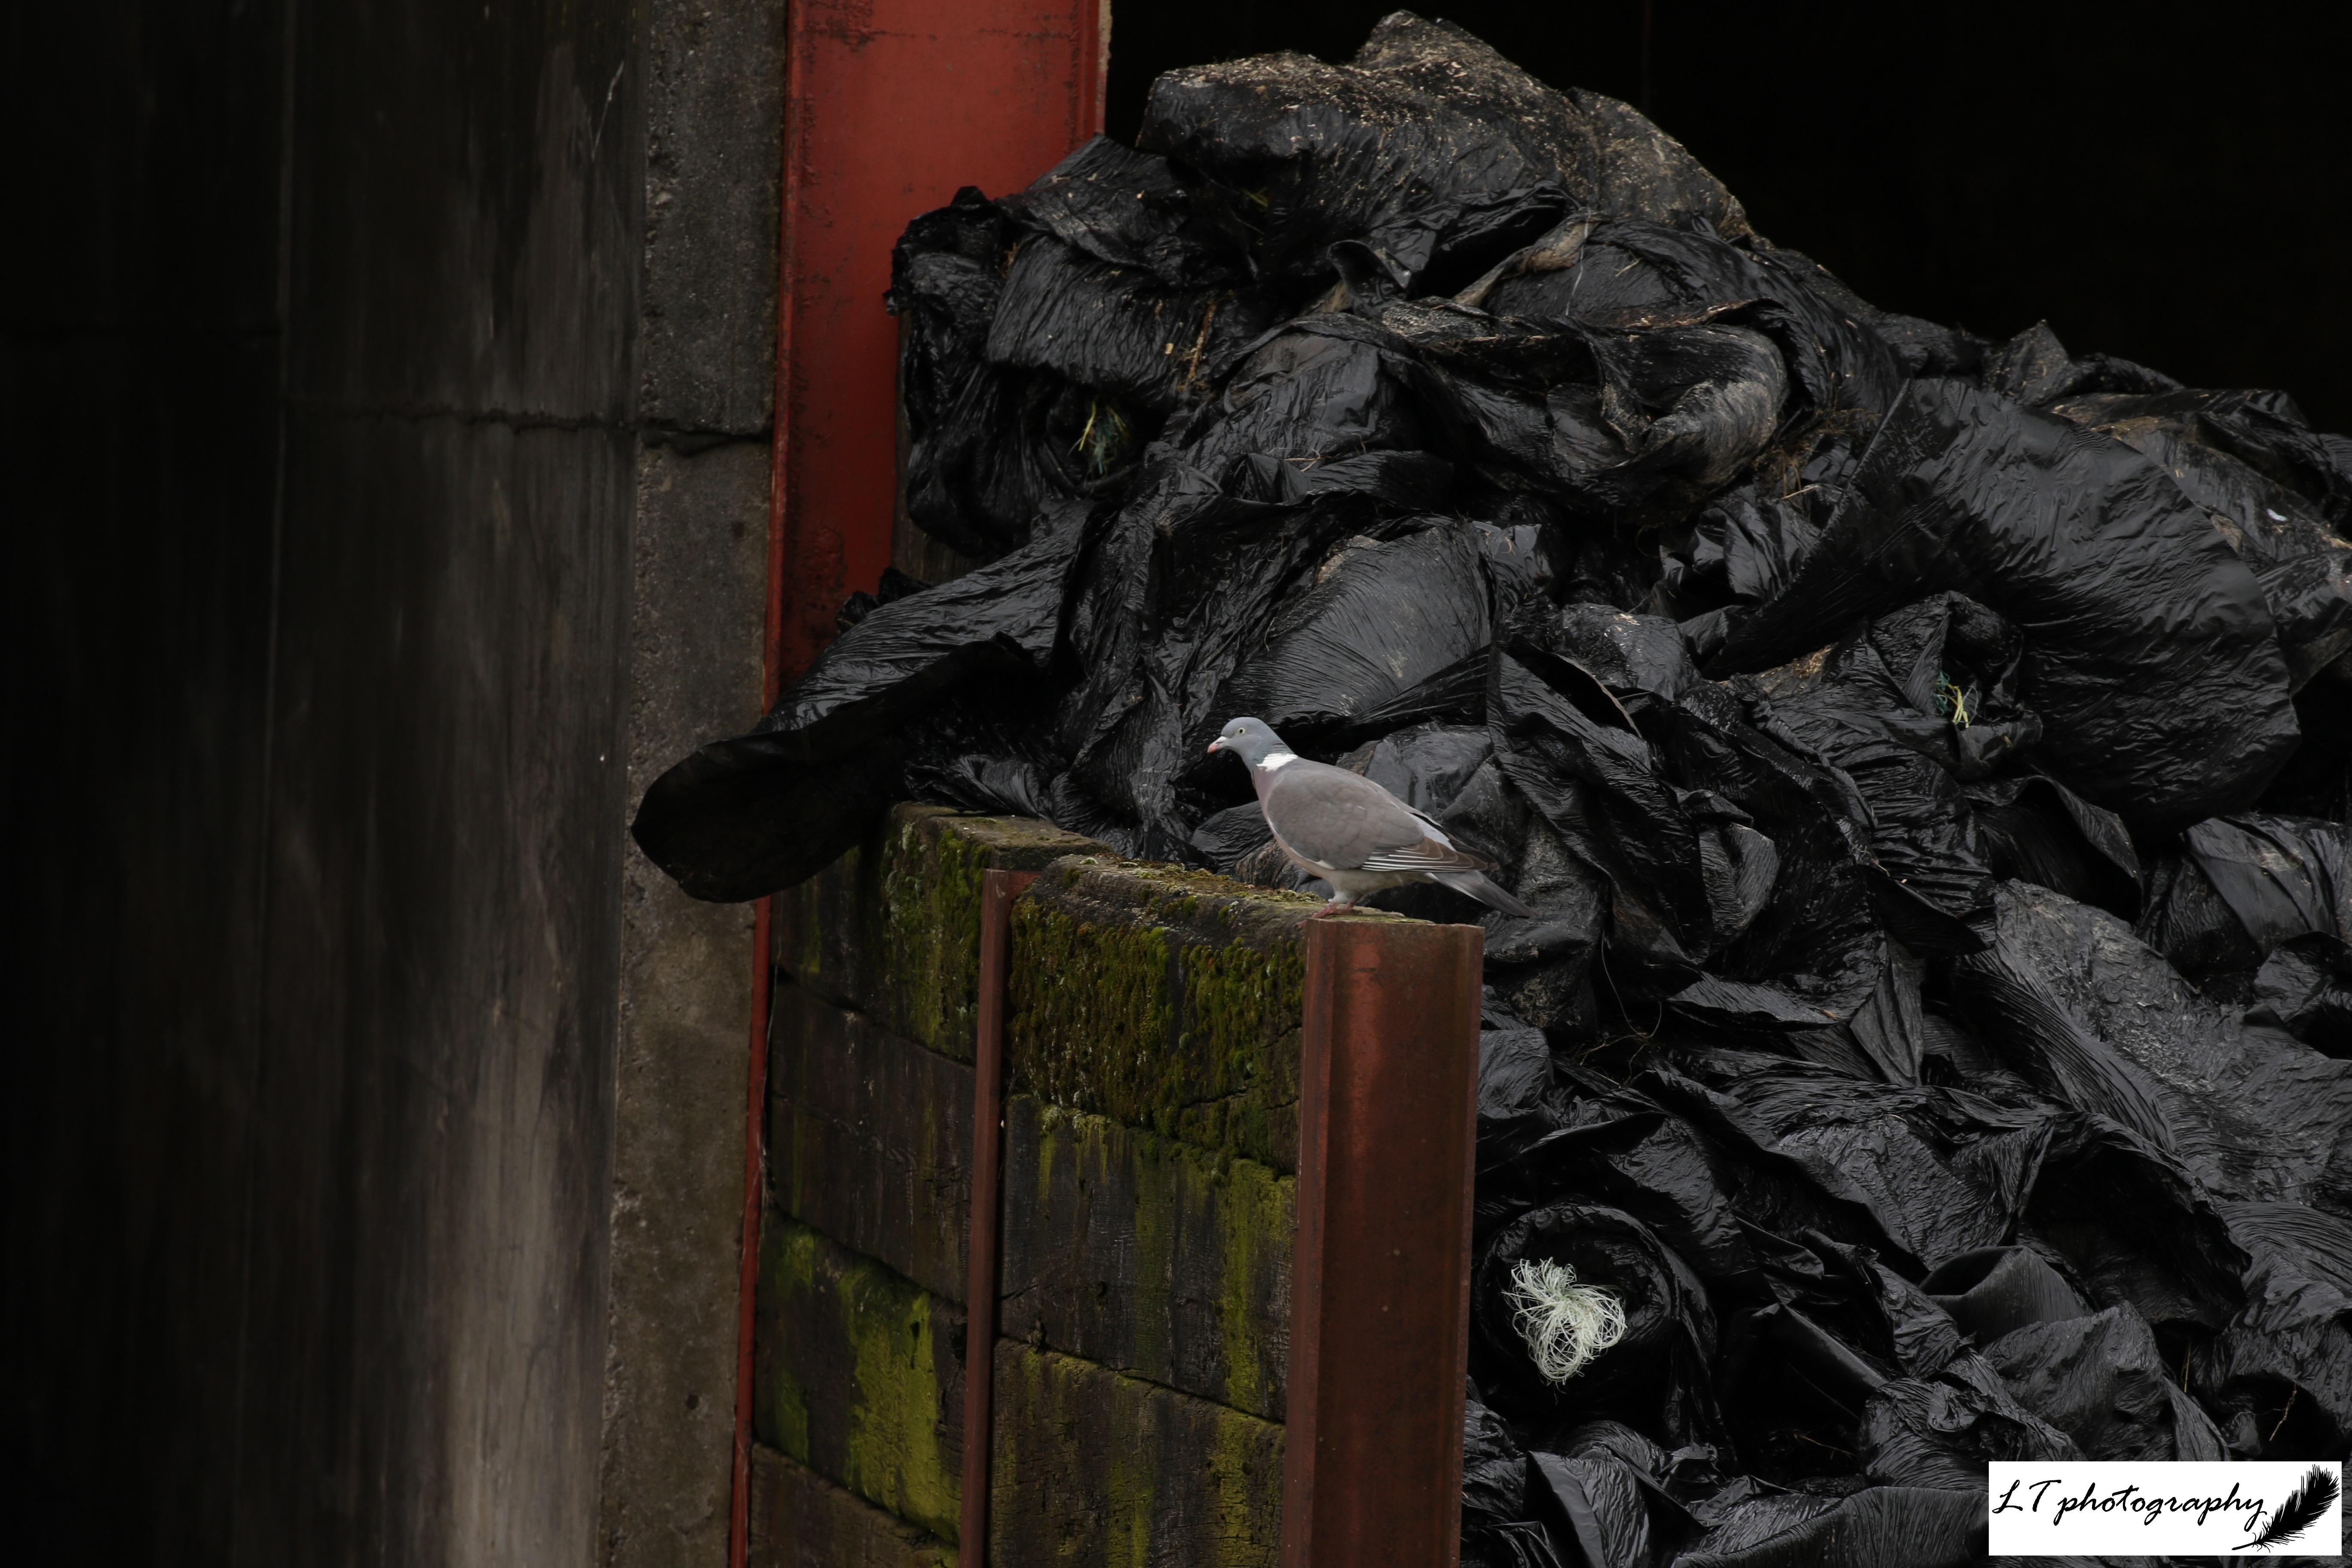
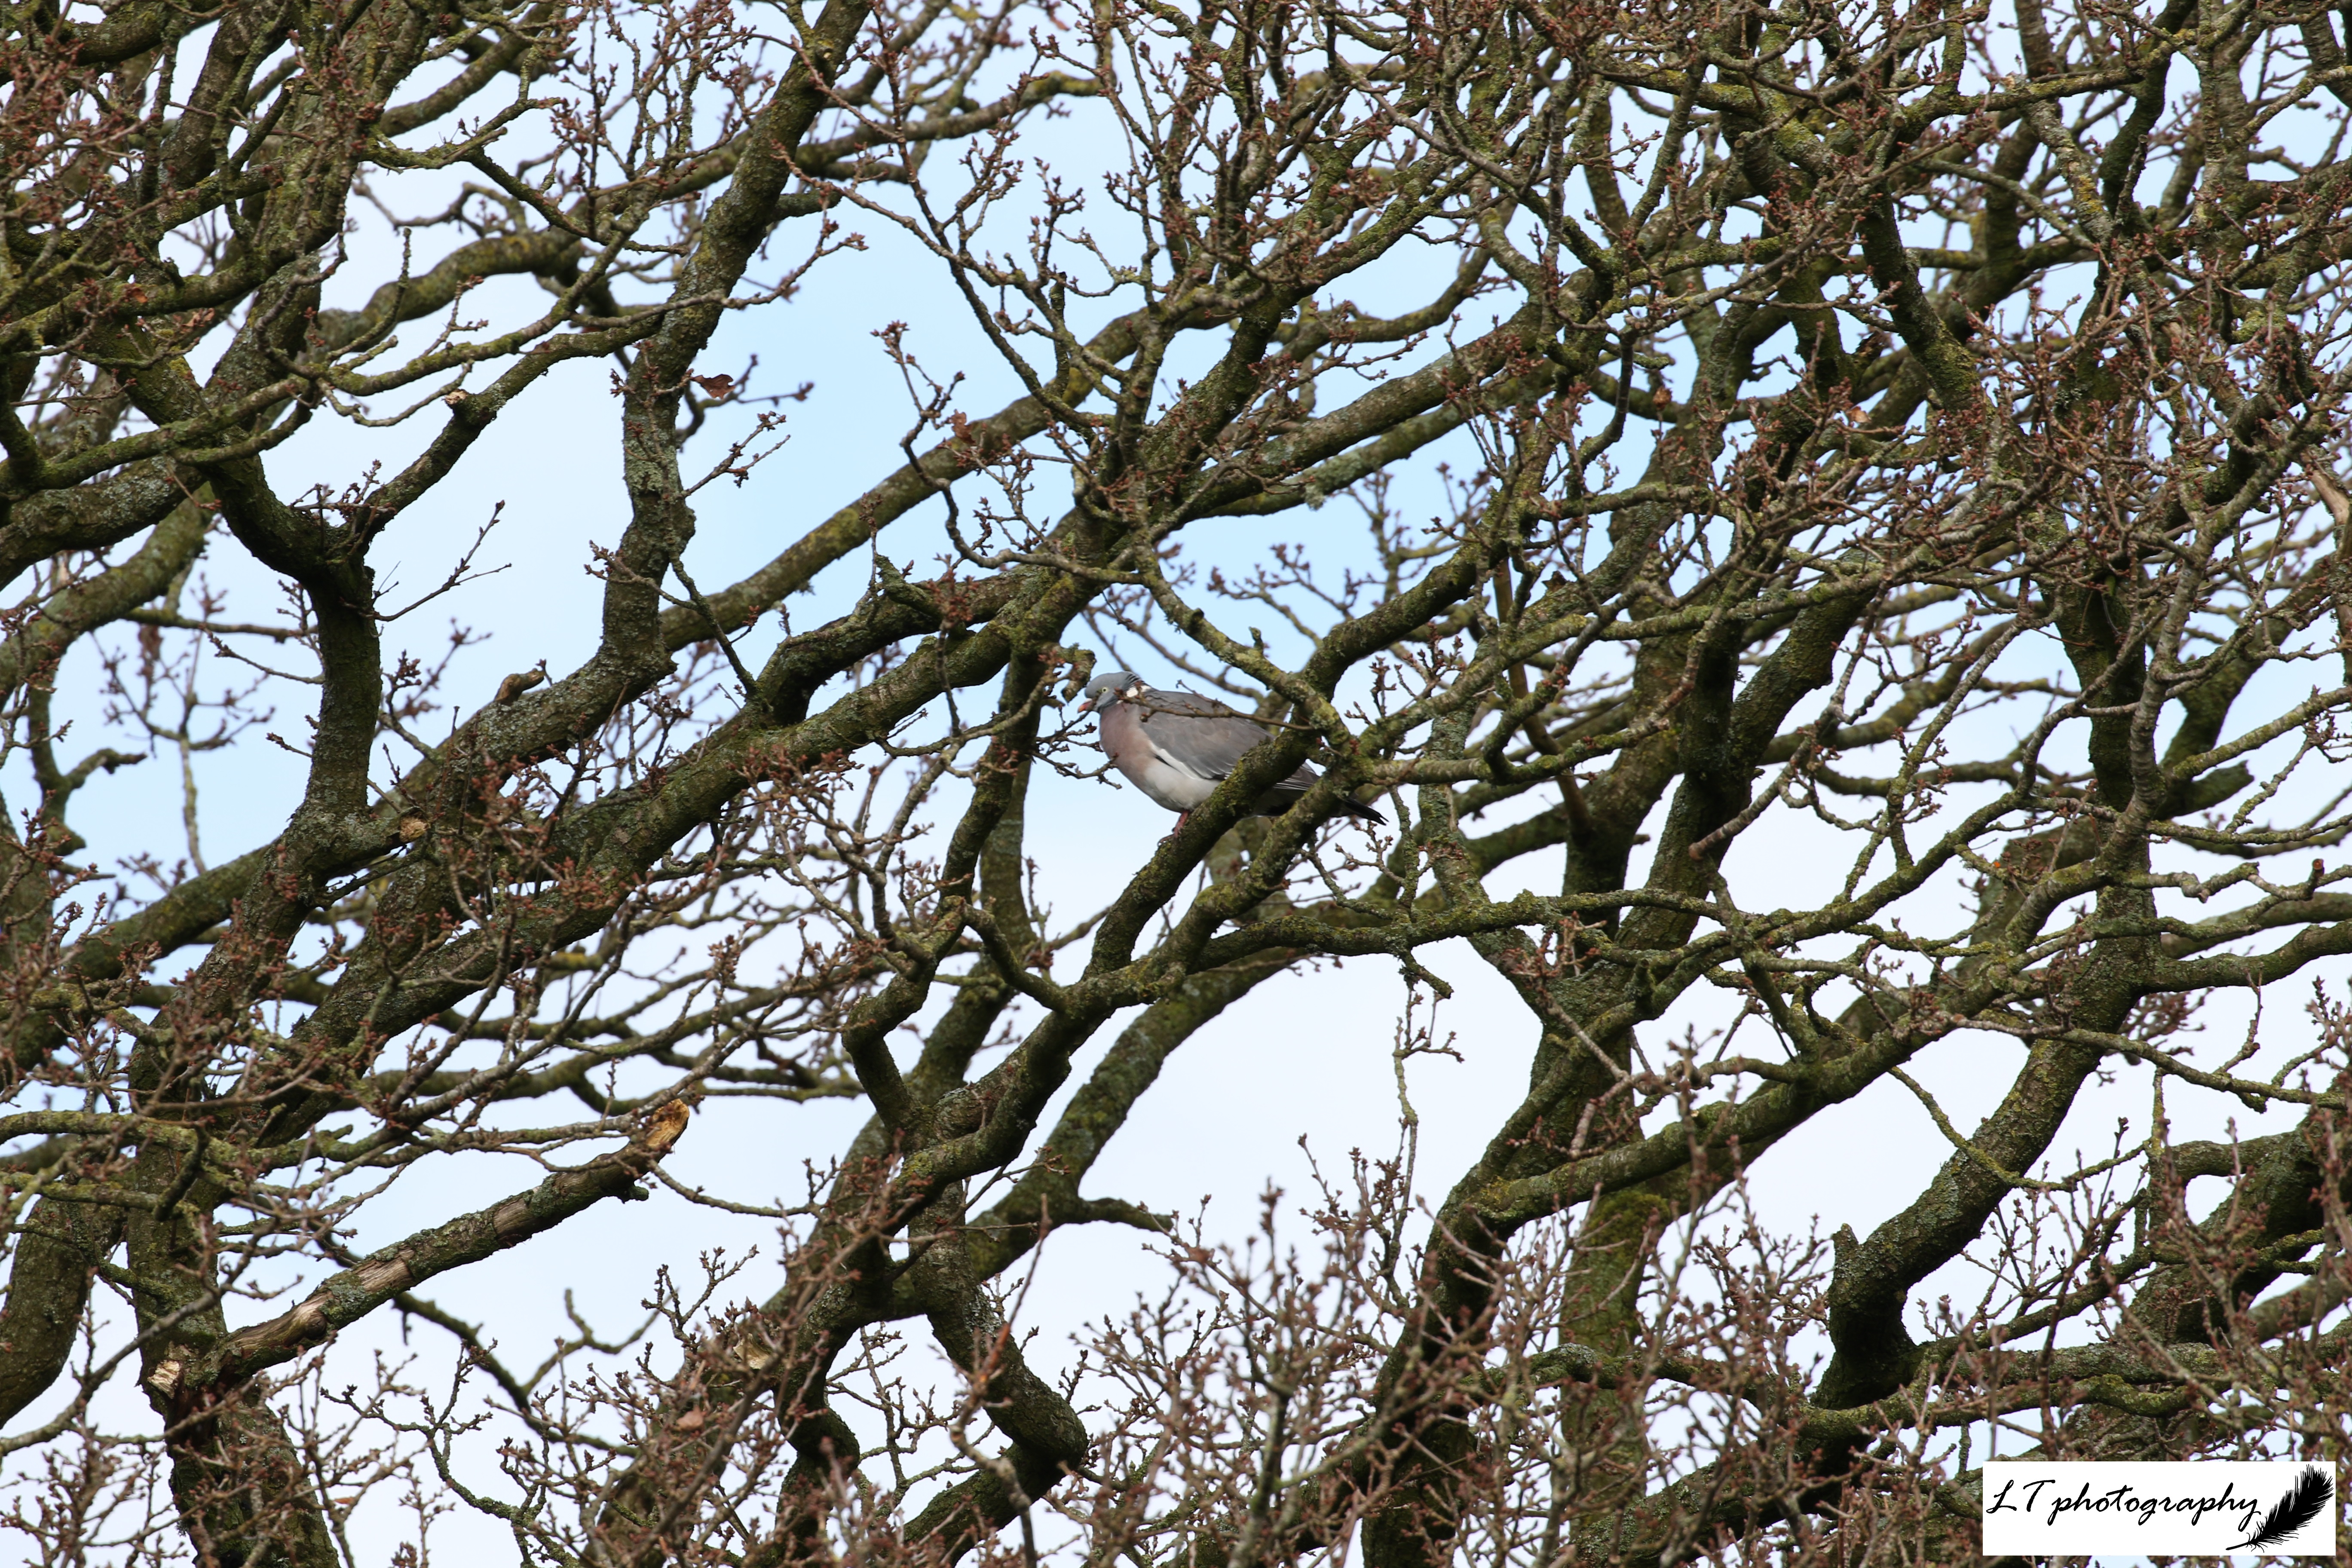
Woodpigeon (Columba palumbus)

  • Length: 38 – 43cm
  • Weight: 325 – 620g
  • Colour: Grey-blue head and back, pinky-red belly, large white patch on neck, sides of neck iridescent purple and green, white wing patches and pink legs. Young are pale with no neck patch.
  • What To Feed: Only British herbivorous bird. Feed seeds on a bird table, ground feeder or the ground
  • Breeding Season: February to November
  • Nest: Simple platform constructed from sticks in trees, shrubs, vegetation or ledges
  • UK Conservation Status: Amber

How to… Make Your Own Bird Nest Box

As our summer visitors, such as Swallows and Willow Warblers, leave us for sunnier shores, and we wait for our winter returnees, such as Redwings, the world outside our doors is slowing down and wildlife is preparing for the colder times to come. Autumn is a time for extraordinary spectacles, storing up food and changing colours, but also a time for us to do our bit, to help our wild neighbours with their preparations, and to prepare for a new year to come. This can range from cleaning ponds and putting out food, to planting trees and creating wood piles. It is also importantly a time to provide new homes for nature.

Previously, in spring/summer I posted on my blog about how to make a home for nature in the form of a bee hotel (see How to… Make Your Own Bee Hotel). A bee hotel is aimed at providing solitary bees (90% of UK bee species) with a place to nest, and for my blog I made a bee hotel that has now had some success. There are other forms of homes that we can make for wildlife though, for example for different species of bird.

In the UK, more than a quarter of all bird species are of the highest conservation concern, with a decline in breeding birds (44 million) between 1967 and 2009. This means that conserving and creating habitat for birds is an important issue, and something we can all get involved in. One example of an easy way is to put up nest boxes, which mimic natural habitat. They create an effective artificial cavity for birds, providing an accessible alternative for species that are currently experiencing the loss of breeding habitat and winter roosting sites.

Nest boxes come in a variety of shapes, sizes and designs, which will depend on the species of choice and the purpose they need to fulfill. Though you can put up a nest box at any time of year, the best time is right now, ready to be used as a roosting site throughout winter and for breeding in the spring. This way you can increase the chance of your nest box being a success next year. There are no set rules though, so why not try making your own today!

How to Make a Bird Nest Box

What you need:

  • A plank or offcuts of untreated wood, about 15mm thick for insulation
  • Tape measure & pencil
  • Hand or power saw
  • Drill & different sized drill bits
  • Sand paper
  • Hammer & nails
  • Screws
  • Sealant, a piece of rubber or something similar
  • Optional: Hole plate

Step by Step Guide:

  1. Decide on your nest box design. Your nest box will most likely be aimed at a certain species, such as Robins or House Sparrows. You can also choose particular design features, such as a flat or apex roof. For the purpose of this guide though, I will provide instructions to make a standard Tit nest box.
  1. Use a tape measure and pencil to mark out the wood you need, either by creating templates out of paper or cardboard, or by drawing straight onto the wood. For this design you will need 6 pieces: a back (45cm x 15cm); a base (11cm x 15cm); a front (21cm x 15cm); a roof (20cm x 15cm); and 2 side panels (25cm high at the back, 20cm high at the front, and 11cm wide). Use a hand or power saw to cut the wood into the 6 pieces needed.
  1. Next, take the front panel and use a wide drill bit to make a hole towards the top of the panel, at least 125mm up, which the birds will use to enter the nest box. The size of the hole will vary between different species, but for my nest box I made a 25mm hole, aimed at Blue Tits and similar Tit species.
  1. Use sand paper to sand down any rough or uneven edges of the wood, that otherwise could cause problems for birds using the box.
  1. Use a hammer and as many nails as you need to make the back, base, sides and front fit together forming the main body of the nest box. It is often best to mark where the nails will go first and partially drive each nail through the first piece of wood first (e.g. the back), which will make nailing the pieces together easier and help avoid splitting the wood.
  1. Attach the roof to the box using screws that you can later remove when needing to clean the nest box out. Seal the gap between the roof and the back of the nest box with either flexible sealant or an attached flap of recycled rubber.

Optional editions: Add a nest box hole plate to the front of the box to prevent predators from enlarging the nest box hole and larger bird species using the box. Also, you could apply a water-based wood preservative product to the outside of the box to prolong its life and help to repel water.

Tips on putting your nest box up

  • Unless there is shade during the day, position the nest box facing between north and east to avoid strong sunlight.
  • Choose a location which is 2-4 metres above ground level, out of reach of predators, and away from constant disturbance.
  • Make sure there is a clear flight path to the entrance of the nest box and that there is shelter from bad weather.
  • Place your box away from the location of any other nest boxes to reduce the chances of competition.
  • Avoid using nails to attach the box to a tree, as they may cause harm. Instead try to tie the box to the trunk or hang it, or otherwise use stainless steel screws or nails that do not rust.

Enjoy!

Giving Nature a Home on the Farm

‘Give fools their gold, and knaves their power; let fortune’s bubbles rise and fall; who sows a field, or trains a flower, or plants a tree, is more than all’ – John Greenleaf Whittier 

‘Your deepest roots are in nature. No matter who you are, where you live, or what kind of life you lead, you remain irrevocably linked with the rest of creation’ – Charles Cook

My family and I live on a 250 acre mixed dairy farm in the heart of beautiful Dorset, complete with sheep and beef cows. My parents took the farm on from Dorset County Council in 1995, at a time when it was only 50 acres, and have now expanded it to the 250 acres it is today. As long as I can remember, the farm has been my home. It is a part of who I am, providing the backdrop for me to learn about the natural world, to make informed decisions about how I live my life, and to become passionate about conservation. I have my parents to thank for this.

In 2019, the latest State of Nature report showed that agricultural change has been the largest driver of biodiversity loss over the last 45 years in the UK. With 72% of UK land area being used for agriculture and food production, land management changes have had a significant impact on the wildlife that call these areas home. As we now move forward, we need to focus on agriculture, not with contempt and negativity, but with optimism. If we are to continue to produce food in the UK, we need to focus on working with farmers to make farming sustainable, cost-effective, and most importantly with wildlife in mind.

Growing up on a farm, I have always been aware of how agriculture is heavily intertwined with the environment. My Mum and Dad have always believed in their roles as guardians for the wildlife and natural habitats that call our land home, and are dedicated to conserving and increasing biodiversity. Though it can be tough to create a balance, my Dad believes that farming, through careful management, can produce food in an economically sustainable way, whilst supporting and enhancing the natural environment. Here are some of the examples of how my family are successfully working to give nature a home on our farm.

(1) The Bridge Field

Project:

The field is a small, triangular-shaped, 3 acre field, bordered by hedges and a river. It was taken on in 2014 with some other land, and is less ideal for agricultural use due to its shape and often being wet. Hence, it has been left untouched, apart from one late cut of haylage each year and dock management. This year my parents decided to begin the process of restoring the land, with the aim of giving it back to nature.

So far:

  • At the beginning of the year, we bought in and planted 219 native tree and shrub saplings of 9 species, including Goat Willow and Rowan. The hope is to create a rich and valuable habitat for wildlife.
  • We began managing the grass in the field, which is mainly Yorkshire Fog, to increase species composition. The grass has formed a dense stand across the field and is currently excluding nearly all other species.

Next aims:

  • See how the trees and shrubs grow on
  • Plant natural wildflower species using plugs, bulbs and seeds
  • Create a water source, such as a pond
07_05_20_Farm_Bridge_Field_Trees_2

(2) The Chalk Mound

Project:

Towards the centre of our land you can find a small triangular area of land that is bordered by hedges and a track. My parents took on this area with some other land in 2014, but it was not anything special. In 2017, my Dad decided to use it to make a small piece of chalk habitat, in our clay area, acting as a perfect stopover location between chalk downland to the north and south of us.

So far:

  • We bought in 40 tonnes of quarried chalk and shaped it into a mound which is 10m by 3m, and 2m in height.
  • We planted a selection of plant plugs and seeds gifted to us, ranging from Quaking Grass and Kidney Vetch to Rough Hawkbit and Lady’s Bedstraw.
  • For the first year, the mound was regularly watered as the plant plugs and seeds became established, but after that they were left to grow on, with minimal management.

Next aims:

  • Continue to enjoy the now thriving habitat that is attracting lots of insects, from butterflies to bees
  • Boost numbers of certain species such as Wild Thyme
  • Complete autumn management of the encroaching Yorkshire Fog grass at the mound’s edges

(3) Wildflower Verges and Rough Areas

Project:

As part of managing our land, my Dad leaves areas and verges uncut and able to thrive, providing valuable habitat for wildlife. One of my Dad’s inspirations for doing this is to provide rough grassland habitat for his favourite bird, the Barn Owl. Barn Owls use such areas to hunt, as it provides cover for their rodent prey. It is also great habitat for other species, such as the majestic Brown Hare.

Different forms so far:

  • Fenced off areas to keep livestock out but allow wildlife in.
  • Verges and strips left to grow up and increase in species diversity.
  • Wildflower verges planted to provide food for different species at different times of year.
  • Field margins created, maintained and protected, meaning a field is never worked up to the hedgerows.

Next aims:

  • Allow areas to continue to increase in diversity and composition
  • Continue to create a mosaic of habitats on the land

(4) Trees and Woodlands

Project:

I am a huge fan of trees, and my family are no different. Throughout our land you will find lots of different species, such as Ash, Alder, Wild Cherry and Oaks, varying in size, shape, and age. They play very important and varying roles in the landscape, from singular trees in fields and hedgerows, to the many growing in copses and woodlands around the farm. We now want to continue to preserve them and increase their numbers.

So far:

  • Over many years, we have been planting more trees wherever we can, with this year’s main project being the Bridge Field.
  • We continue to look after and manage the small woodland areas on our land.
  • We are putting up lots of different nest boxes around the farm, from small Tit boxes to larger Owl boxes.

Next aims:

  • Put up more nest boxes, including Little Owl and Kestrel
  • Monitor nest box use each year
  • Allow trees, such as mature Oaks, to naturally age and return to the ground

(5) Hedgerows

Project:

On my family’s land there are a lot of hedgerows, which are a hugely important habitat for a whole host of wildlife. They range in age and composition, including species such as Spindle, Blackthorn, Ash and Dog Rose. They also provide different services, such as food and shelter, throughout the course of a year, for lots of different species.

So far:

  • We carefully manage hedgerows with wildlife in mind each year.
  • Hedgecutting is practiced on a rotational basis and in late winter if the ground holds up. They are only cut by my Dad or brother who are skilled at cutting the hedges correctly and with care.
  • We annually manage and maintain field margins and ditches.
  • Hedgelaying has been used in the past but only when a hedge is in need of restoration.

Next Aims:

  • Maintain the high standard of hedgerows
  • Allow diversity to continue to increase

Future Aims

With 41% of species in decline since 1970, biodiversity loss and the latest State of Nature report cannot be overlooked. Whilst there is still hope that we can bring things back from the brink, and reverse the decline, to do so we need to act now. We need to create more homes for wildlife, protect what is left of our natural environment, and manage land with wildlife in mind.

On the farm this process is in full swing and gaining momentum each year. In this way, we are trying to make our land more wildlife friendly, managing and creating habitats for wildlife. Now, Skylarks can be heard singing all around the farm each morning, Brown Hares are increasing in number, Butterfly and Moths are becoming more species diverse, and Yellowhammers are becoming increasingly common. There are so many more examples from the big to the small, from Hedgehogs to Newts, but my Dad’s favourite has to be his Barn Owls. Over the last few years Barn Owls have made our land their regular home, with 2 Barn Owl pairs successfully breeding last year!

My Dad now wants to continue my Mum’s and his work dedicated to the environment, from helping farmland birds to reducing our carbon footprint. He wants to continue to show how conservation and increasing biodiversity can go hand in hand with conventional farming, allowing food to be produced whilst looking after the environment. A great example of this is the RSPB’s Hope Farm in Cambridgeshire, an arable farm where careful and targeted management is now having results. It makes me optimistic that if we now focus on working with farmers to give nature a home on their farms in the right way, then this could make a real difference to reversing species decline in the future.

How to… Help The Planet One Small Step At A Time

Currently there are approximately 7.8 billion people living on this planet, and so it is not surprising that humans have had a significant influence on the environment. For example, 1.76 planets a year are now needed to meet resource and waste absorption demands. Over time, this has heavily impacted our natural world, from massive deforestation and loss of species to large scale pollution and global warming.

Though it can feel like a losing battle, there is still time for us to try and make a difference. By making small and often easy changes within our own lives, then this could be the start to making a big difference on a larger scale. For this to work, to preserve our planet for future generations, we all need to do our bit now.

To help make this seem a little less daunting, I wanted to put together some examples of small things that I have changed in my own day-to-day life or I am now inspired to do. This could be thinking about where your food comes from, giving your old clothes new lives or even volunteering your time for the environment. It’s your life, your world and your choice, but reducing your footprint on this planet is important and a rewarding thing to do now moving forward.

This does not mean you need to do all the things I suggest, but why not see what you can do to do your bit! By making a positive change, you could reduce waste, save money and help the planet. So be active, think globally and act locally!

Food and Drink

Food and drink is an important part of all of our lives. Vital for our survival, it has a major influence on our society and more significantly, the environment. Therefore, your choices can make a real difference to our planet, which could include considering what you are eating and where your food actually comes from.

Food & Drink

Home

There are lots of small things you can change in your own home that can reduce your footprint. Often involving the reduction of energy and water usage, some changes will even save you some money in the long run.

Home

Travel

Getting from a to b is an essential part of many people’s lives in today’s world, so these choices can have a significant impact on the environment. By being smart with the choices you make each time you travel, in the long run it could add up to making a big difference, such as to pollution and resource usage.

Travel

Reduce, reuse and recycle

One of the easiest ways to try and help the planet is to reduce how much waste comes out of your own home. This could either be by disposing of items properly or more importantly by thinking before you buy.

Reduce, Reuse, Recycle

General Life

As well as making small changes in your own home and on the move, it is important to be aware of the environment in general. By being informed about what is going on in the world, by being active in what you do, and just by being connected, this can make the greatest difference of all

General Life

All photos and drawings are my own

How to… Make Your Own Bee Hotel

As the planet continues to experience the loss of plants and animals on an unprecedented scale, it is now increasingly important that we all try and do our bit for nature. Though it can be disheartening and tough to know what to do sometimes, making one small step could be a real start to making a difference. For example, one easy thing you could do, is to provide a home for wildlife, such as a wildflower area, pond, or even a bee hotel.

The increasingly popular bee hotel is a home that is made for solitary bees, which include Leafcutter and Mason bees, and are those that live on their own rather than in colonies, make up about 90% of UK bee species, and are very important pollinators. With the loss of 97% of wildflower meadows since the Second World War, along with other factors such as pesticides and intensive farming practices, solitary bees are now heavily under threat, with less suitable habitat currently available to them.

One way we can help, is to produce nesting sites in the form of bee hotels. These structures are made up of a frame filled with tubes mimicking the natural cavities solitary bees use to nest in, which are typically tunnels in dead wood or hard soil. From spring to summer, different species will build inside these tubes, lay their eggs, add a supply of nectar and pollen, and block up the entrance. The eggs will then hatch, feed, and pupate, before emerging the following spring.

Though spring is the best time to make and put up a bee hotel, you can make one anytime you wish. There are also no set rules on how to make or use a bee hotel, as they are a relatively new phenomenon and advice on them is changing all the time. For now though, here’s some guidance I can give to help you make your very own bee hotel. They can take some time to make, but are very rewarding, and are also a great activity to currently do as part of your 30 Days Wild challenge!

Cherry Blossom

How to make a bee hotelWooden Planks

Examples of considerations include:

  • Simple or aesthetically pleasing and complex design?
  • Vertical or horizontal?
  • Sloped or flat, overhanging roof?
  • For your garden or a small space e.g. a window sill?
  • Use only recycled and reclaimed resources?

Always think of the bees when making your decisions though!

What you need:

  • Offcuts of planks of untreated wood, about 1.5cm thick
  • Tape measure and pencilSaw
  • Saw
  • Hammer and nails
  • Sand paper
  • Tubes varying in size from about 2-12mm, with a length of at least 10mm, though ideally about 16mm. For example: bamboo canes, hollow plant stems such as sunflower stems, or bespoke bee tubes
  • Chunks of untreated hardwood or Hammerlogs
  • Drill
  • Bits to hang up the bee hotel e.g. T bracket, screws, screw driver, Rawlplug wall plugs

T Bracket


Step by step guide:

  1. Decide on your bee hotel design. Bear in mind, that smaller is better to be able to easily move the bee hotel around and to encourage bees to nest at lower densities
  2. Use a tape measure and pencil to mark out the pieces of wood you need; the most simple designs have 5 pieces. Then use a saw to cut your wood, and sand paper to sand down any rough or uneven edges

  3. Use a hammer and as many nails as you need, to create the frame of your bee hotel
  4. Cut your chosen tubes to the right length to fit into the frame of your bee hotel, and sand paper off any rough ends. By using several different sizes of tubes, you increase the chance of attracting a wider range of bee species, due to variation in their preference for nest tunnel size. You can also drill holes into chunks of untreated hardwood or logs to create some more variety in your bee hotel
  5. Carefully build up your frame with your tubes and drilled wood, until it is filled. I suggest lying your bee hotel on a tilted surface to make this easier to do

  6. Decide on a suitable location for your bee hotel. It is important to place it in full sunlight, for example facing south or south-east, at least 1 metre above the ground, and not covered by vegetation
  7. Hang your bee hotel up. For mine I used a t bracket, screws, screw driver, drill and rawlplug wall plugs to attach it to the south side of my house
  8. Then wait for the bees to come to you!

Tips

  • The smaller the bee hotel is, the more effective it will be!
  • Create an overhang to give the bee hotel tubes some better protection from the rain
  • Every autumn take down your bee hotel and store it in a cool and dry location, to reduce risks such as of fungal infections
  • For best results, clean the bee hotel out every year, including removing, cleaning and preparing any pupae for release the following year

The bee hotel I made is far from perfect, but I hope it gives you some inspiration to help make yourself an even better bee hotel!