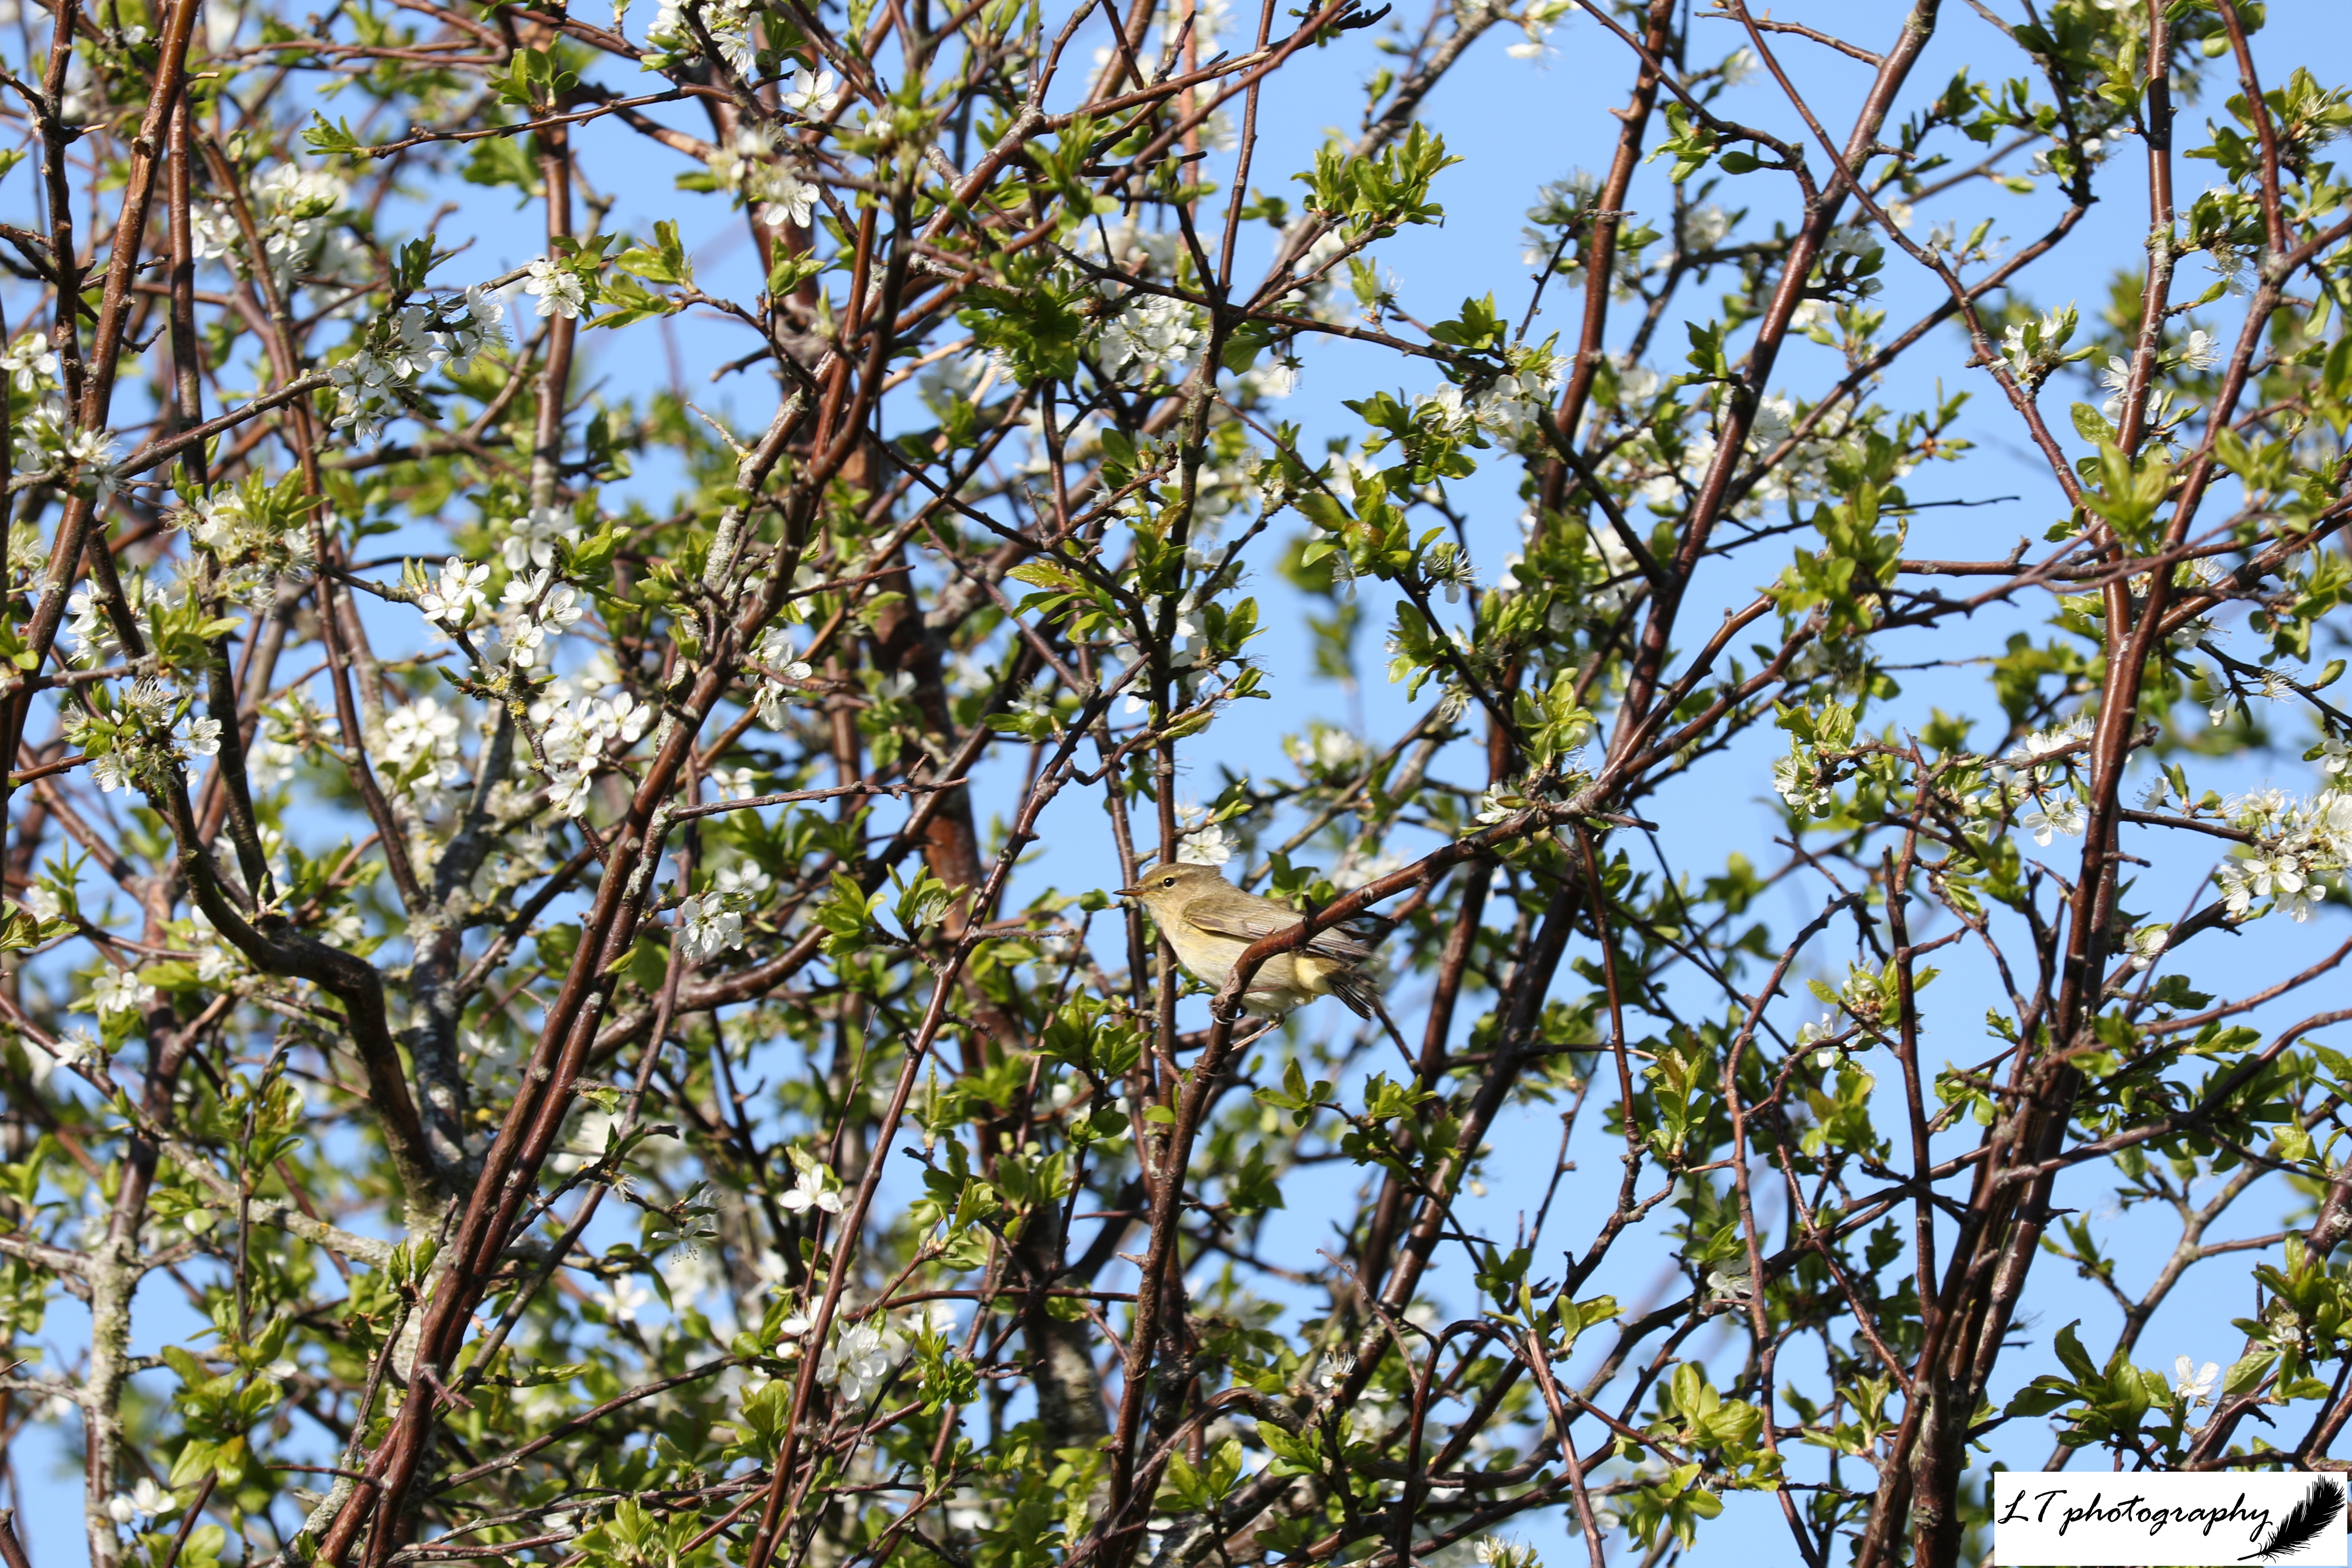
As our summer visitors, such as Swallows and Willow Warblers, leave us for sunnier shores, and we wait for our winter returnees, such as Redwings, the world outside our doors is slowing down and wildlife is preparing for the colder times to come. Autumn is a time for extraordinary spectacles, storing up food and changing colours, but also a time for us to do our bit, to help our wild neighbours with their preparations, and to prepare for a new year to come. This can range from cleaning ponds and putting out food, to planting trees and creating wood piles. It is also importantly a time to provide new homes for nature.


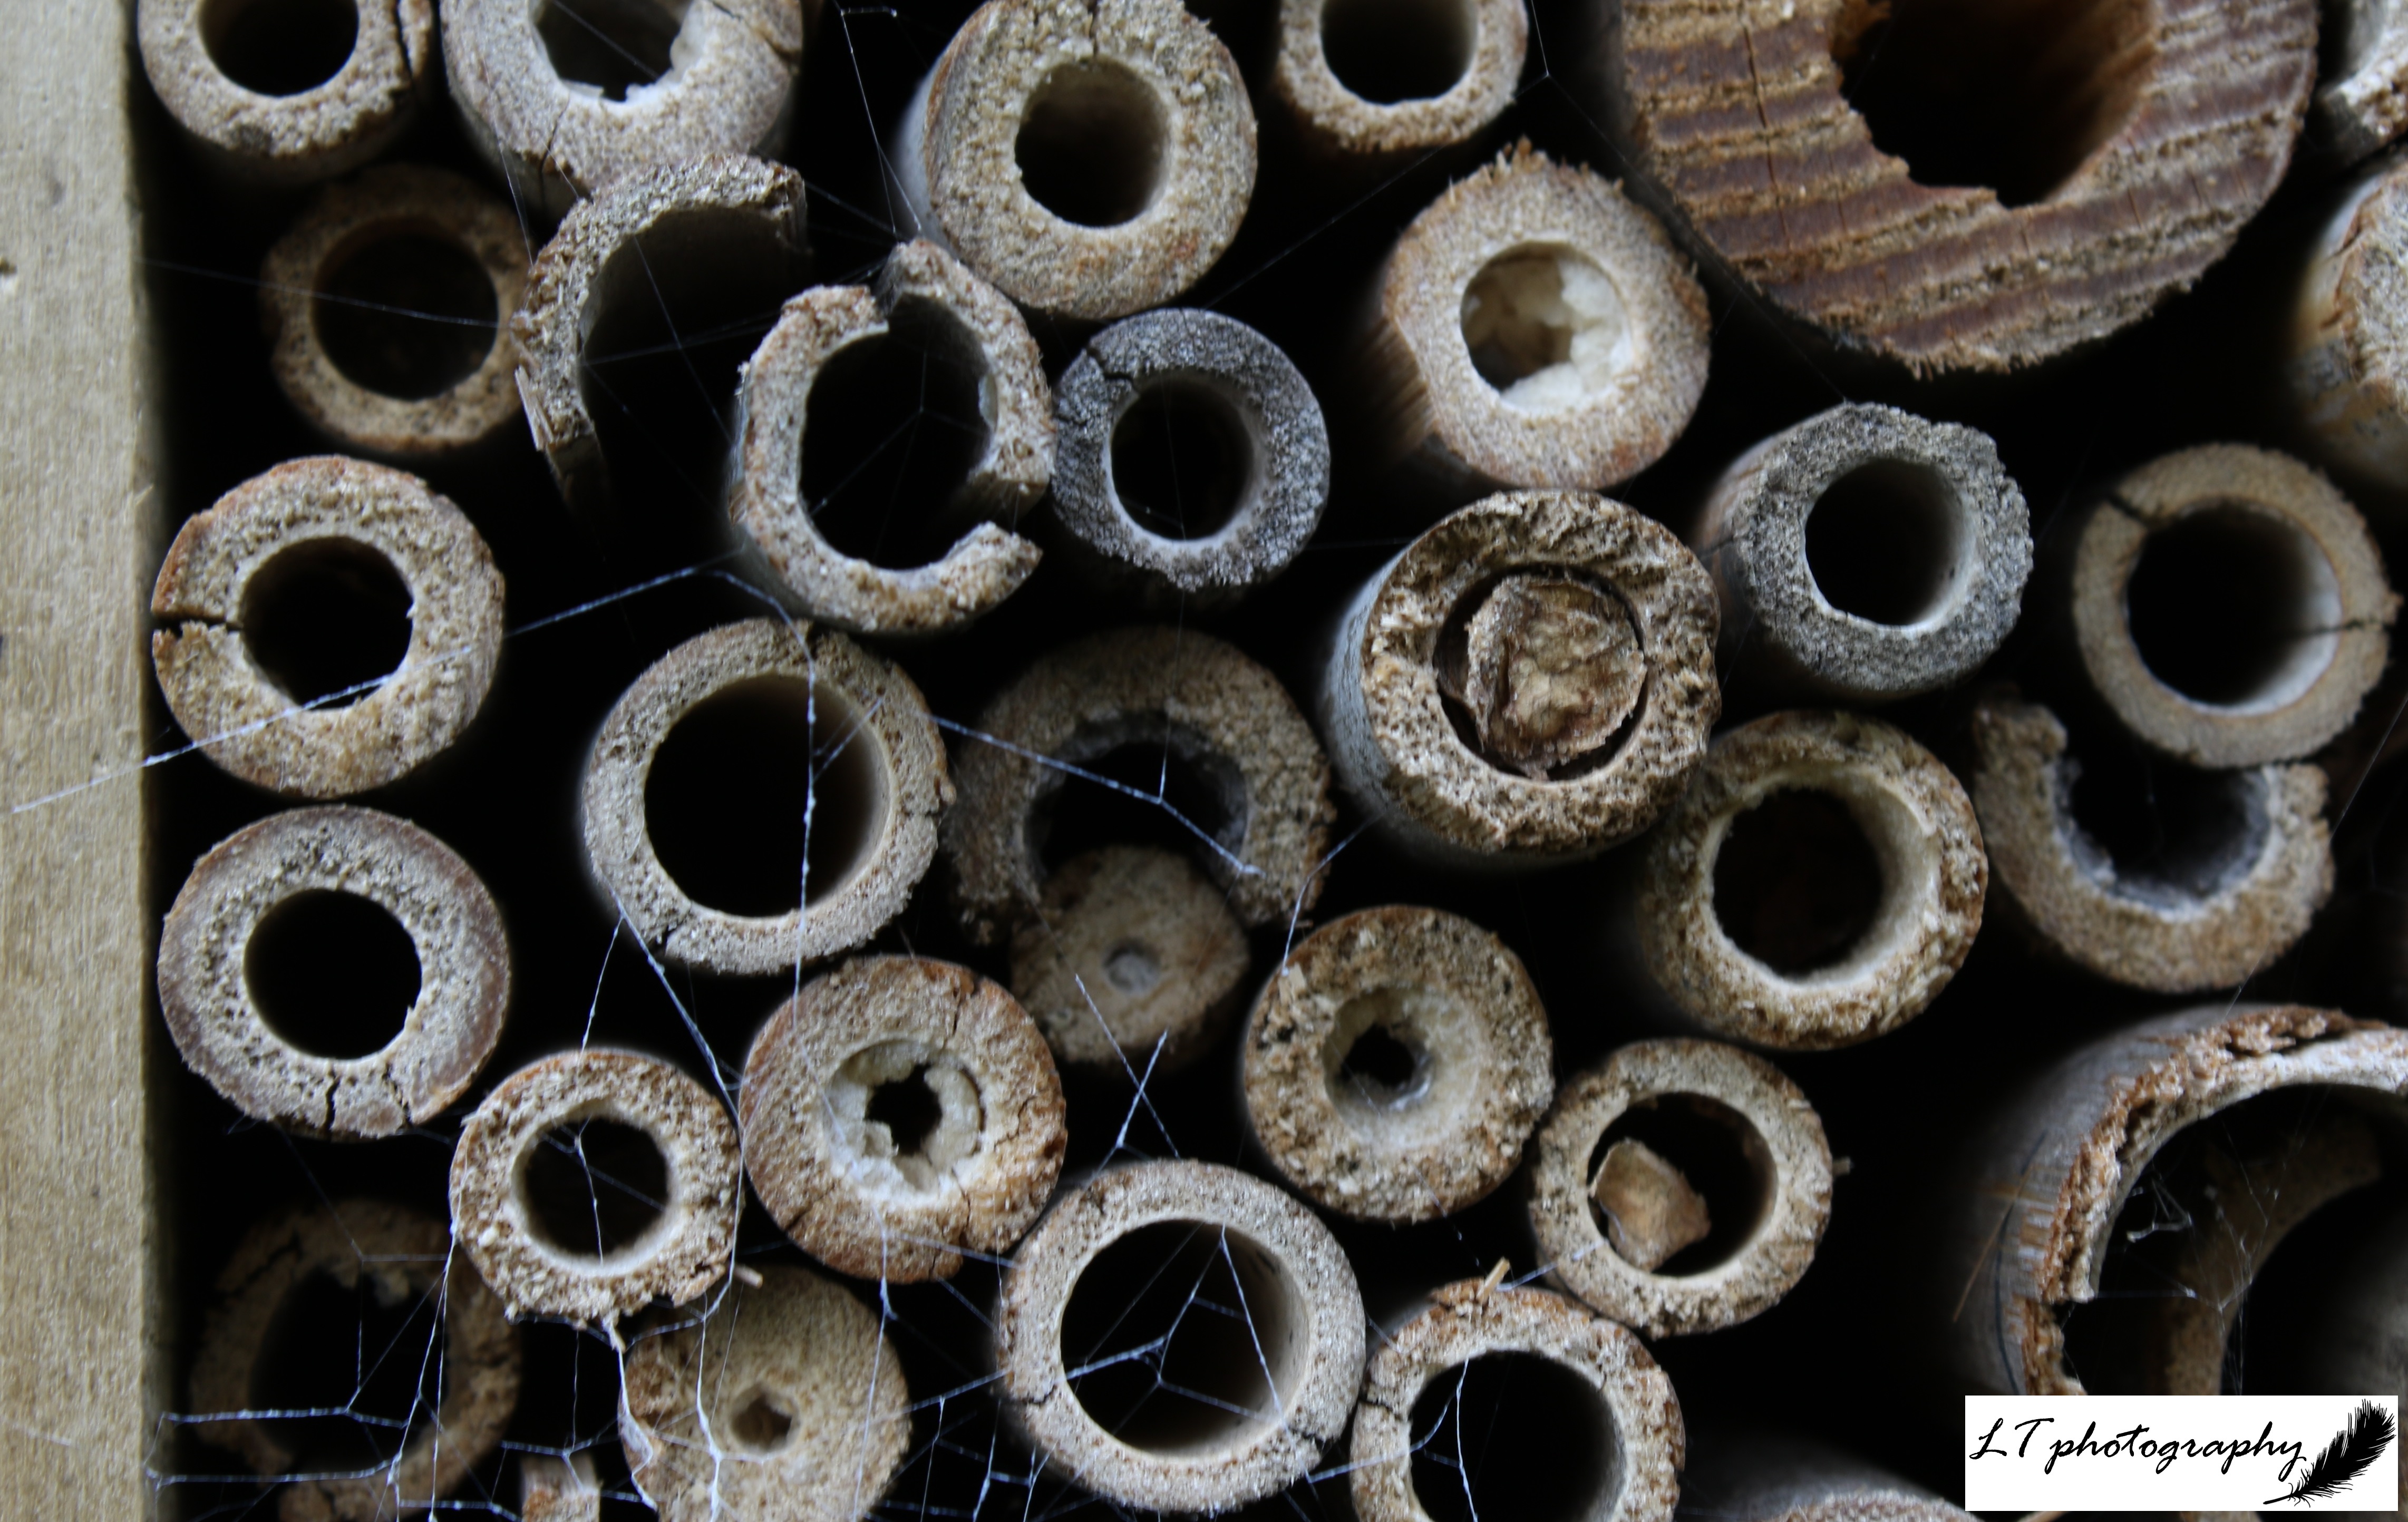
Previously, in spring/summer I posted on my blog about how to make a home for nature in the form of a bee hotel (see How to… Make Your Own Bee Hotel). A bee hotel is aimed at providing solitary bees (90% of UK bee species) with a place to nest, and for my blog I made a bee hotel that has now had some success. There are other forms of homes that we can make for wildlife though, for example for different species of bird.

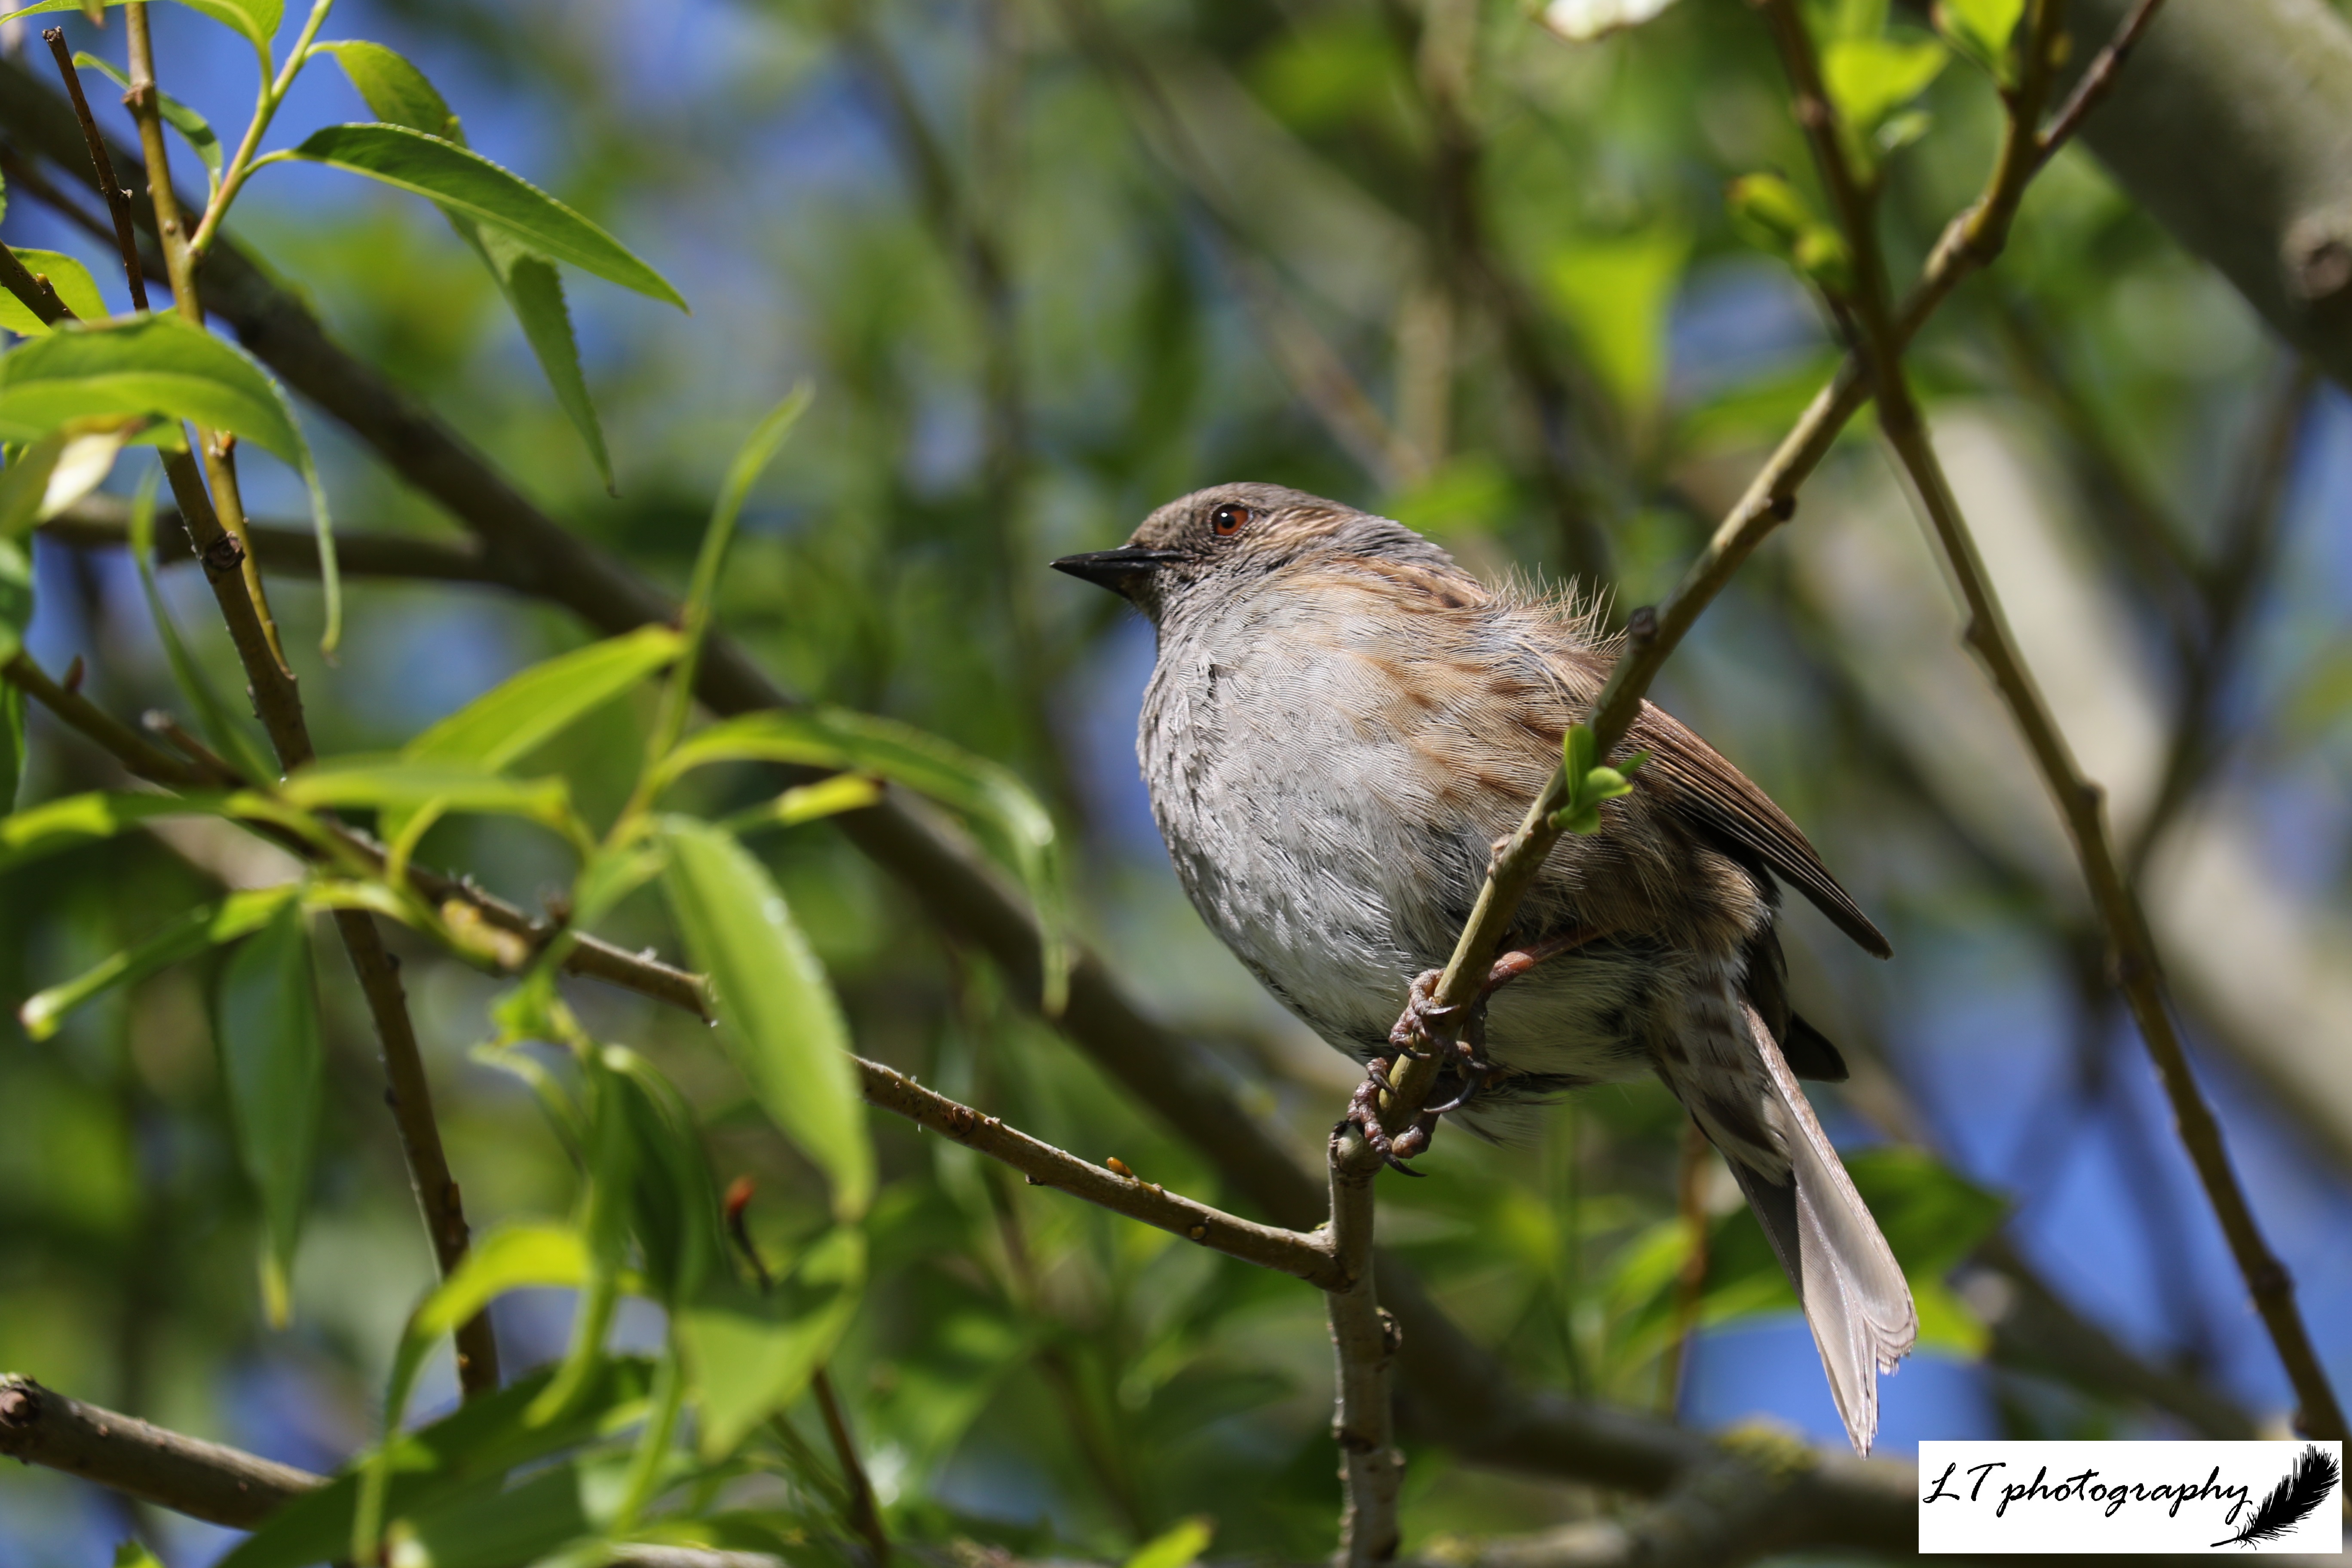
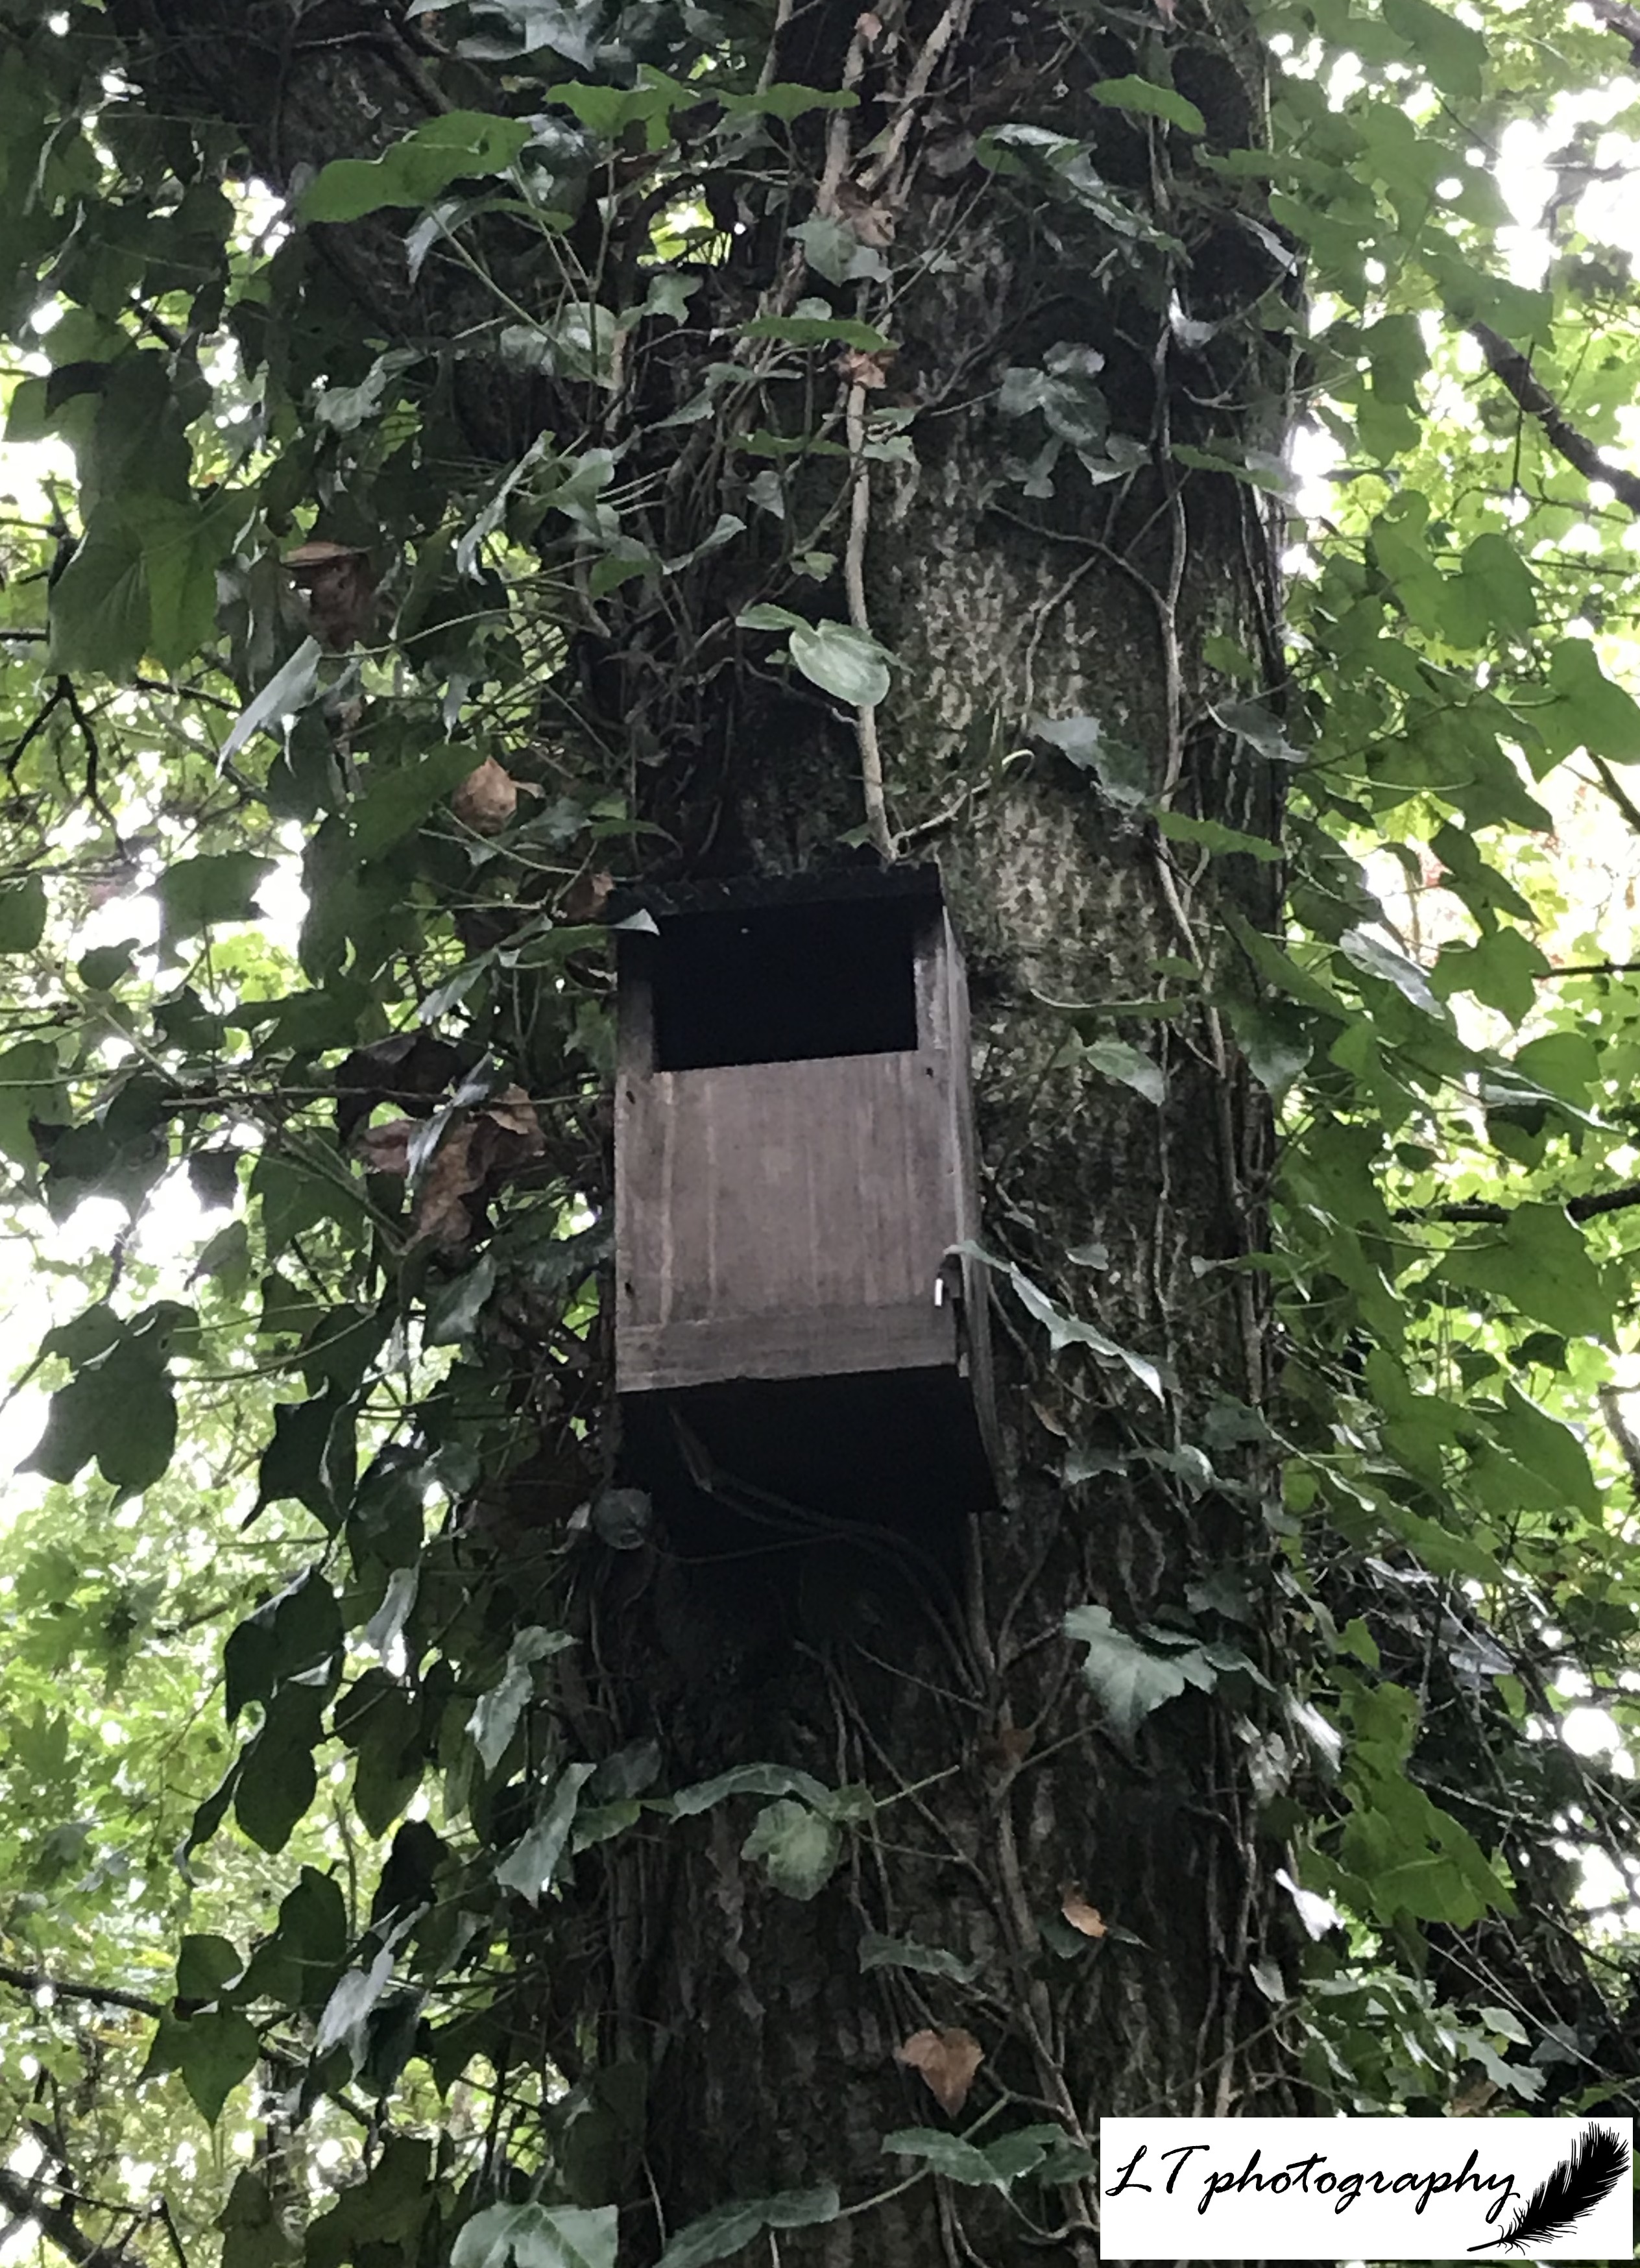
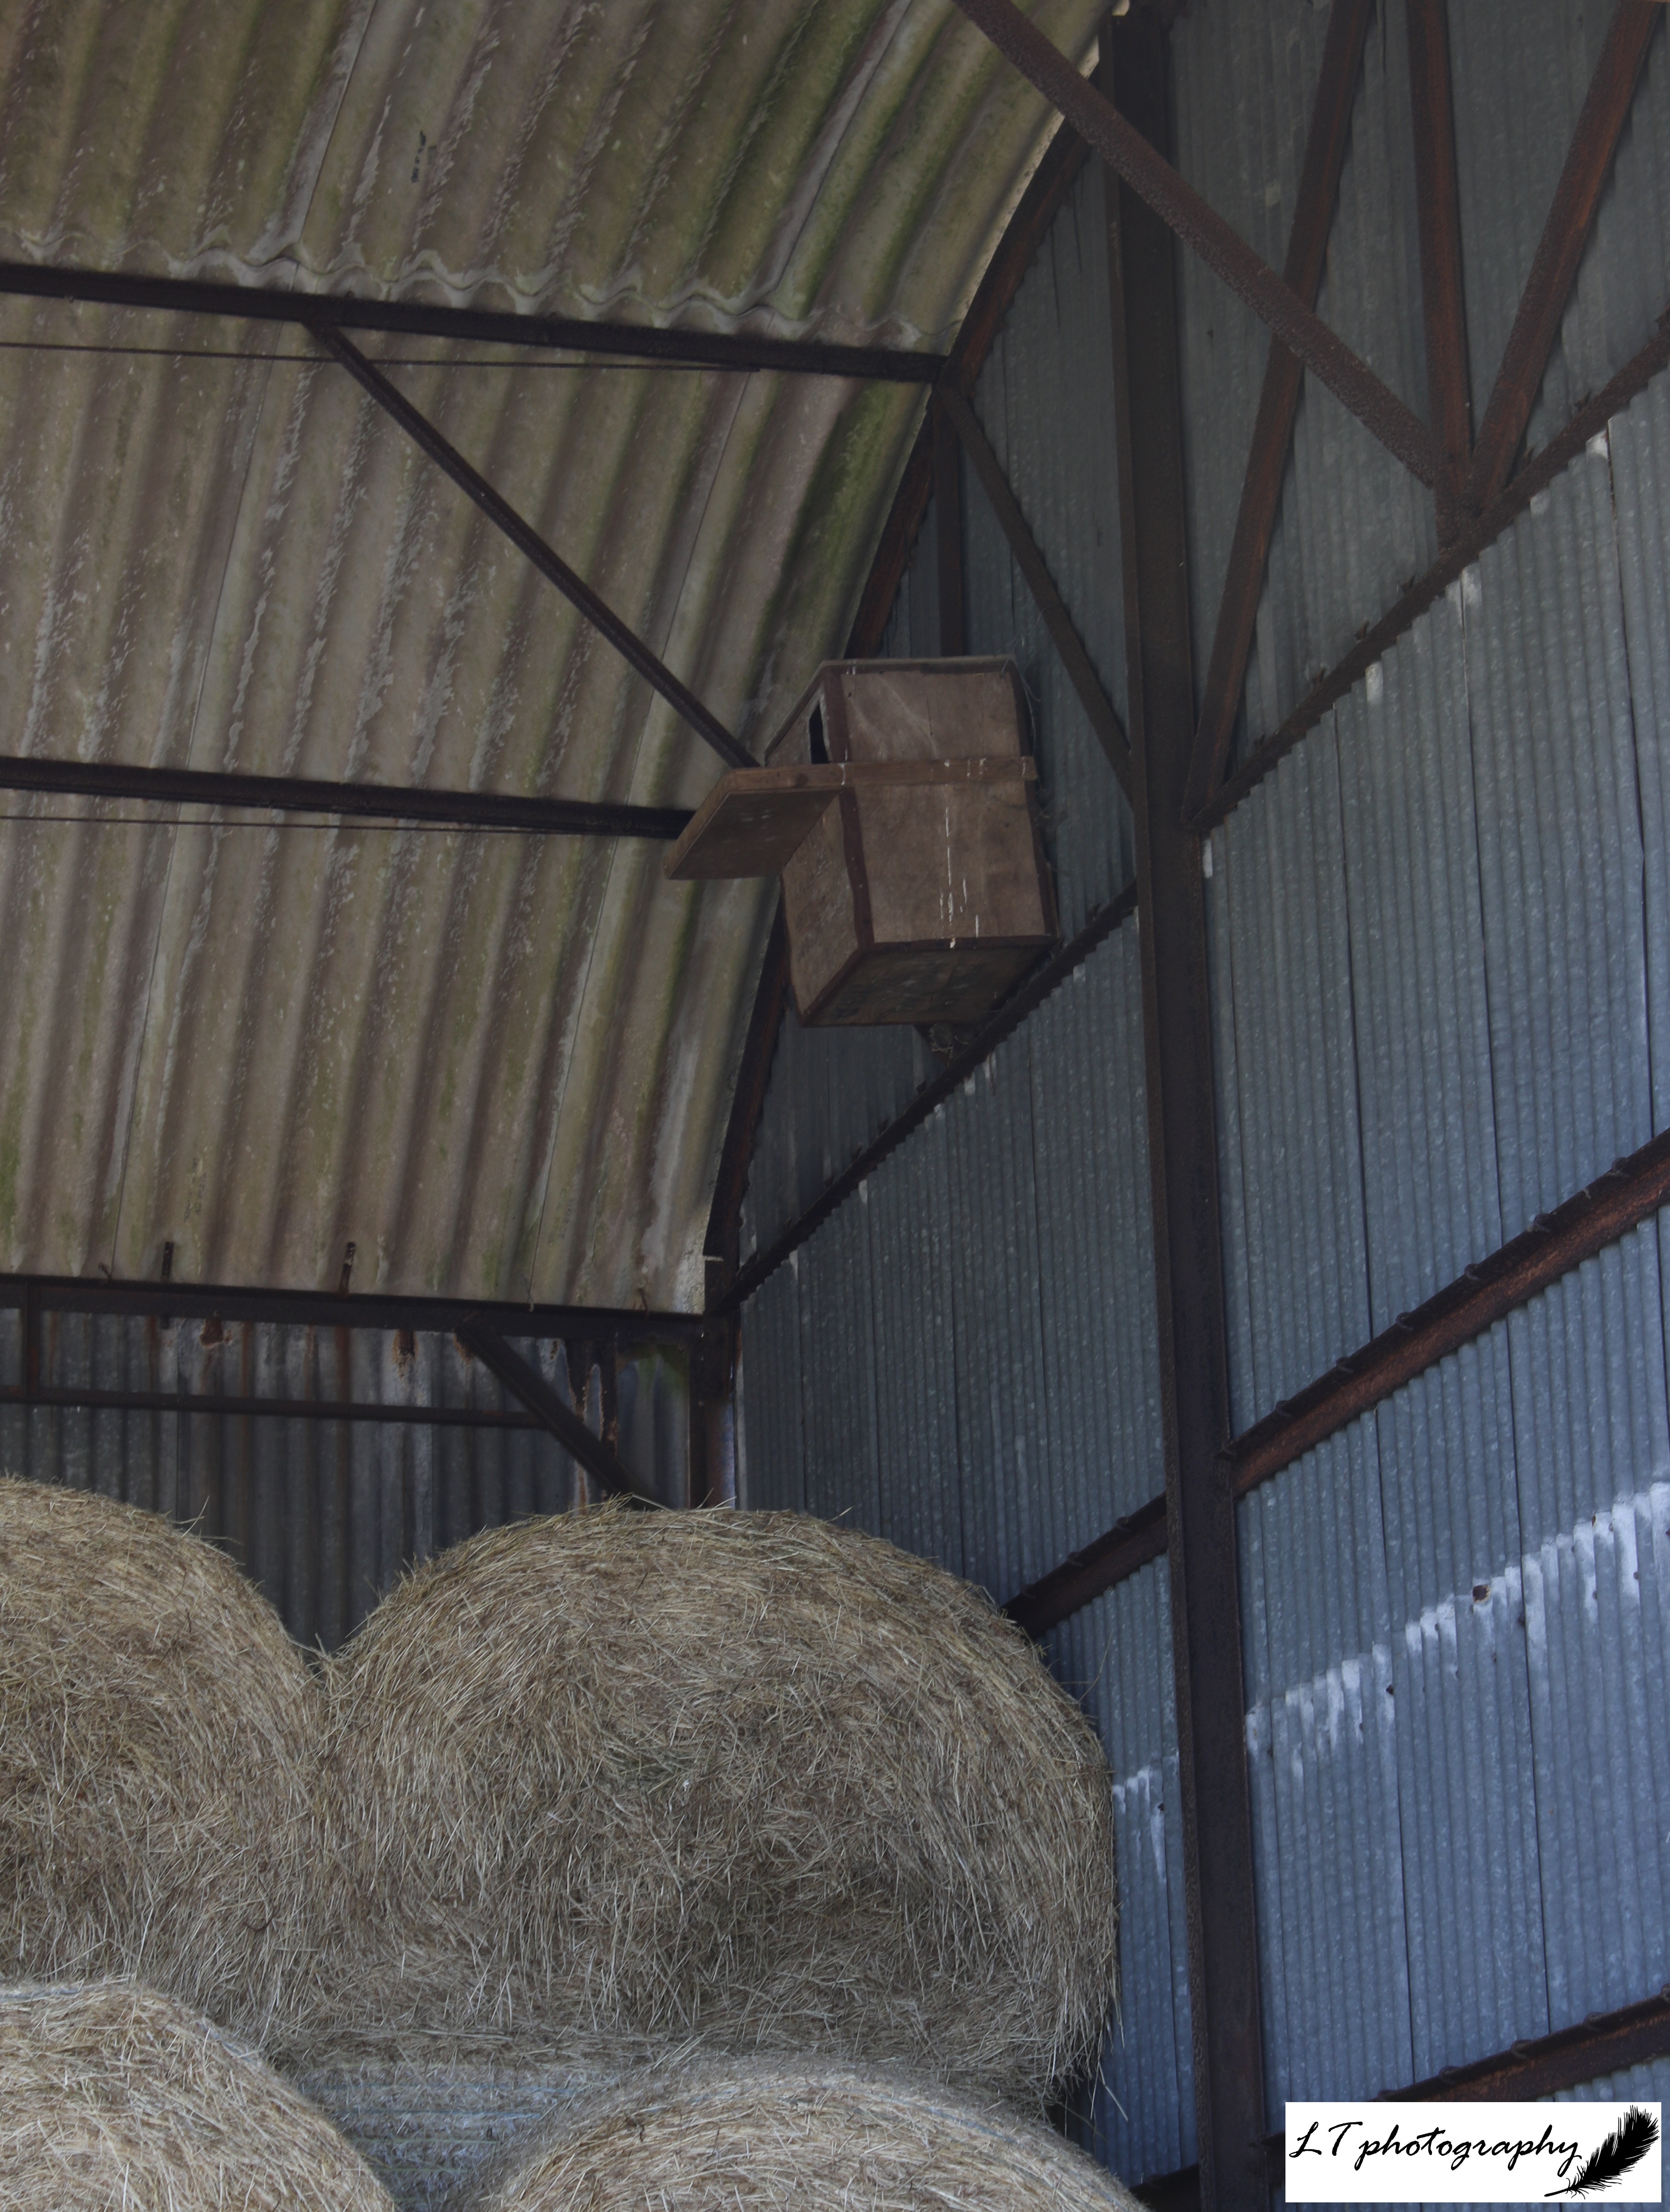
In the UK, more than a quarter of all bird species are of the highest conservation concern, with a decline in breeding birds (44 million) between 1967 and 2009. This means that conserving and creating habitat for birds is an important issue, and something we can all get involved in. One example of an easy way is to put up nest boxes, which mimic natural habitat. They create an effective artificial cavity for birds, providing an accessible alternative for species that are currently experiencing the loss of breeding habitat and winter roosting sites.


Nest boxes come in a variety of shapes, sizes and designs, which will depend on the species of choice and the purpose they need to fulfill. Though you can put up a nest box at any time of year, the best time is right now, ready to be used as a roosting site throughout winter and for breeding in the spring. This way you can increase the chance of your nest box being a success next year. There are no set rules though, so why not try making your own today!

How to Make a Bird Nest Box
What you need:
- A plank or offcuts of untreated wood, about 15mm thick for insulation
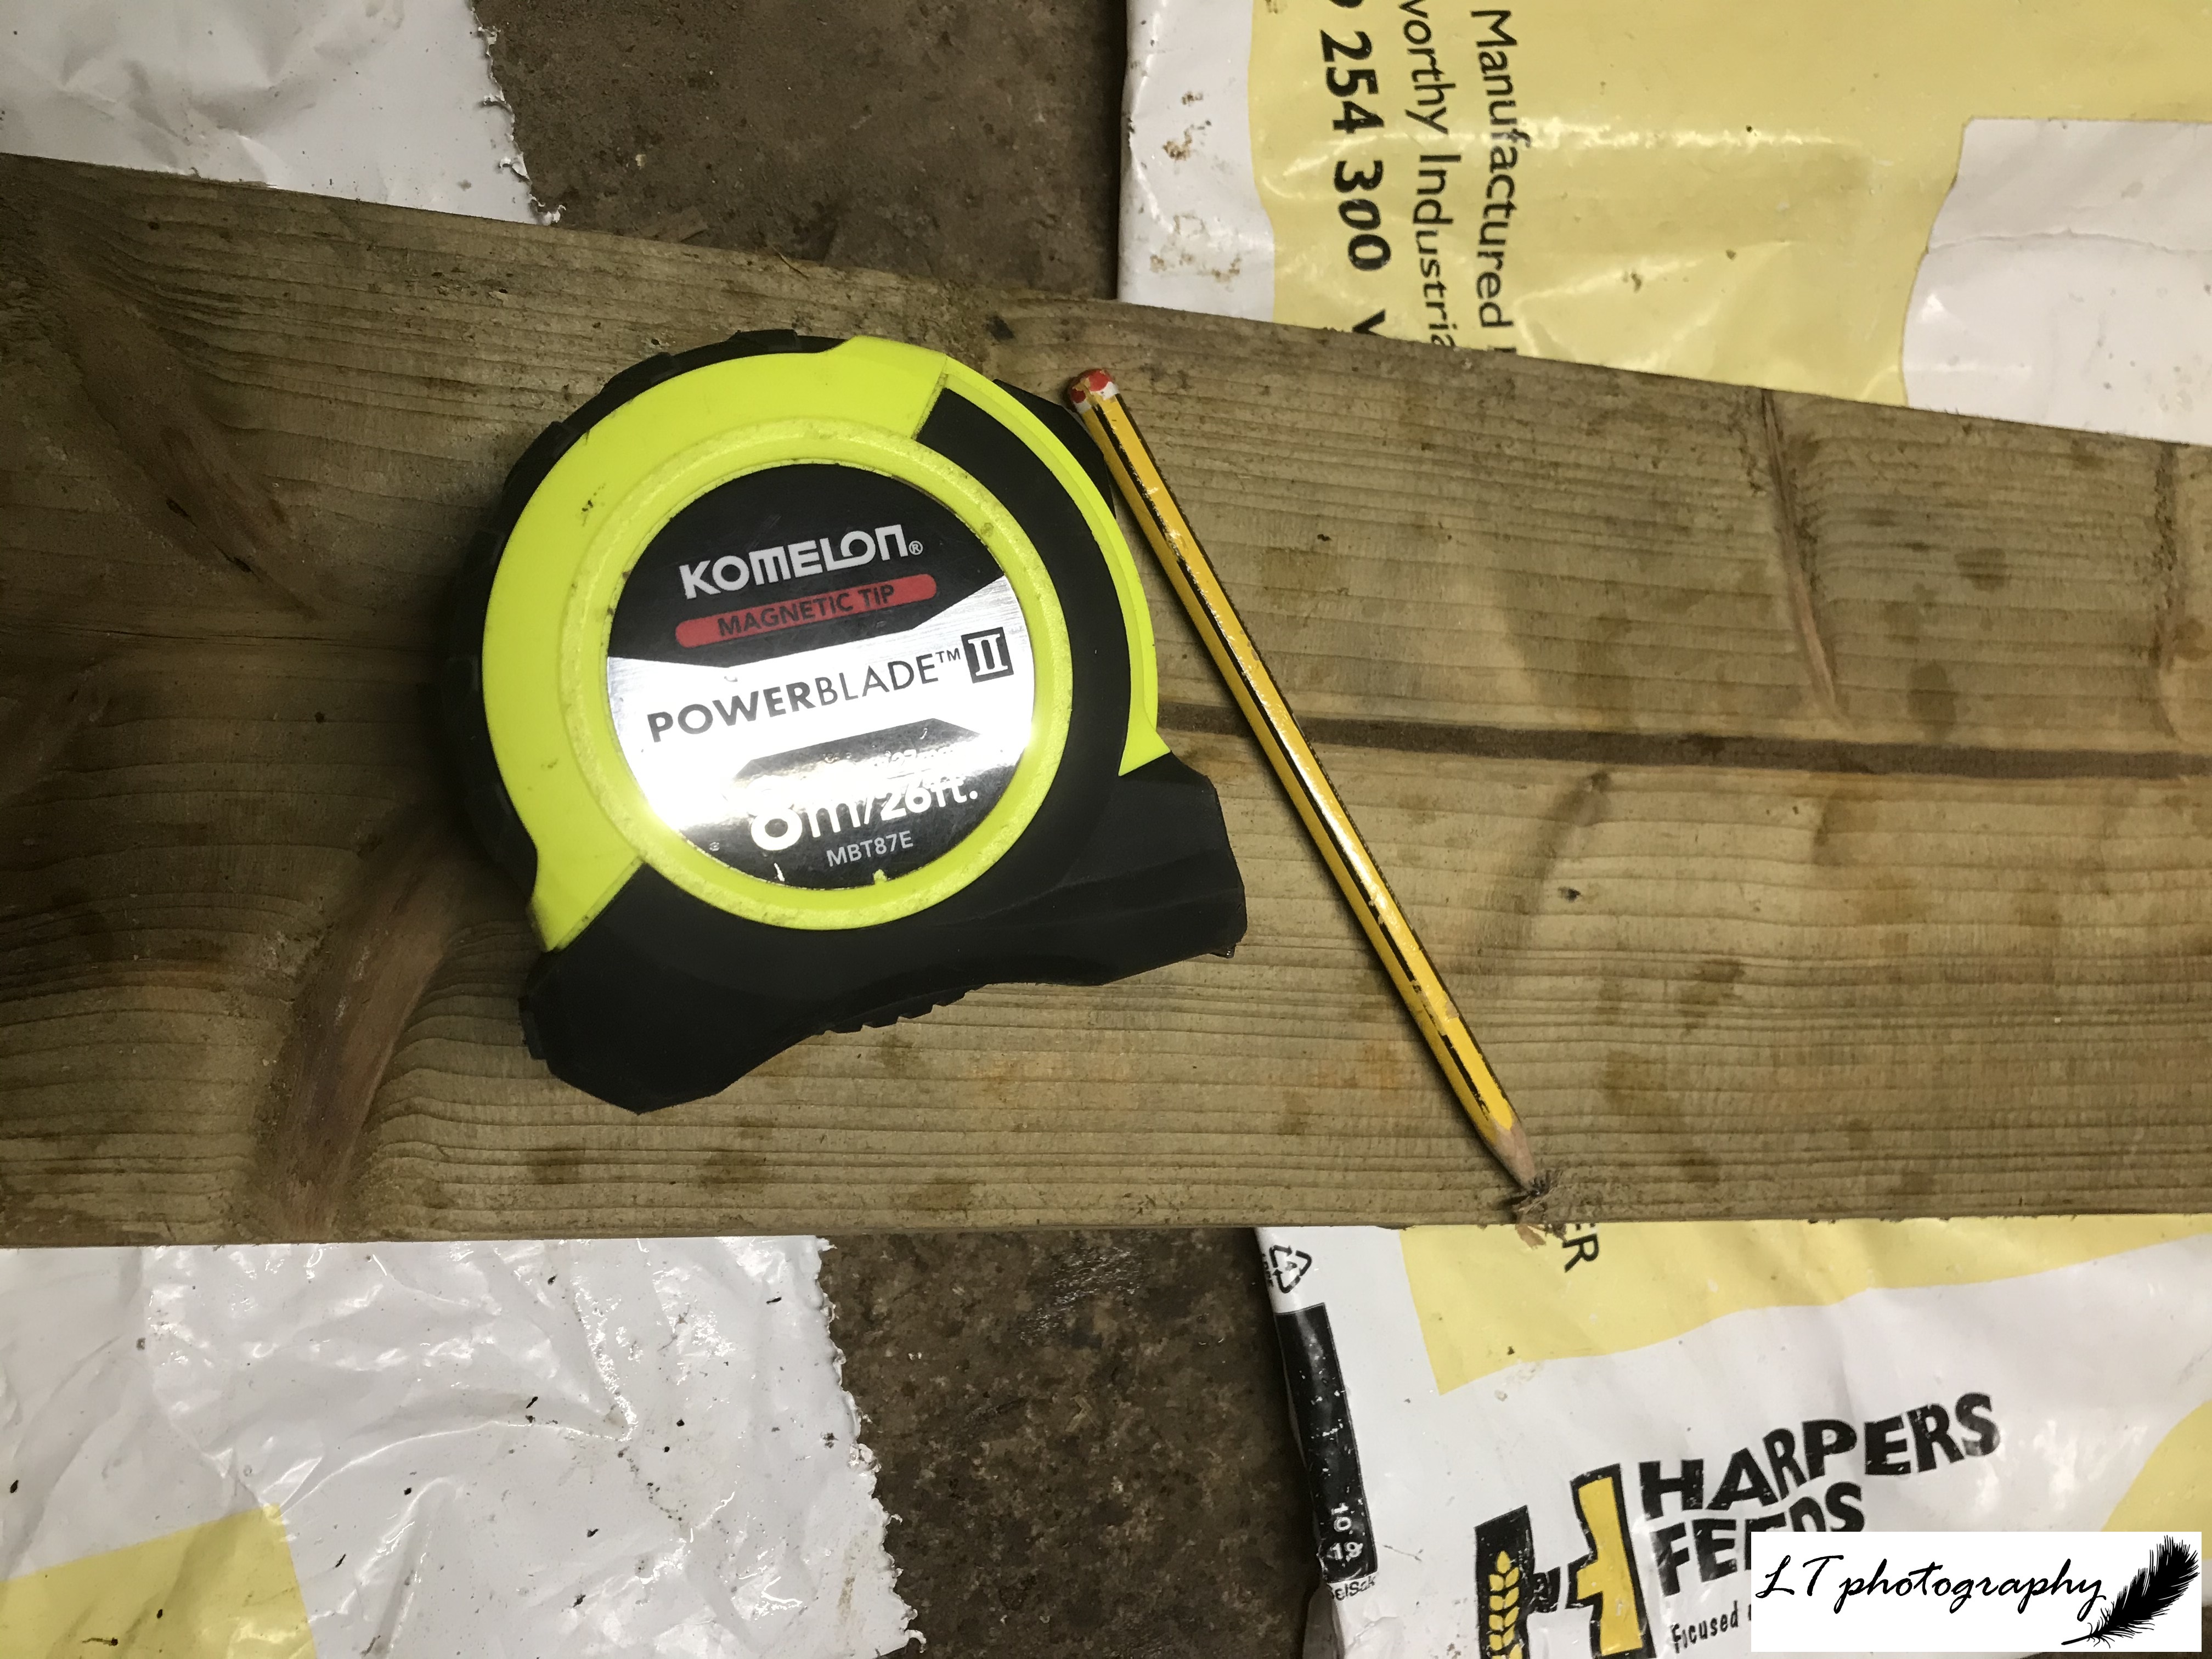
- Tape measure & pencil
- Hand or power saw
- Drill & different sized drill bits
- Sand paper
- Hammer & nails
- Screws
- Sealant, a piece of rubber or something similar
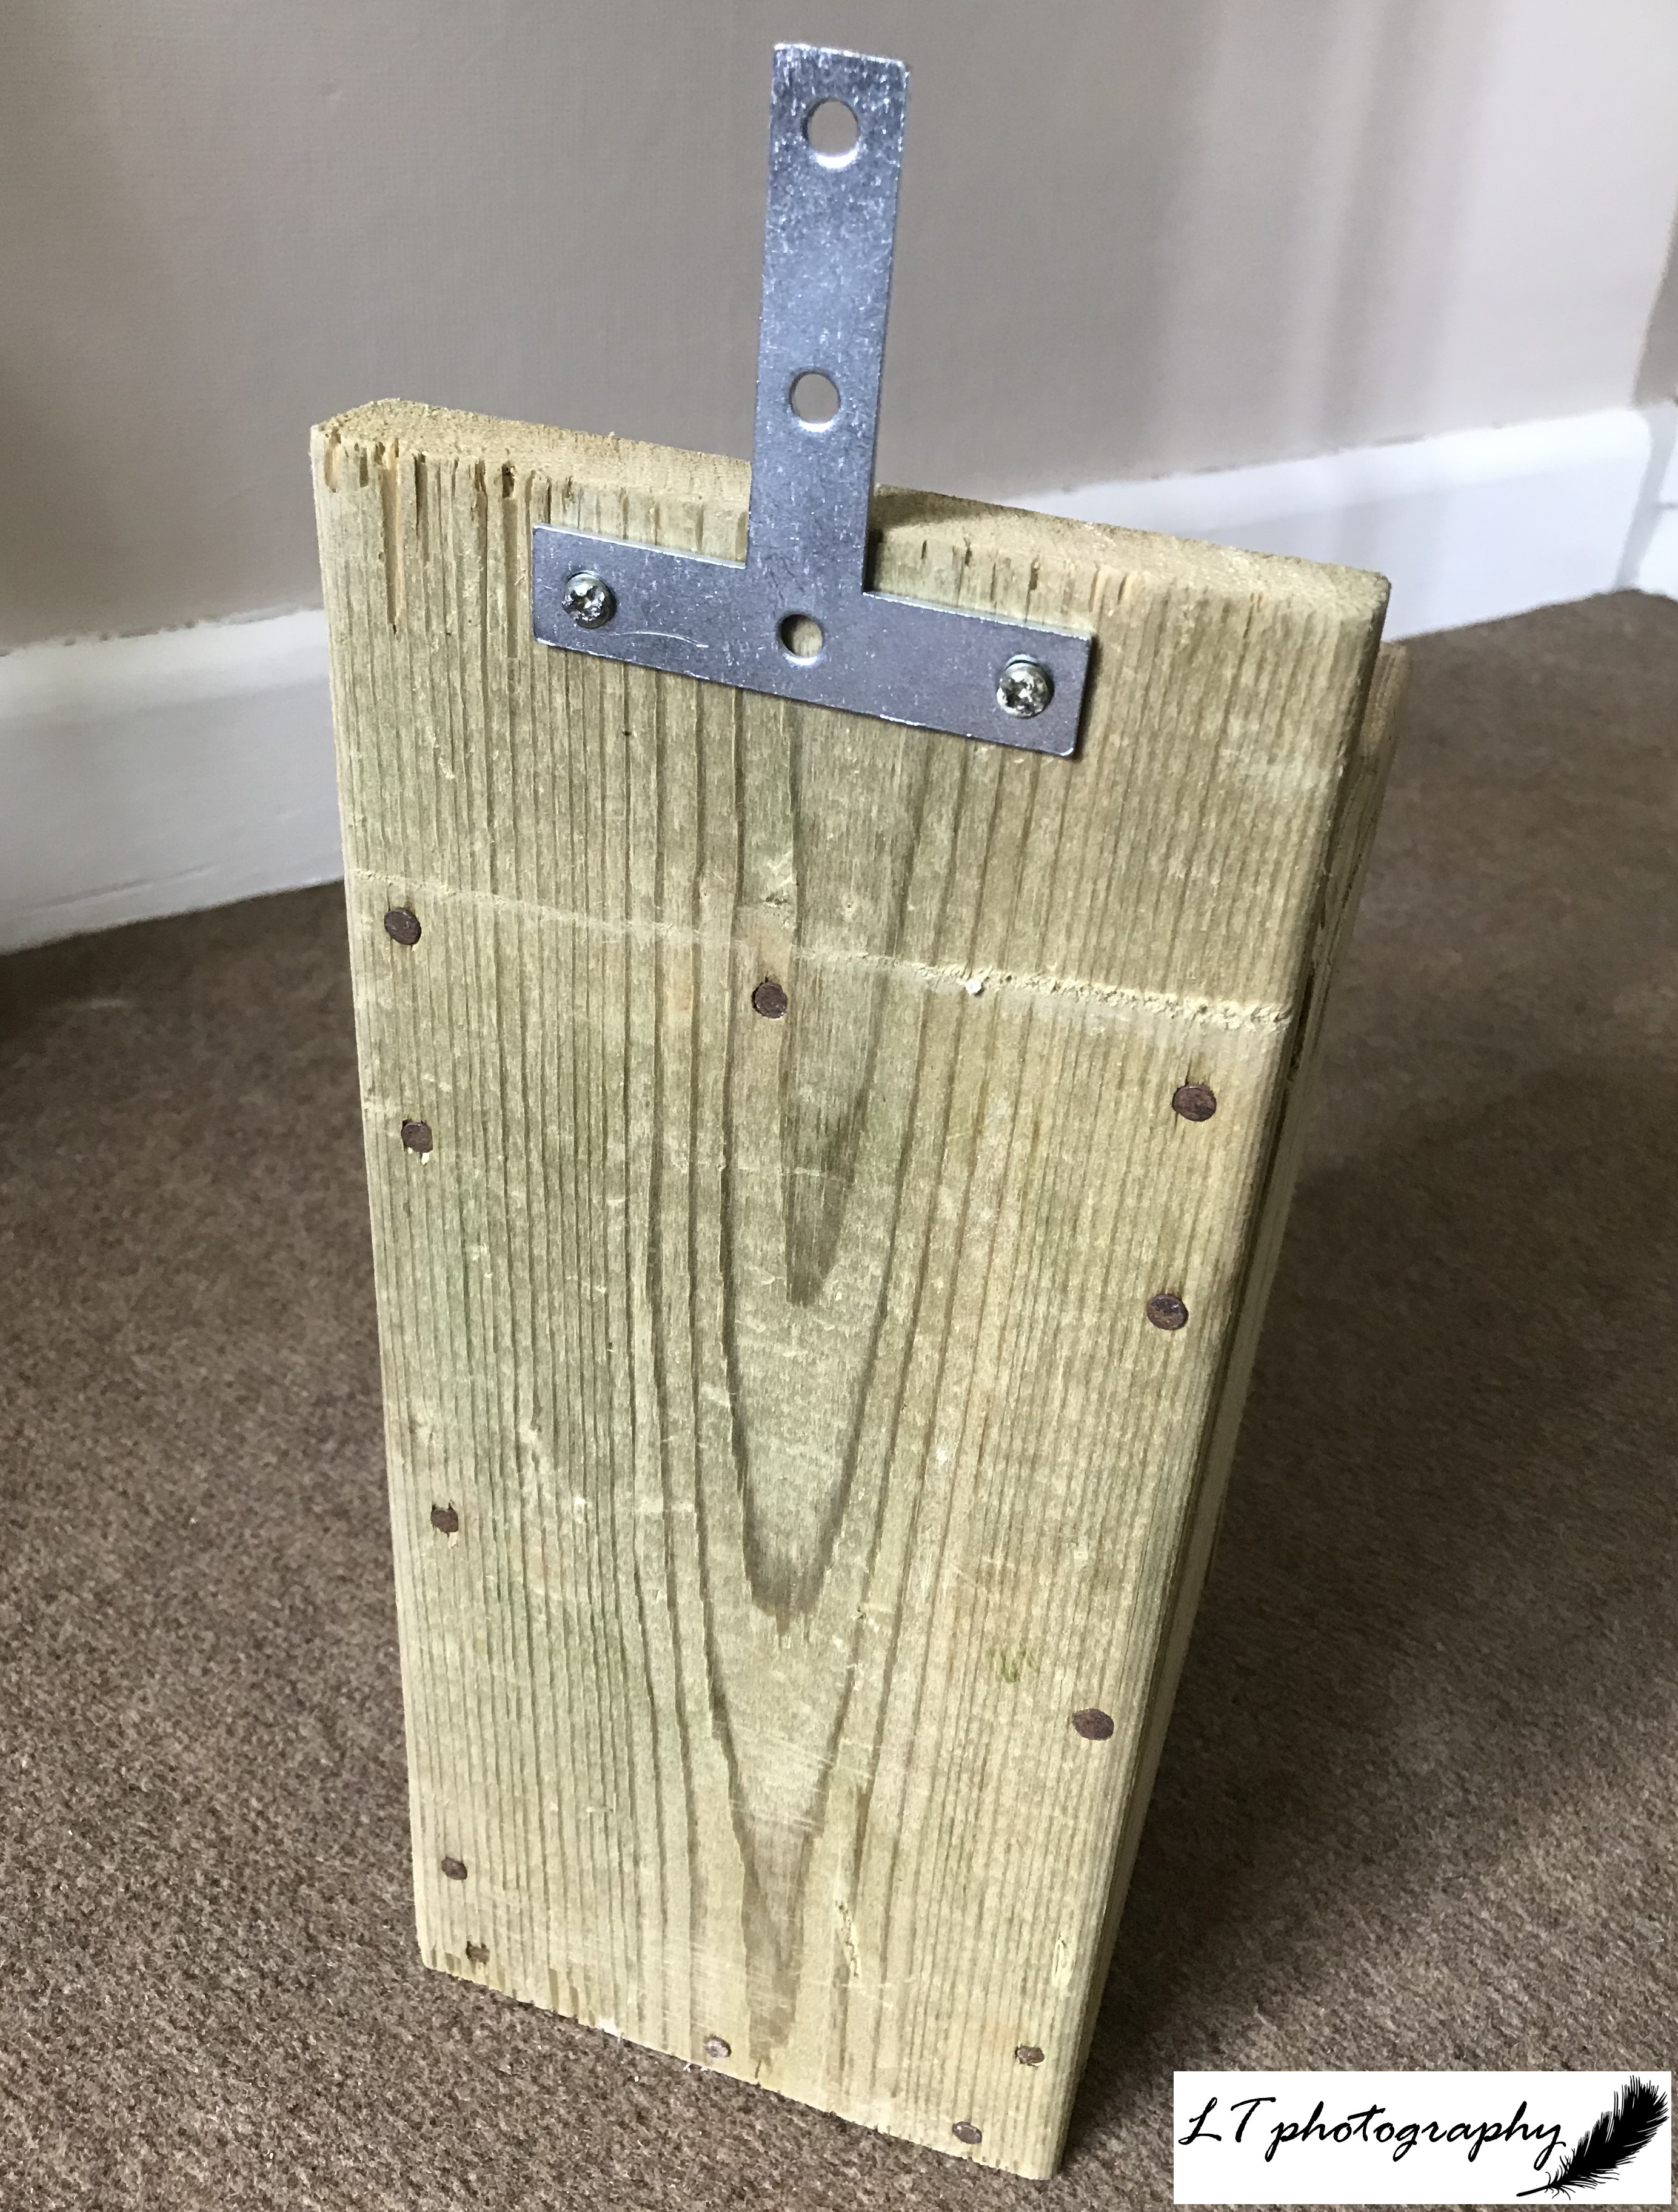
- Optional: Hole plate

Step by Step Guide:
- Decide on your nest box design. Your nest box will most likely be aimed at a certain species, such as Robins or House Sparrows. You can also choose particular design features, such as a flat or apex roof. For the purpose of this guide though, I will provide instructions to make a standard Tit nest box.

- Use a tape measure and pencil to mark out the wood you need, either by creating templates out of paper or cardboard, or by drawing straight onto the wood. For this design you will need 6 pieces: a back (45cm x 15cm); a base (11cm x 15cm); a front (21cm x 15cm); a roof (20cm x 15cm); and 2 side panels (25cm high at the back, 20cm high at the front, and 11cm wide). Use a hand or power saw to cut the wood into the 6 pieces needed.


- Next, take the front panel and use a wide drill bit to make a hole towards the top of the panel, at least 125mm up, which the birds will use to enter the nest box. The size of the hole will vary between different species, but for my nest box I made a 25mm hole, aimed at Blue Tits and similar Tit species.


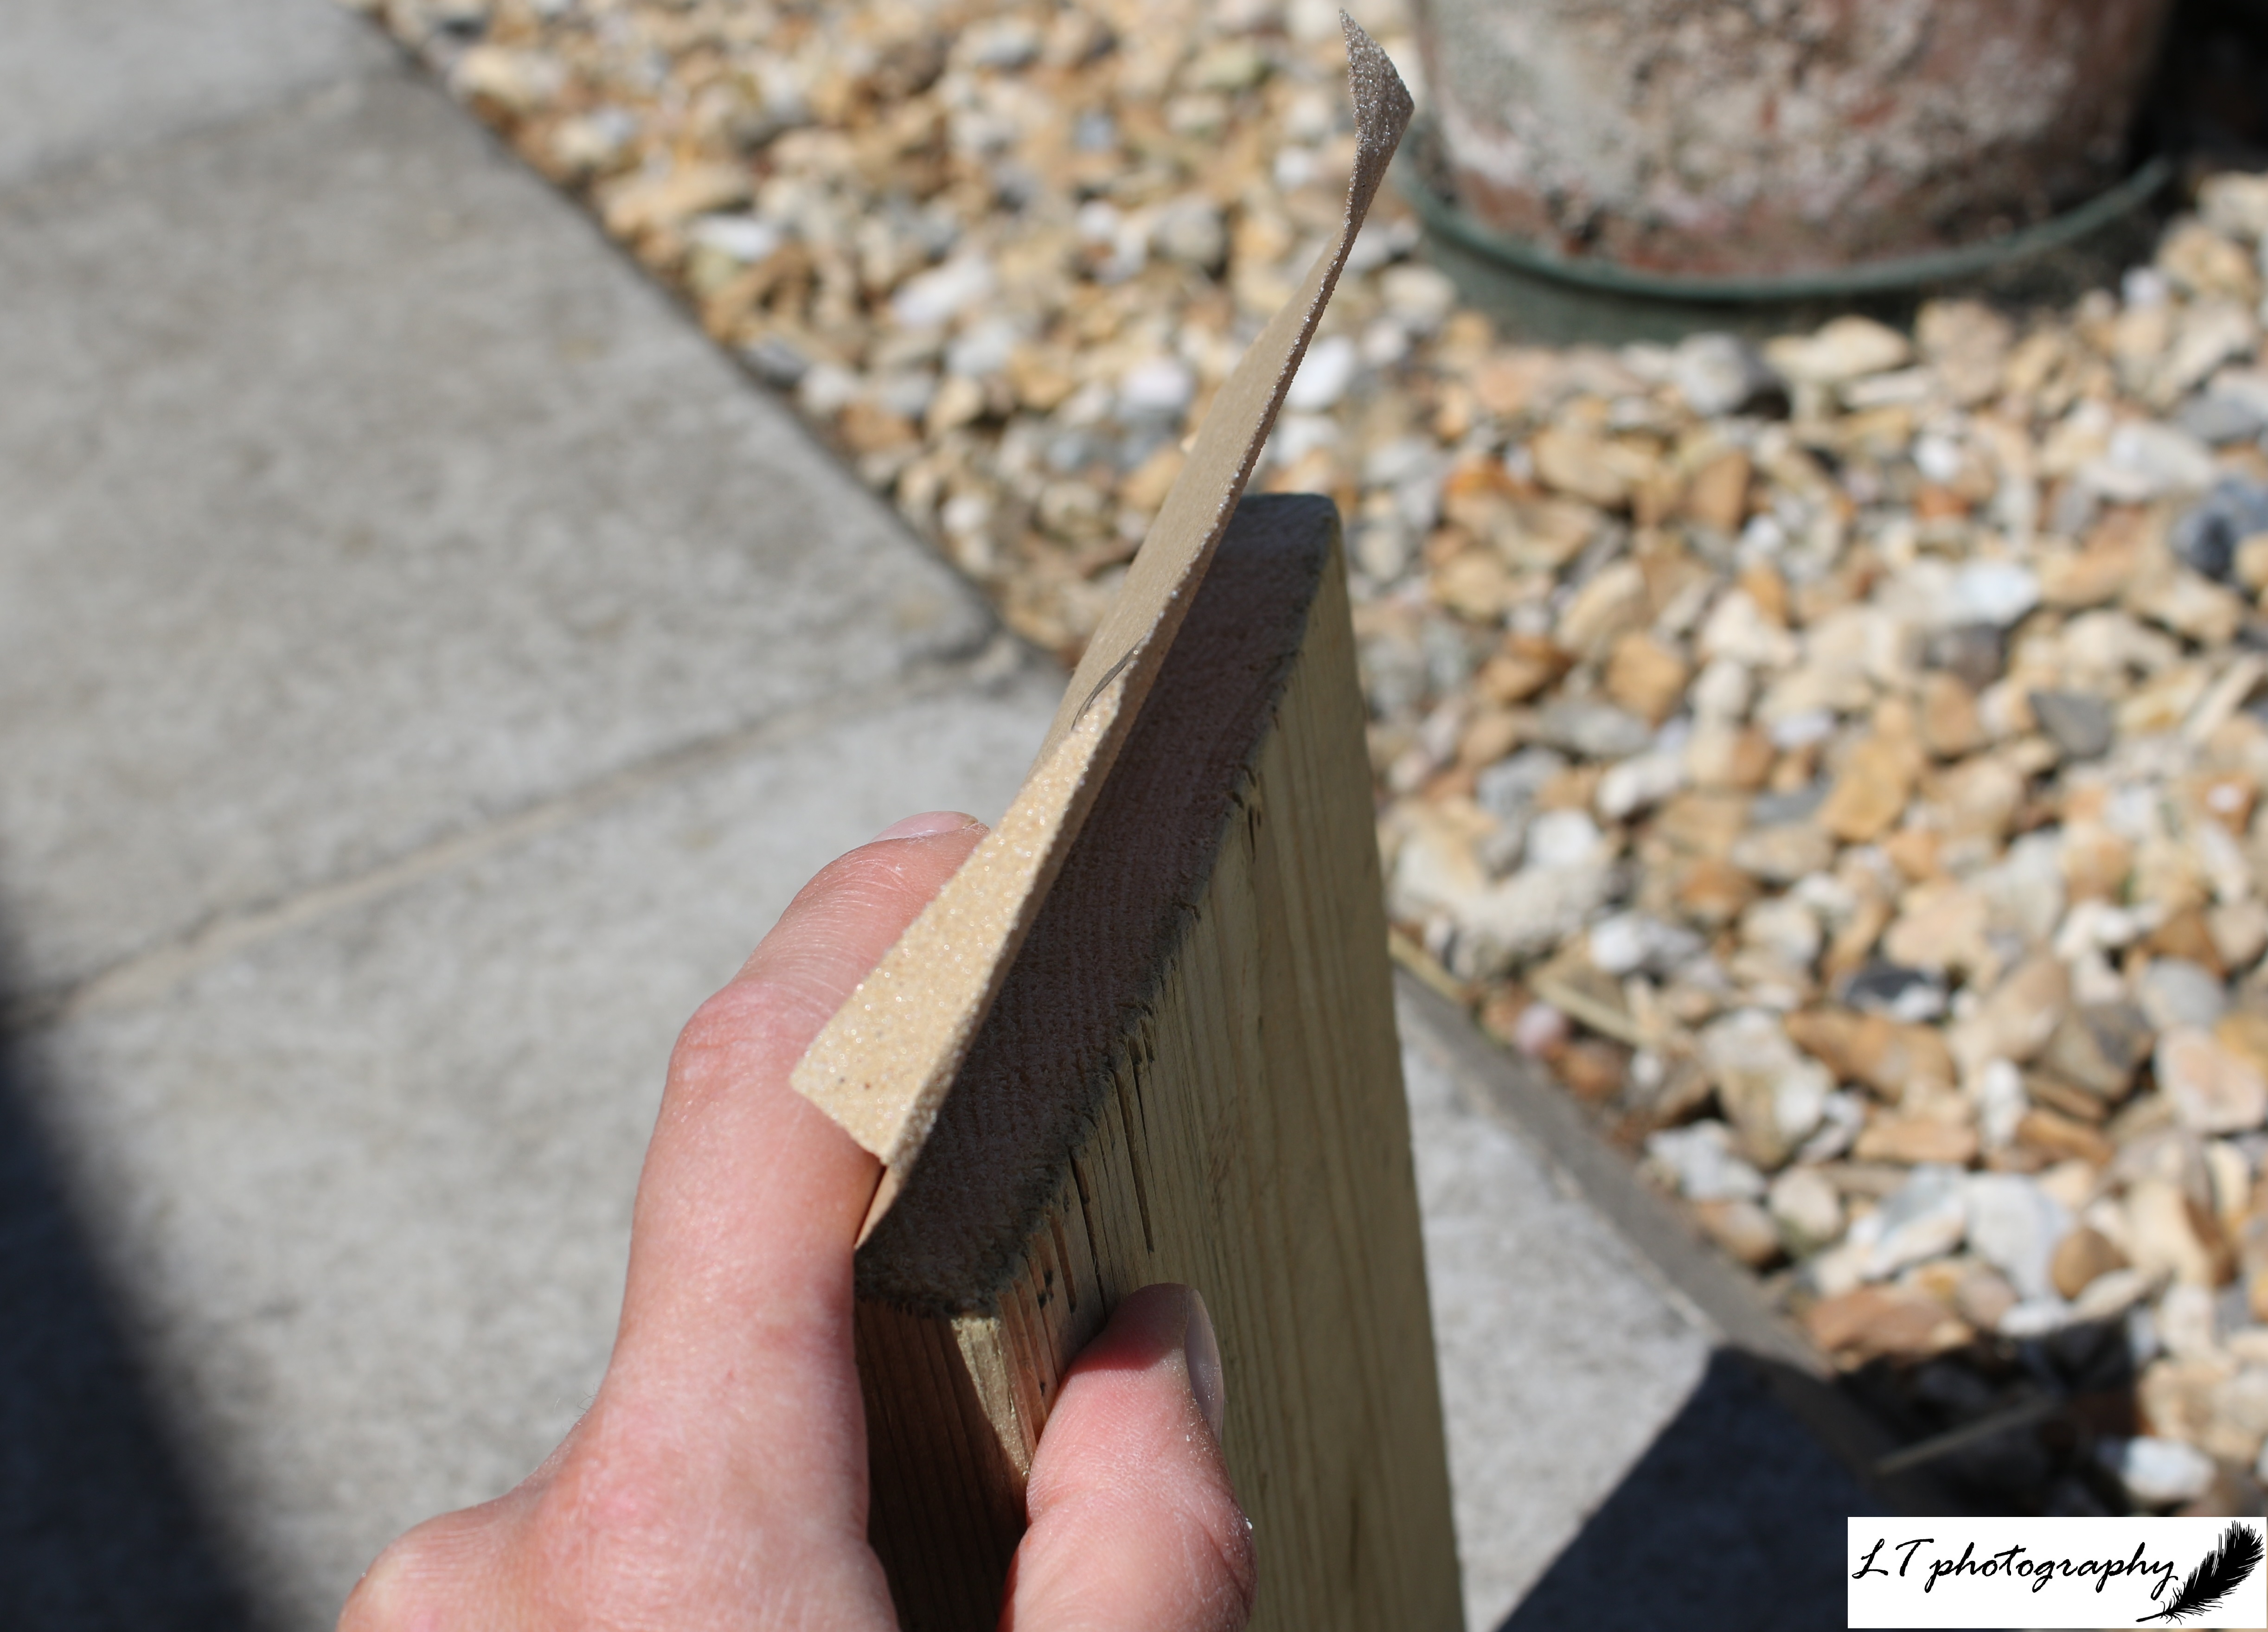
- Use sand paper to sand down any rough or uneven edges of the wood, that otherwise could cause problems for birds using the box.

- Use a hammer and as many nails as you need to make the back, base, sides and front fit together forming the main body of the nest box. It is often best to mark where the nails will go first and partially drive each nail through the first piece of wood first (e.g. the back), which will make nailing the pieces together easier and help avoid splitting the wood.

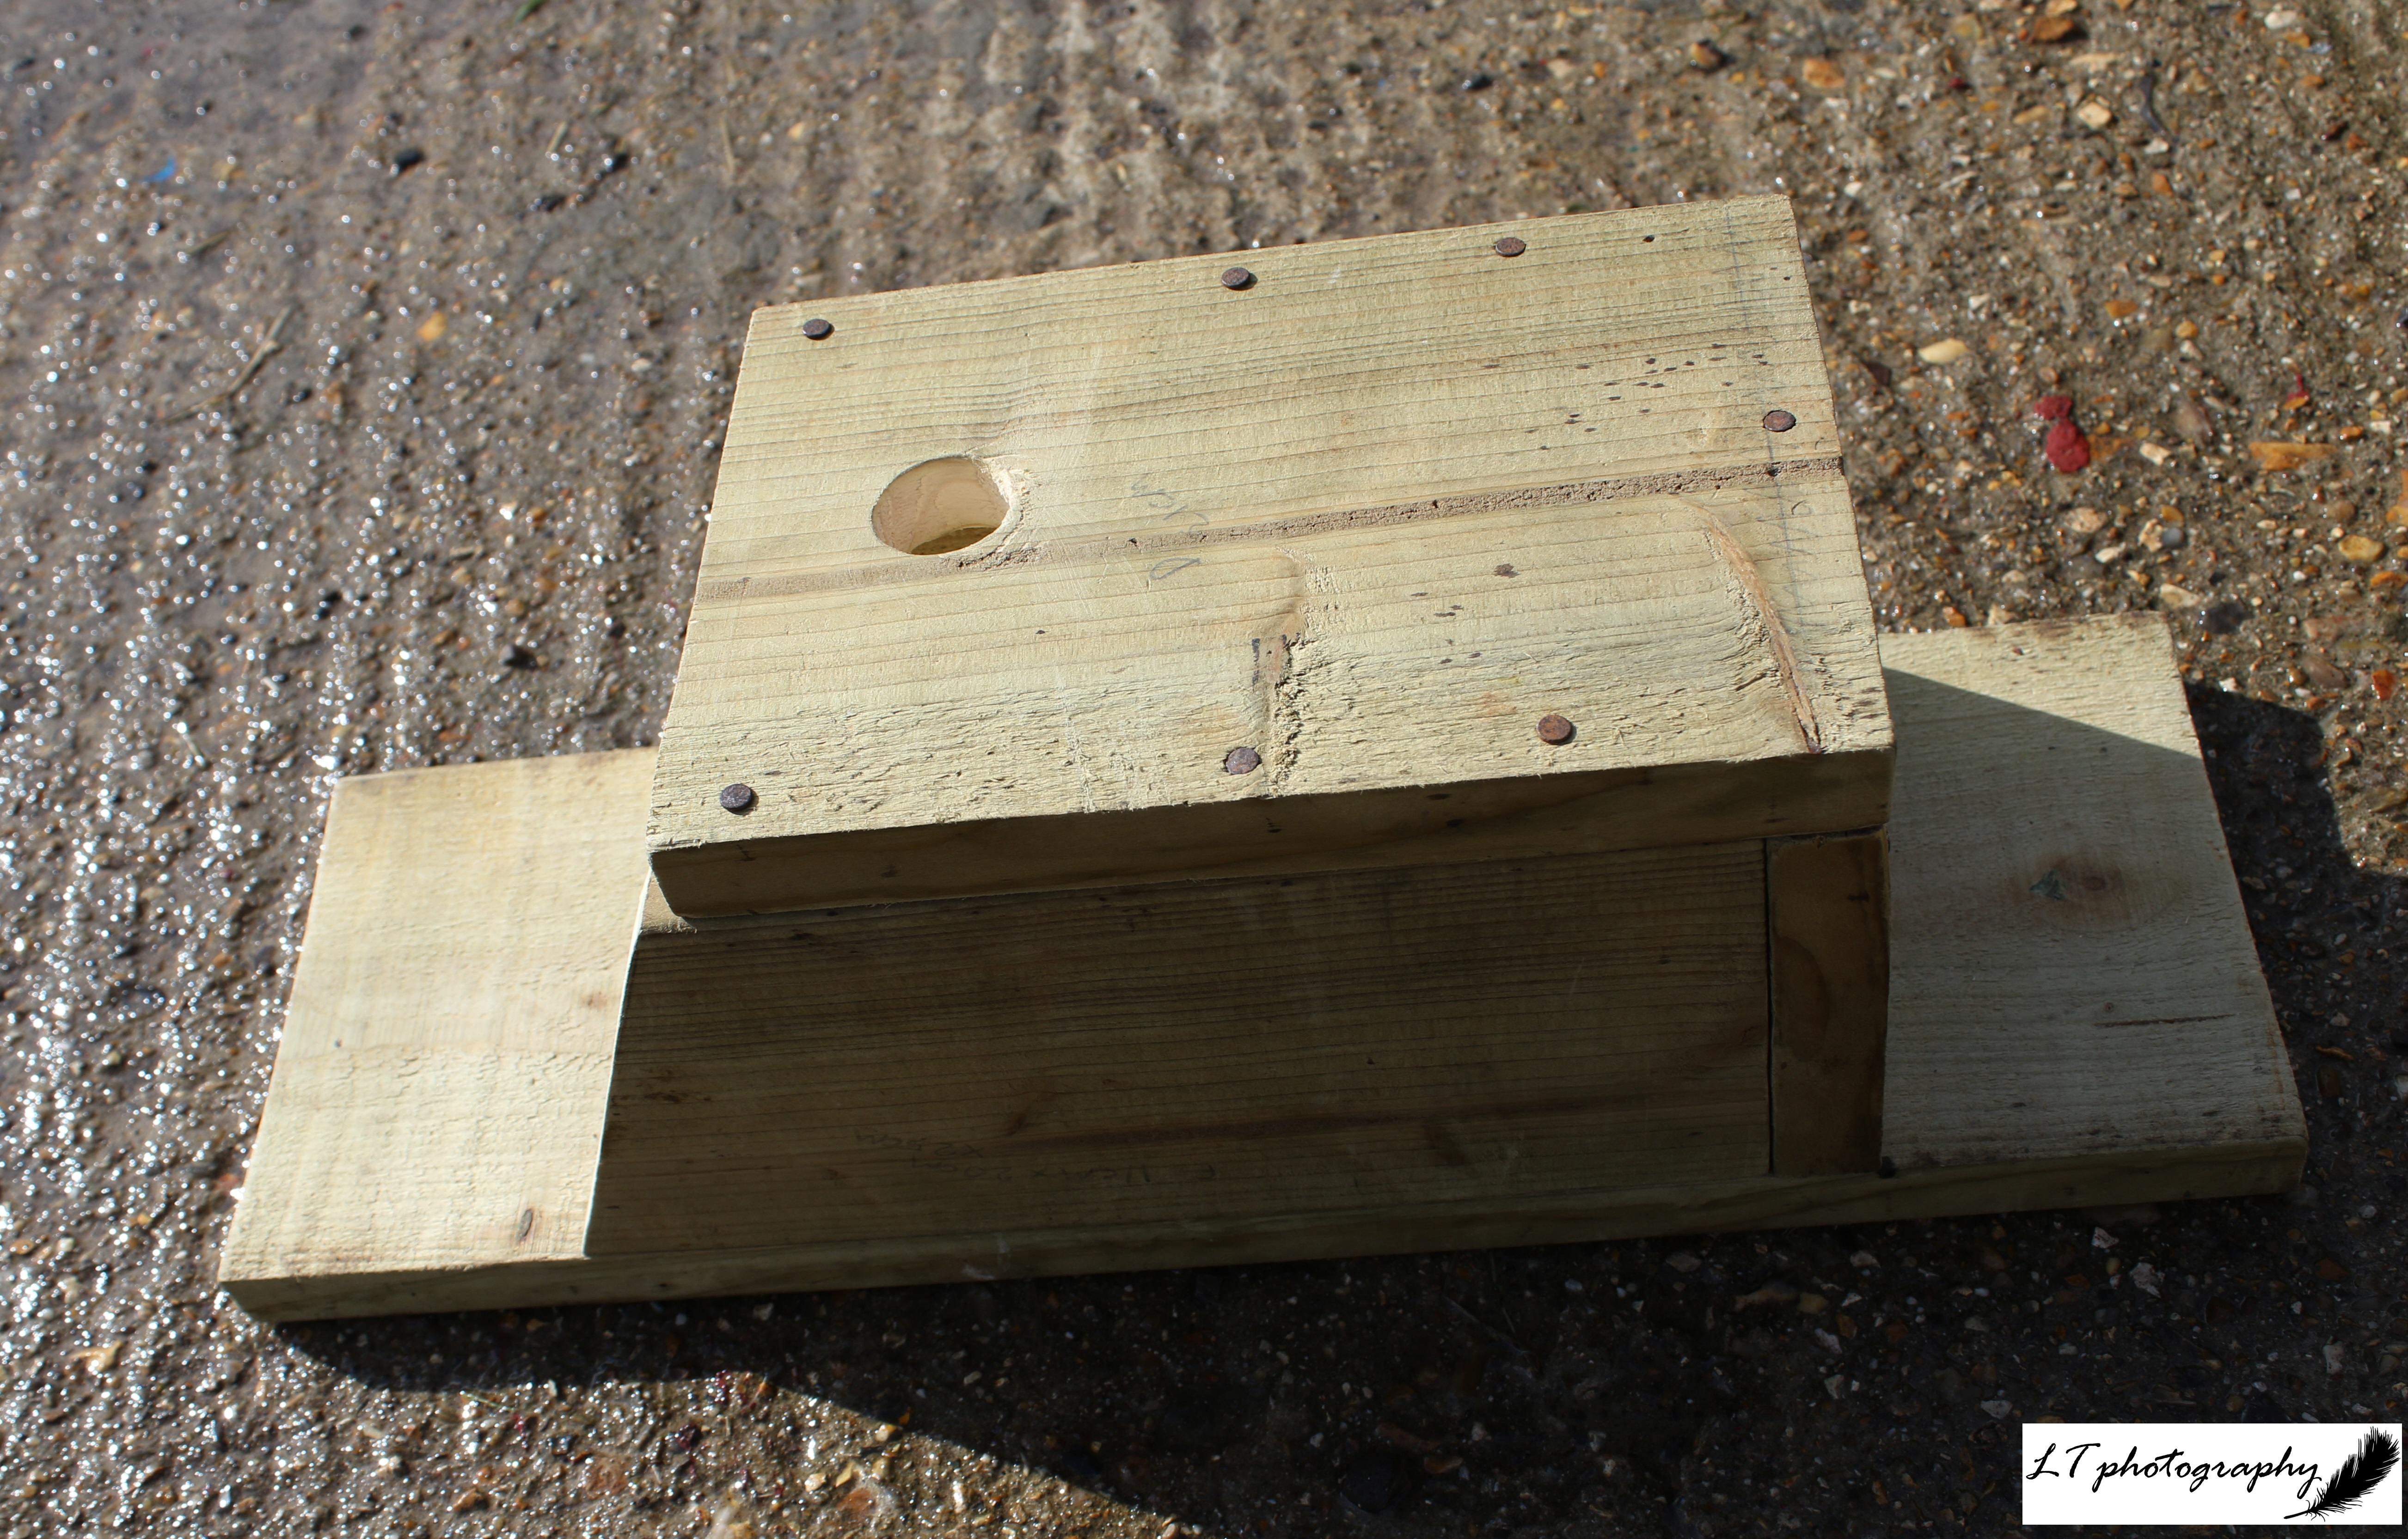
- Attach the roof to the box using screws that you can later remove when needing to clean the nest box out. Seal the gap between the roof and the back of the nest box with either flexible sealant or an attached flap of recycled rubber.


Optional editions: Add a nest box hole plate to the front of the box to prevent predators from enlarging the nest box hole and larger bird species using the box. Also, you could apply a water-based wood preservative product to the outside of the box to prolong its life and help to repel water.
Tips on putting your nest box up
- Unless there is shade during the day, position the nest box facing between north and east to avoid strong sunlight.
- Choose a location which is 2-4 metres above ground level, out of reach of predators, and away from constant disturbance.
- Make sure there is a clear flight path to the entrance of the nest box and that there is shelter from bad weather.
- Place your box away from the location of any other nest boxes to reduce the chances of competition.
- Avoid using nails to attach the box to a tree, as they may cause harm. Instead try to tie the box to the trunk or hang it, or otherwise use stainless steel screws or nails that do not rust.

Enjoy!


 logs
logs